
Quick Guide

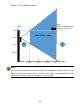
Table Of Contents
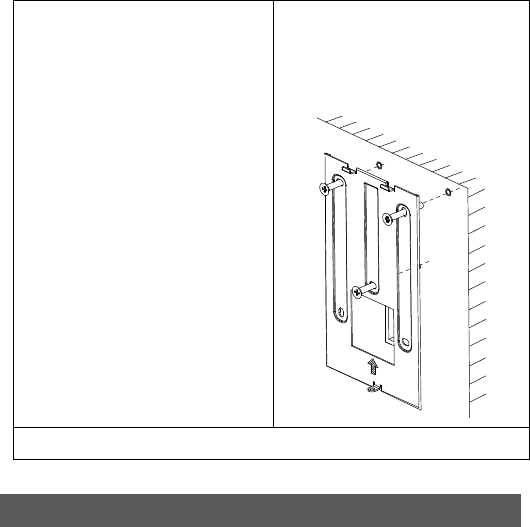
3. Embed expansion bolts inside the
three installation holes on the wall.
4. Attach the bracket to the wall with its
holes aligned with the installation
holes, and then rotate the screws
clockwise using a Phillips screwdriver
to fasten the bracket.
5. Refer to step 6-7 in With a 86*86mm junction box section to complete installation.
4. Device Startup
After the device is installed correctly, connect one end of the power adapter
(purchased or prepared) to the mains supply and the other end to the power
interface of the access control terminal, and then start the device. The display screen
of the outdoor monitor is energized and lights up, and the live view is displayed on
the screen, indicating that the device is started successfully.
Wall
9