
User's Manual


User’s Manual
33
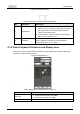
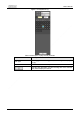
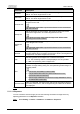
Parameter
Description
Click the download button, and the files will be saved to the storage
path set in "5.1.2.5 Path".
Downloading and playing video at the same time is not supported.
Click the button to go back to the calendar interface.
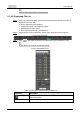
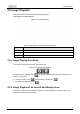
4.1.5 Video Clipping Area
You can clip the videos in this area.
Figure 4-10 Video clipping
Step 1 Click the time axis to select the start time for video clipping. The time must be within
the progress bar range.
Step 2 Hover over , and then
Select start time
is displayed.
Step 3 Click to set the start time for video clipping.
Step 4 Click the time axis to select the end time for video clipping.
The time must be within the progress bar range.
Step 5 Hover over , and then
Select end time
is displayed.
Step 6 Click to set the end time for video clipping.
Step 7 Click , and the clipped video will be saved in the path set in "5.1.2.5 Path".
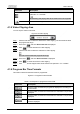
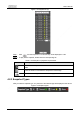
4.1.6 Progress Bar Time Formats
This section introduces the time format of progress bar.
Figure 4-11 Progress bar time formats
Table 4-7 Description of progress bar time format
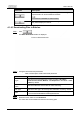
Parameter
Description
Click the button, and then the progress bar displays the recordings in
24-hour mode.
Click the button, and then the video within the selected 2-hour period is
displayed.
Click the button, and then the video within the selected 1-hour period is
displayed.
Click the button, and then the video within the selected 30-minute
period is displayed.