
User's Manual
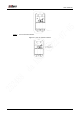
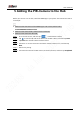
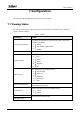
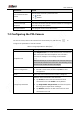
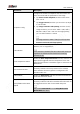
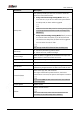
Table Of Contents

User’s Manual
13
Parameter Value
24 H Protection Zone
Status
Active status of the 24 h protection zone.
●
: Enable.
●
: Disable.
Sensitivity Sensitivity level during a shock alarm.
Transmit through
Repeater
The status of whether the PIR–Camera forwards its messages to
the hub through the repeater.
Program Version The program version of the PIR–Camera.
7.2 Configuring the PIR–Camera
On the hub screen, select a PIR–Camera from the accessory list, and then tap to
configure the parameters of the PIR–Camera.
Table 7-2 Keypad parameter description
Parameter Description
Snapshot Test
Tap Snapshot Test on the PIR–Camera screen, and then the
PIR–Camera will take some snapshots. You can view a
notification message in the message list afterwards.
We recommend you to use snapshot test function when you
install the PIR–Camera for the first time. This will help you to
find the most suitable locations and angles.
Device Configuration
●
View PIR–Camera name, type, SN and device model.
●
Edit PIR–Camera name, and then tap Save to save
configuration.
Area
Select the area to which the PIR–Camera is assigned.
Temporary Deactivate
Whether send commands to the alarm hub.
●
Tap Enable, and then the PIR–Camera will send
commands to the hub. Enable is set by default.
●
Tap Only Disable Tamper Alarm, and then the system
will only ignore tamper alarm messages.
●
Tap Disable, and then the PIR–Camera will not send
commands to the hub.