
Range Hood Installation Instructions
www.zephyronline.com
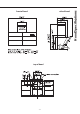
NOTE! The device in this version (with
internal suction motor) is equipped for
rear discharge of exhaust air. However,
if required, it is possible to have the
exhaust air discharged from the top.
This can be accomplished by following
the steps indicated in the following
paragraphs; upon reaching step 7, the
motor plate must not be rotated, there-
fore skip steps 8 and 9 and proceed
from step 10 directly.
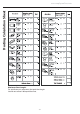
The following instructions are for installing the internal blower.
CAUTION: To reduce the risk of re and electric shock, install this range-
hood only with internal blower models MT-020 provided with the kit code
CBI-600A.
For external and in-line blower prepara-
tion please turn to page 13.
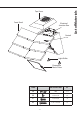
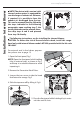
1. Open the front panel, Fig.1
NOTE! Open the front panel while holding
it by its external sides, as shown in Fig.1,
and keep at a suitable distance to avoid
impacting it.
2. Remove the Decorative Mesh Filters.
3. Loosen the two screws inside the hood
that fasten the canopy. Fig.2
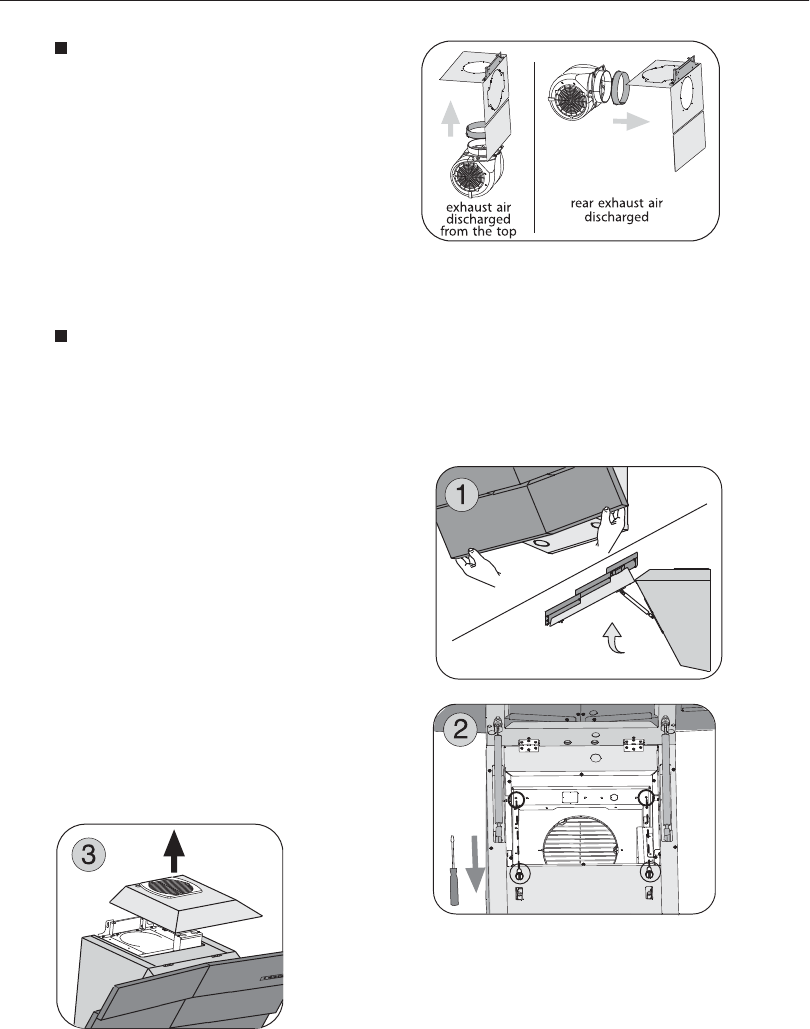
4. Slide the top cover o by lifting it. Fig.3
5. Close the front panel while holding it by its exter-
nal sides until it shuts.
Installation - Internal Blower
- 10 -