
Installation Guide

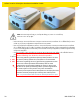
MPact Location & Analytics Hardware Installation Guide
30 MN-002947-01
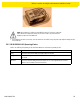
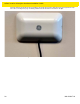
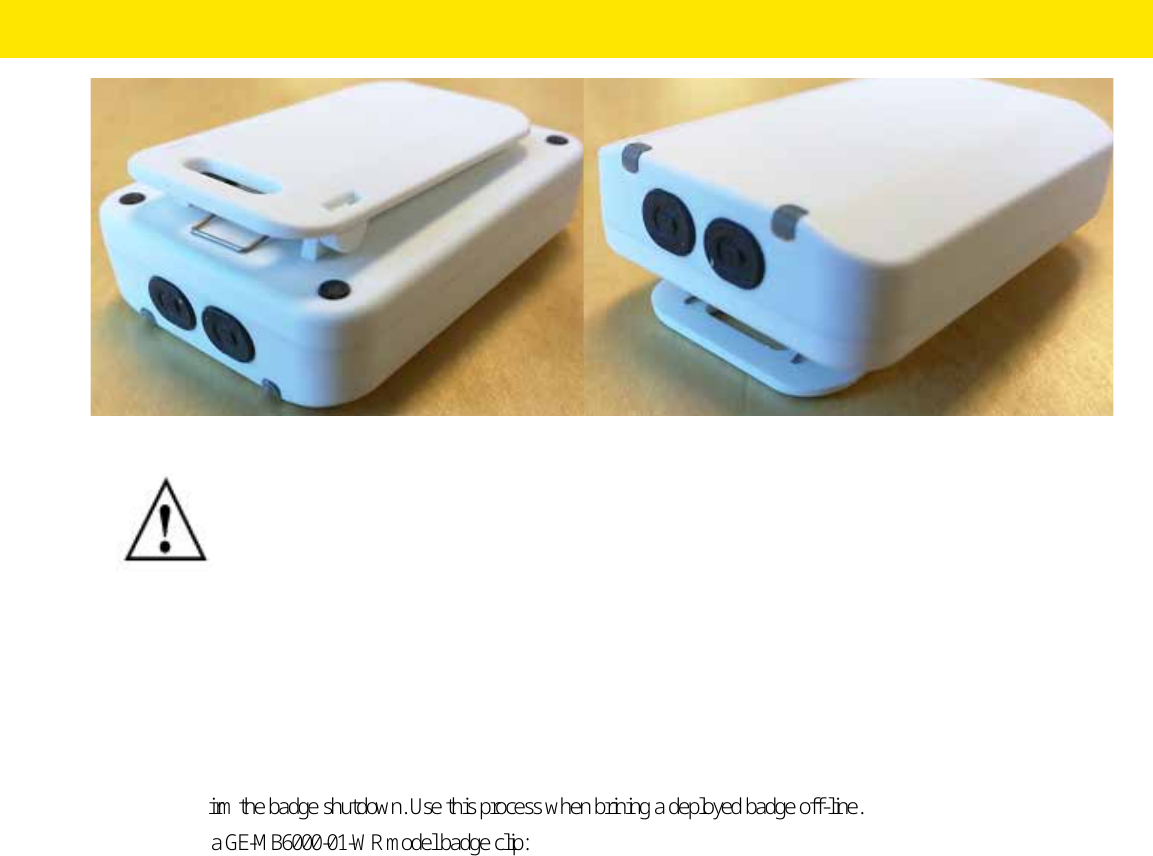
Figure 2-33 GE-MB6000-01-WR: LEDs and Buttons
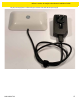
• Reboot the badge - Press and hold button 2 between 10 and 20 seconds, then release. LED 1 will blink slowly twice to
confirm. Any in-process configuration activity will need to be re-started.
• Erase to factory default configuration and reboot - Press and hold button 2 between 30 and 40 seconds, then release.
LED 1 will blink slowly twice to confirm. The deletion of the initial configuration could be warranted if the configuration
was not successfully applied on the first attempt. Once reverted to factory configuration, the initial config and scanning
config can be re-applied.
• Shutdown the badge - Press and hold button 2 between 20 and 30 seconds, then release. LEDs will blink 5 times to
confirm the badge shutdown. Use this process when brining a deployed badge off-line.
To replace a GE-MB6000-01-WR model badge clip:
1. TBD
2. TBD
NOTE: When the badge is facing you, the clip side facing you, button 1 is on the left top
and button 2 is on the top right.
CLEANING
add the following: Use alcohol to clean this product.
When using sodium hypochlorite (bleach) based products to clean
the product, always follows the manufacturers recommended
instructions regarding the use of gloves during application and to
remove the residue afterwards with a damp cloth to avoid
prolonged skin contact while handling the scanner. Please note
that due to the powerful oxidizing nature of sodium hypochlorite
the metal surfaces on the product are prone to oxidation
(corrosion) when exposed to this disinfectant in the liquid form and
should be removed promptly after cleaning with a damp cloth.
NOTE: use pre-moistened wiles and do not allow liquid cleaner to pool