
User Manual

13
Note: Location information may be unavailable, inaccurate or incomplete depending on your watch’s surroundings. GPS
location is dependent on the watch being able to receive signals from multiple satellites for triangulation. If the
surrounding environment (i.e. buildings or trees) prevent the watch from getting a signal, it cannot determine and report
its location.
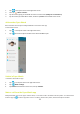
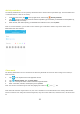
Previous tracks
To view previous location history for the watch, tap the watch picture and then tap the green icon . You can also
tap , then Previous tracks. You can then select the date you would like to view location history for. Previous
tracks are saved for up to 10 days.
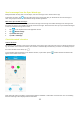
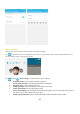
Set a geo-fence
Primary Administrators can set up to 5 geo-fence areas. If the watch enters or leaves that area, the Primary Administrator
will receive a notification.
1. Tap in the top left corner of the app home screen.
2. Tap Watch settings, then tap Electronic fence.
3. Tap Add electronic fence and input a category (danger zone or safety zone) and name for the area, then tap
Zone settings.
4. Enter the address of the area you would like to set a geo-fence around.
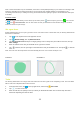
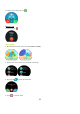
5. Tap to unlock, then use your finger to draw around the area you would like to set. Then press to lock the
zone.
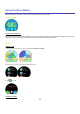
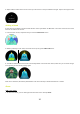
Note: You must close the shape of the area when drawing the zone. Lines cannot overlap or cross.
CORRECT: INCORRECT:
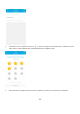
Tasks
The Primary Administrator can assign tasks and reward the User with a gold star for completing a task. The User will be
able to track their completed tasks from their watch.
1. From the home screen, tap in the top right corner, and then tap Star Tasks.
2. Tap to create a new task.
3. Enter the task title, set quantity of stars (# of times you would like the watch User to do the task) and enter a
reward for completing the series of tasks.