Copyright Copyright © 2013 YEALINK NETWORK TECHNOLOGY CO., LTD. Copyright © 2013 Yealink Network Technology CO., LTD. All rights reserved. No parts of this publication may be reproduced or transmitted in any form or by any means, electronic or mechanical, photocopying, recording, or otherwise, for any purpose, without the express written permission of Yealink Network Technology CO., LTD. Under the law, reproducing includes translating into another language or format.
1. This device may not cause harmful interference, and 2. This device must accept any interference received, including interference that may cause undesired operation. Changes or modifications to this unit that are not expressly approved by the party responsible for compliance could void the user's authority to operate the equipment.
6. Please follow instructions for repairing if any (e.g. battery replacement section); otherwise do not alternate or repair any parts of device except specified. 7. Connection to party line service is subject to state tariffs. Contact the state public utility commission, public service commission or corporation commission for information. 8.
GNU GPL INFORMATION Yealink W52P firmware contains third‐party software under the GNU General Public License (GPL). Yealink uses software under the specific terms of the GPL. Please refer to the GPL for the exact terms and conditions of the license. The original GPL license, source code of components licensed under GPL and used in Yealink products can be downloaded from Yealink web site: http://www.yealink.com/GPLOpenSource.aspx?BaseInfoCateId=293&NewsCateId=293&CateId=293.
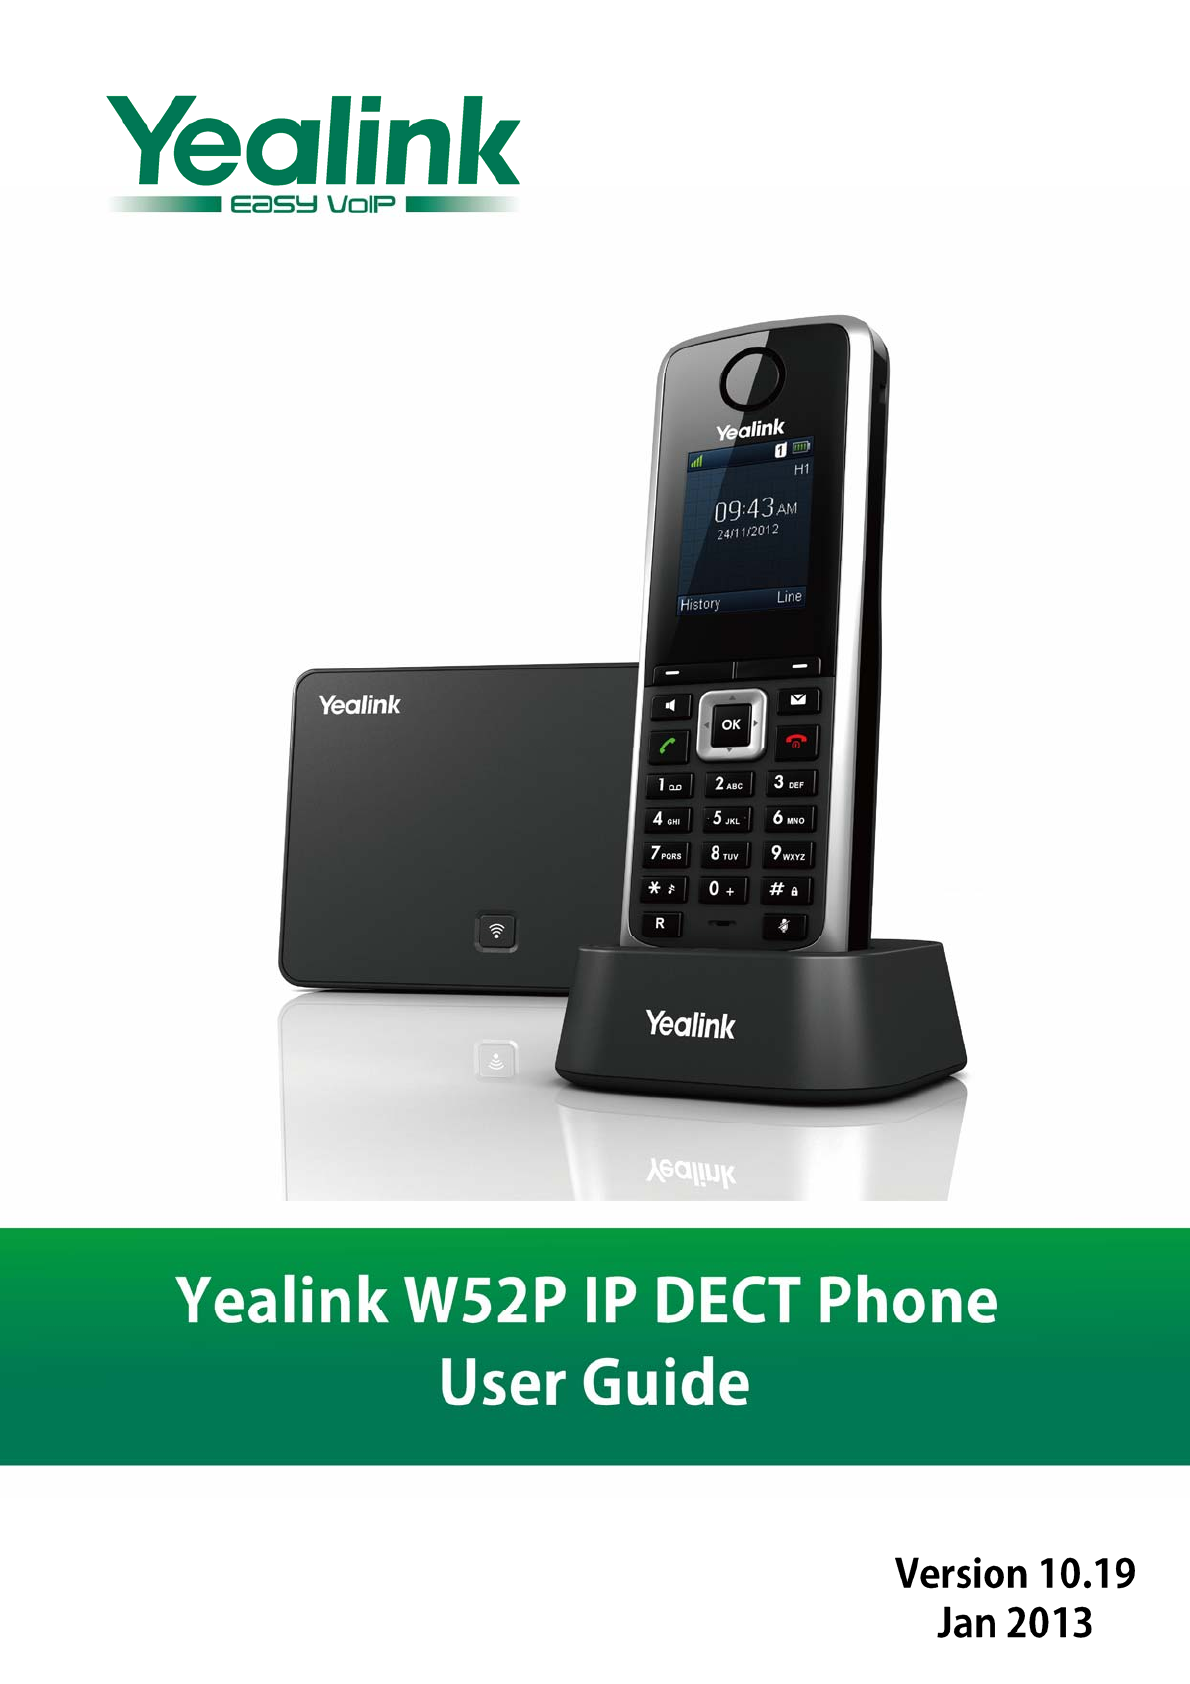
User Guide W52P IP DECT Phone About This Guide The Yealink W52P IP DECT phone is a full‐featured mobile device, which can provide reliable and convenient wireless voice communications. In addition, it provides many widely accepted benefits of the DECT standard, including high security, scalability, and low power consumption to better meet your requirements. This guide provides everything you need to quickly use your new phone.
Table of Contents Table of Contents About This Guide .........................................................................vi In This Guide .................................................................................................................................. vi Table of Contents........................................................................vii Getting Started.............................................................................1 Packaging Contents ..........................
User Guide W52P IP DECT Phone Handset Name.............................................................................................................................. 21 Language...................................................................................................................................... 21 Ring Tones .................................................................................................................................... 21 Advisory Tones................................
Table of Contents Redialing Calls .............................................................................................................................. 47 Call Mute ...................................................................................................................................... 47 Call Hold/Resume ......................................................................................................................... 48 Call Waiting.............................................
Getting Started Getting Started This chapter provides basic installation instructions and information for obtaining the best performance with the W52P IP DECT phone. The topics include: Packaging Contents Connecting the W52P Base Station Setting up the W52P/W52H Handset Setting up the Charger Cradle Charging the Handset If you require additional information or assistance with your new phone, contact your system administrator.
User Guide W52P IP DECT Phone Charger Cradle Power Adapter Two Rechargeable Batteries 2
Getting Started Ethernet Cable Belt Clip Quick Installation Guide & Quick Reference Guide CD‐ROM Check the list before installation. If you find anything missing, contact your system administrator. Connecting the W52P Base Station You have two options for power and network connection of the base station. Your system administrator will advise you which one to use. AC power Power over Ethernet (PoE) Note Please pay attention to the range of the base station.
User Guide W52P IP DECT Phone AC Power To connect the AC power: 1. Connect the DC plug on the power adapter to the DC5V port on the base station and connect the other end of the power adapter into an electrical power outlet. 2. Connect the supplied Ethernet cable between the Internet port on the base station and the Internet port in your network or the switch/hub device port. Power over Ethernet Using a regular Ethernet cable, the base station can be powered from a PoE (IEEE 802.
Getting Started Setting up the W52P/W52H Handset To insert batteries into the handset: 1. Open the battery cover. 2. Insert the batteries in the correct polarity. 3. Close the battery cover. Note Do not short‐circuit the batteries, as short‐circuiting the terminals may damage the batteries or the handset. Do not use damaged batteries, as using damaged batteries may cause an explosion. Battery Information Technology: Nickel Metal Hydride (NiMH) Size: AAA Voltage: 1.
User Guide W52P IP DECT Phone Charging the Handset To charge the handset: 1. After setting up the handset and charger cradle, place the handset in the charger cradle. The original handset included in the W52P package is pre‐registered to the base station. After charging, the handset is ready to use.
Overview Overview This chapter provides the overview of the W52P IP DECT phone. The topics include: Base Station Description Handset Description Displaying Information on LCD Screen Icon Instructions If you require additional information or assistance with your new phone, contact your system administrator. Base Station Description After the base station starts up successfully and the handset is registered to the base station, all LEDs on the base station illuminate solid green.
User Guide W52P IP DECT Phone Item Description Indicates the network status. ③ Network Status LED Slow flashes green when the network is unavailable. Illuminates solid green when the network is ready. Indicates the power status of the base station. Slow flashes green when the base station is during the firmware upgrading process. ④ Power Indicator LED Slow flashes green when the base station is during the resetting process. Illuminates solid green when the base station is powered on.
Overview Hardware component instructions of the W52P/W52H handset are: Item ① Earpiece ② LCD Screen ③ Soft Keys ④ Speakerphone Key ⑤ Headset Connector Description Outputs audio during the earpiece call. Shows call information, handset status icons, prompt messages and so on. Label automatically to identity their context‐sensitive features. Switches between the earpiece and speakerphone modes. Answers an incoming call. Connects a headset. Answers an incoming call.
User Guide W52P IP DECT Phone Displaying Information on LCD Screen The idle screen may be shown as below: Status Line Text Line Soft Key Line The LCD screen is divided into three parts: status line, text line and soft key line. The information shown in the status line: On hook (idle) — displays signal strength indicator, internal handset number and battery status. Off hook — displays line ID.
Overview Icon Instructions Icons appear on the LCD screen are described in the following table: Icon Description Anonymous Call Anonymous Call Rejection Missed Call Voice Mail Keypad Lock Silent Mode Do Not Disturb Call Forward Call Hold Call Mute Unassigned Outgoing Line Unusable Line Loudspeaker On Headset Mode On 11
User Guide W52P IP DECT Phone Basic Operations This chapter provides you with the basic operating instructions of the W52P IP DECT phone.
Basic Operations screen, which indicates the registration has finished. After successful registration, the internal handset number and handset name appear on the LCD screen. To de‐register a handset: 1. Press to enter the main menu. 2. Select 3. Enter the system PIN (default: 0000). 4. Press the Done soft key. ‐>Registration‐>De‐reg. Handset. The LCD screen displays the names of the handsets registered to the same base station.
User Guide W52P IP DECT Phone 6. Enter the valid values in the IP Address, Subnet Mask, Default Gateway, Primary DNS and Secondary DNS fields. 7. Press the Save soft key to accept the change. If you are using an xDSL modem, you can connect your base station to the Internet via PPPoE mode. The PPPoE port will perform a PPP negotiation to obtain the IP address. Contact your system administrator for the PPPoE username and password. To configure PPPoE: 1. Press 2. Select 3.
Basic Operations To check the network status: 1. Press 2. Select to enter the main menu. ‐>System Status. The LCD screen displays the general information and the More… option. 3. Select More …‐>Network. The LCD screen displays the network status. 4. Press or to scroll through the list and view the specific information. To check the handset status: 1. Press 2. Select to enter the main menu. ‐>System Status. The LCD screen displays the general information and the More… option. 3.
User Guide W52P IP DECT Phone Checking Line Status You can register up to 5 lines to one base station. The status of each registered line can be checked using the menu of the handset. To check the line status: 1. Press 2. Select to enter the main menu. ‐>Line Status. The LCD screen displays all lines registered to the base station with icons for indicating line status. For example, the icon in the bottom of a line indicates that the handset has no privilege to place a call using this line.
Basic Operations Locking/Unlocking Keypad You can lock the handset keypad to prevent keys from being accidentally pressed. To lock the keypad: 1. Long press when the handset is idle until the LCD screen prompts the message “Keypad Locked, Press and hold ‘#’ to unlock!”. The keypad is locked and the icon appears on the idle screen. You can still answer or reject incoming calls as usual. You can also end the answered call by pressing . To unlock the keypad: 1.
User Guide W52P IP DECT Phone To switch the silent mode on: 1. Long press until the LCD screen prompts the message “All Ring Tones Off”. The silent mode is on. The icon appears on the idle screen. To switch the silent mode off: 1. again until the LCD screen prompts the message “All Ring Tones On”. Long press The silent mode is off. The icon disappears from the idle screen. Menu Guidance The handset provides a variety of features that are grouped into menu.
Basic Operations To access a submenu feature: 1. Press 2. Press or to highlight the desired submenu. or the OK soft key to access the next menu level. You can cancel the current operation and return to the previous menu level by pressing or the Back soft key. Returning to Idle Screen To return to the idle screen: 1. Long press to quickly exit the menu and return to the idle screen.
User Guide W52P IP DECT Phone Phone Settings This chapter provides you with some instructions to change the settings of your phone.
Phone Settings Handset Name The handset will be assigned a name by default if successfully registered to the base station. You can personalize the handset name. To rename the handset: 1. Press to enter the main menu. 2. Select 3. Edit the current value in the Rename field. 4. Press the Save soft key to accept the change. ‐>Handset Name. Language The handset supports displaying text in different languages. The default language of the handset is English.
User Guide W52P IP DECT Phone decrease/increase the ringer volume. Advisory Tones Advisory tones are acoustic signals of your handset, which inform you of different actions and states. The following advisory tones can be configured independently of each other: Keypad Tone: plays when a user presses any key of the keypad. Confirmation: plays when a user saves settings or places the handset in the charger cradle.
Phone Settings To configure the screen saver: 1. Press to enter the main menu. 2. Select 3. Press the Change soft key to check or uncheck the Screen Saver checkbox. ‐>Display‐>Screen Saver. Colour Schemes You can change the background of your handset by changing the colour theme. There are 2 colour themes available. To change the colour scheme: 1. Press to enter the main menu. 2. Select 3. Press 4. Press the Select soft key to select the colour scheme. ‐>Display‐>Colour Schemes.
User Guide W52P IP DECT Phone 4. Press or to select the desired value from the Missed Call field. If Enabled is selected, the message key LED flashes red when the handset receives a new missed call. 5. Press the Save soft key to accept the change or the Back soft key to cancel. Date and Time The date and time display on the idle screen of your handset. By default, the handset obtains the date and time from the Simple Network Time Protocol (SNTP) server.
Phone Settings To configure the time format: 1. Press 2. Select 3. Press to enter the main menu. ‐>Display‐>Time Format. or to highlight the desired time format, and press the Change soft key. The radio box of the selected time format is marked. The format of the display time on the LCD screen will be changed accordingly. To configure the date format: 1. Press 2. Select 3. Press to enter the main menu. ‐>Display‐>Date Format.
User Guide W52P IP DECT Phone Contact Management This section provides the operating instructions for managing contacts. The topics include: Local Directory Blacklist Remote Phonebook Network Directory Local Directory You can store the frequently used contacts in the handset’s local directory, where names and numbers can be freely added, deleted and edited. This allows you to make calls without having to dial the number manually.
Phone Settings To enter a character: You can press the key which contains your desired character a certain number of times to enter the character. To switch the input method: 1. Press . The current input method is indicated on the top right‐hand corner of the LCD screen. For example, “ABC” represents the upper‐case input method, “abc” represents the lower‐case input method and “123” represents the digital input method. To make a space: 1. Press when the input method is not “123”.
User Guide W52P IP DECT Phone 7. Note Press the Save soft key to accept the change or the Back soft key to cancel. When you are adding a contact, both the office number and the mobile number cannot be left blank at the same time. When the contact name is left blank, the handset sets the office number or the mobile number as the contact name. If the information of the contact you want to add is totally same with that of an existing entry in the local directory, the screen will prompt “Contact save failed.
Phone Settings 1. Press to enter the main menu. 2. Select 3. Enter a few continuous characters of the desired contact name or number using the keypad. . The contacts whose name or number matches the search will appear on the LCD screen after a timeout or when the Search soft key is pressed. You can dial a contact from the result list. Placing a Call from Local Directory To place a call from the local directory: 1. Press to enter the main menu. 2. Select . 3. Press or 4.
User Guide W52P IP DECT Phone To delete an entry from the blacklist: 1. Press to enter the main menu. 2. Select 3. Press 4. Press the Options soft key, and select Delete. ‐>Telephony‐>Caller Blacklist. or to highlight the desired entry. The selected entry will be deleted successfully. To delete all entries from the blacklist: 1. Press to enter the main menu. 2. Select 3. Press the Options soft key, and select Delete All. ‐>Telephony‐>Caller Blacklist.
Phone Settings To place a call from the corporate directory: 1. Press to enter the main menu. 2. Select . 3. Press or to highlight the name of your corporate directory, and press the Enter soft key. 4. Select the desired contact from the corporate directory. 5. Do one of the following: ‐ If only one number of the contact is stored in the local directory, press to dial out the number.
User Guide W52P IP DECT Phone 3. Press or to highlight the desired group, and press the Enter soft key. The handset connects to load the network directory, and then displays the desired network contact list on the LCD screen. To place a call from the network directory: 1. Press 2. Select 3. Press to enter the main menu. ‐>Network Dir. or to highlight the desired group, and press the Enter soft key. The LCD screen displays the desired network contact list. 4.
Phone Settings The LCD screen displays all entries of the selected list. 3. Press or to highlight the desired entry, and press the View soft key. The LCD screen displays the detail information of the entry. To add an entry to the blacklist from the call history: You can block phone calls from a number by adding this number to the blacklist. For more information on blacklist, refer to Blacklist on page 29. 1. Press the History soft key when the handset is idle.
User Guide W52P IP DECT Phone Calls. 2. Press or to highlight the desired list, and press the OK soft key. The LCD screen displays all entries of the selected list. 3. Press 4. Press or to highlight the desired entry. . Network Call Log You can access the network call log on the handset. The network call log contains call information such as calling/called party identification, time and date. You can check the call log and dial a call from the call log list.
Phone Settings Dial Plan Dial plan is a string of characters that governs the way your handset processes the inputs received from your handset keypad. The handset supports the following dial plan features: Replace Rule Area Code Block Out The basic expression syntax you need to know: The dot “.” can be used as a placeholder or multiple placeholders for any character. . Example: “12.” would match “123”, “1234”, “12345”, “12abc”, etc. x An “x” can be used as a placeholder for any character.
User Guide W52P IP DECT Phone To add a replace rule via web user interface: 1. Click on Phone‐>Dial Plan‐>Replace Rule. 2. Enter the string (e.g. 2xx) in the Number field. 3. Enter the string (e.g. 12345) in the Replace field. 4. Enter the desired line ID in the Account field or leave it blank. 5. Click Add to add the replace rule. When you enter the number “234” using the keypad and then dial out, the handset will dial out “12345” instead. To edit a replace rule via web user interface: 1.
Phone Settings To configure the area code via web user interface: 1. Click on Phone‐>Dial Plan‐>Area Code. 2. Enter the desired values in the Code, Minimum Length (1‐15) and Maximum Length (1‐15) fields. Note 3. Enter the desired line ID in the Account field or leave it blank. 4. Click Confirm to accept the change. The default values of minimum and maximum length are 1 and 15 respectively. Block Out You can block the dialing of specific numbers.
User Guide W52P IP DECT Phone Outgoing Lines After the handset is registered to the base station, you can assign one or more outgoing lines for the handset. The handset can only use the assigned outgoing line(s) to place calls. When multiple outgoing lines are assigned to the handset, the handset uses the first line as the outgoing line by default. You can change the default outgoing line of the handset. To change the default outgoing line of the handset: 1. Press 2. Select to enter the main menu.
Phone Settings useful to users who dial certain numbers on regular basis. A maximum of 8 speed dial numbers are allowed. Assigning a Speed Dial Number You can assign the important numbers of your directory (including local directory, remote phonebook and network directory) to the speed dial keys of your handset. This helps you dial a contact quickly and easily by long pressing the speed dial key without having to enter the directory. The available speed dial keys are the digit keys 2‐9.
User Guide W52P IP DECT Phone Auto Answer When the auto answer feature is enabled, you can simply answer the incoming calls by lifting the handset from the charger cradle without having to press the off‐hook key. The auto answer feature works only if the handset is placed in the charger cradle. To configure the auto answer feature: 1. Press to enter the main menu. 2. Select 3. Press the Change soft key to check or uncheck the Auto Answer checkbox. ‐>Telephony‐>Auto Answer.
Phone Settings 2. Select ‐>System Settings‐>Handset Reset. The LCD screen prompts the warning “Reset handset to default?”. 3. Press the Yes soft key to reset the handset or the No soft key to cancel. Base Reset You can reset the base station to factory settings. This will clear all individual settings of the base station, entries of the directory and active SIP registrations. All registered handsets are de‐registered. You need to re‐register your handset to use.
User Guide W52P IP DECT Phone To trigger the auto provisioning: 1. Press to enter the main menu. 2. Select 3. Enter the system PIN (default: 0000) and press the Done soft key. 4. Enter the valid value in the Username field and press the OK soft key. 5. Enter the valid value in the Password field and press the OK soft key. ‐>System Settings‐>Auto Provision. The LCD screen prompts the warning “Update now?”. 6. Press the Yes soft key to perform an update or press the No soft key to cancel.
Phone Settings If the Eco Mode checkbox is checked, the eco mode is enabled. The colour of the signal strength indicator on the idle screen will change to green. Note If the eco mode is enabled, the range of the base station will be reduced. Repeater Mode Repeater mode extends the signal coverage of DECT phones. This feature is especially useful to the users who require mobility in large dwellings.
User Guide W52P IP DECT Phone Call Features The W52P IP DECT phone is designed to be easily used like a regular phone on a public switched telephone network (PSTN). You can place internal and external calls, answer calls, transfer a call to someone else, or conduct a conference call. This chapter provides operating instructions of the call features.
Call Features (earpiece, headset or loudspeaker). The call duration displays on the LCD screen while the call is in progress. Placing Internal Calls You can make free internal calls between the handsets registered to the same base station. You can place an internal call to one handset or all handsets registered to the same base station. To place an internal call to one handset: 1. Press 2. Select to enter the main menu. .
User Guide W52P IP DECT Phone To place a new call during an active call: You can have at most two calls on your handset. 1. Press the Ext.Call soft key. The active call is placed on hold. 2. Enter the desired number in the Call To field using the keypad. 3. Press Note or to dial out. You can also make an IP call by directly dialing the IP address of any IP phone. For example, IP: 192.168.1.15.
Call Features Ending Calls To end a call: Do one of the following: - Press . - Place the handset in the charger cradle. Redialing Calls The redial number list stores the twenty last dialed phone numbers. When the memory of the redial number list is full, the handset will automatically erase the oldest dialed number when a new number is dialed. You can redial a call from the redial number list. To redial the last dialed number: 1. Press when the handset is idle. 2. Press again.
User Guide W52P IP DECT Phone To un‐mute a call: 1. Press again. The icon disappears from the LCD screen. Call Hold/Resume You can place an active call on hold. At any time, at most one active call can be in progress on your handset. Another call can be answered and made while placing the original call on hold. To place a call on hold: 1. Press the Options soft key during a call, and select Hold. The call is placed on hold and the icon displays on the LCD screen.
Call Features 4. Press 5. Press the Save soft key to accept the change or the Back soft key to cancel. Note or to select the desired value from the Tone field. The call waiting tone works only if the call waiting feature is enabled. To answer a new incoming call during a call: If call waiting feature is enabled, a new incoming call can be answered during a call. 1. Press the Accept soft key to answer the new incoming call. The original call is placed on hold.
User Guide W52P IP DECT Phone To enable the call forward feature for a specific line: 1. Press 2. Select to enter the main menu. ‐>Call Forward. The LCD screen displays the incoming lines currently assigned to the handset. 3. Press or to highlight the desired line, and press the OK soft key. 4. Press or to highlight the desired forwarding type, and press the OK soft key. 5. Press 6. Enter the destination number you want to forward incoming calls to in the Target field. 7.
Call Features To perform a semi‐attended transfer: 1. Press the Options soft key during a call, and select Transfer. 2. Do one of the following: ‐ Enter the number or select the handset you want to transfer the call to. Press or the Transfer soft key to dial out. ‐ Press the Directory soft key, and select the desired contact. Press the Call soft key. If both the office number and the mobile number of the contact are stored, select the desired number and press 3. Press or the OK soft key to dial out.
User Guide W52P IP DECT Phone desired number and press 4. or the OK soft key to dial out. When the second party answers the call, you can consult with him or her before adding to the conference. 5. Press the Conf. soft key again to join all parties in the conference. To join two calls in a conference: 1. Place two calls on the handset. 2. Select the desired call and make sure the call is active. 3. Press the Options soft key, and select Conference. Two calls are joined in the conference.
Call Features To enable the anonymous call rejection feature for a specific line: 1. Press 2. Select to enter the main menu. ‐>Anon.Call Rejection. The LCD screen displays the incoming lines currently assigned to the handset. 3. Press or 4. Press 5. Press the OK soft key to accept the change. or to highlight the desired line, and press the OK soft key. to select Enabled from the Status field. Voice Mail You can leave voice mails to someone else.
User Guide W52P IP DECT Phone To configure fast access for voice mail: You can configure fast access to connect straight to the voice mails of the desired line by long pressing the digit key 1, when the handset is idle without having to scroll through the menu. 1. Press 2. Select to enter the main menu. ‐>Set Key 1. The LCD screen displays the lines assigned to the handset as incoming lines and outgoing lines simultaneously, and the number of voice mails of each line. 3.
Troubleshooting Troubleshooting This chapter provides some general troubleshooting information to help you solve the problems you might encounter when using your W52P IP DECT phone. If you require additional information or assistance with your new phone, contact your system administrator. Why doesn’t the handset ring? Ensure the ringer volume of your handset is not adjusted to the minimum. Refer to Adjusting Ringer Volume on page 16. Make sure the silent mode is not switched on.
User Guide W52P IP DECT Phone Why can’t I turn the handset on? Ensure the batteries are inserted into the handset. If the batteries are already inserted into the handset, place the handset into the charger cradle. Why do I hear some noise during a call? Ensure you are not using the handset or base station in an area with high electrical interference.
Appendix Appendix Firmware Upgrading You can upgrade your base station or handset to the latest firmware version. The latest firmware version not only improves the performance of the base station or handset, but also provides more features compared to the previous versions. Upgrading the Base Station You can upgrade the base station firmware via auto provisioning or via the web user interface. This section provides you with the instruction of upgrading the base station via the web user interface.
User Guide W52P IP DECT Phone Before upgrading the handset, you need to connect the handset to the computer. 1. Open the battery cover of the handset. A USB mini port is located underneath the battery cover. 2. Connect the USB cable to the computer. 3. Connect the other end of the USB cable to the USB port on the handset. To upgrade the handset firmware: 1. Double click the W52P‐HS‐Flasher.exe application. 2. Click the Browse button to locate the latest firmware file from your local system. 3.
Appendix Menu Structure System Sta tus Line Sta tus Pla y M essa g e Set Voice M a il Set Key 1 Ca ll Forw a rd Alw a ys Busy No Answ er Do Not Disturb Ca ll Wa iting Anon.
User Guide W52P IP DECT Phone Regulatory Notices Important Safety Information To reduce risk of fire, severe personal injury and damage to property, read the following safety information carefully before using the product. Environmental Requirements Place the product on a stable, level and non‐slip surface.
Regulatory Notices Battery Precautions Do not immerse the battery into water, which could short‐circuit and damage the battery. Do not expose the battery to an open flame or leave the battery where it could be subjected to extremly high temperatues, which could cause the battery to explode. Do power the handset off before removing the battery. Do not try to use the bettery for the power supply of any device other than this handset.
User Guide W52P IP DECT Phone Index Date and Time 24 Deleting Contacts 28 Deleting a Speed Dial Number 39 Declaration of Conformity ii Dial Plan 35 Displaying Information on LCD Screen Do Not Disturb (DND) 49 A About This Guide vi Account Registration 15 Adding Contacts 27 Adjusting Ringer Volume 16 Advisory Tones 22 Always Forward 49 Anonymous Call 52 Anonymous Call Rejection 52 Answering Calls 46 Appendix 57 Area Code 36 Assigning a Speed Dial Number Attended Transfer 50 Auto Answer 40 Auto Intercom 40
Index N No Answer Forward 49 Notification Light 23 O Overview 7 Outgoing Lines 38 P Packaging Contents 1 Phone Settings 20 Placing a Call from Local Directory Placing a Call Using Speed Dial Key Placing Calls 44 Placing External Calls 45 Placing Internal Calls 45 Power over Ethernet 4 29 39 R Redialing Calls 47 Regulatory Notices 60 Remote Phonebook 30 Repeater Mode 43 Replace Rule 35 Returning to Idle Screen 19 Ring Tones 21 S Screen Saver 22 Searching for Contacts 28 Semi‐Attended Transfer 50 Setting