
Operation Manual


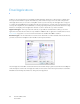


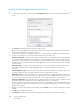
Table Of Contents
- Table of Contents
- Safety
- Welcome
- Scanner Setup
- Installation
- Loading Documents to Scan
- Scanning and Configuring One Touch
- Default One Touch Settings
- Scan from the One Touch Button Panel
- Changing the Button Settings
- Selecting Options for One Touch
- Scan Configurations
- File Formats
- Configure Before Scan
- Open Scanned Document(s)
- Transfer to Storage
- Burn to CD-ROM
- Printer or Fax
- PaperPort
- SharePoint
- FTP Transfer
- SMTP
- Email Applications
- Text Editors
- Still Image Client
- Image Editors
- PDF Applications
- Send to Application
- Scanning to Multiple Destinations
- Scanning with Job Separation
- Scanning with Optical Character Recognition (OCR)
- Selecting One Touch OmniPage OCR Options
- One Touch with Visioneer Acuity Technology
- Hardware Properties and Interface Behavior
- Scanning from TWAIN and WIA
- Scanning from ISIS
- Maintenance
- Regulatory Information
- Compliance Information
- Index
Xerox DocuMate 3125
User’s Guide
84
• Email to—input a valid recipient email address to receive the scanned document. If it is not a valid address
the transfer will fail.
• Email from—input the email address you want to appear in the email message “from” field.
• Limit (MB)—input the maximum message size limit set on the SMTP server. This number should be lower than
or match the SMTP server maximum. You cannot send messages that exceed the maximum message size of
the SMTP server.
Because the destination configuration is done through the scan configuration, you can set each configuration to
scan to a different SMTP server, send messages to different email addresses, using different user credentials, and so
on. This is the same process used as when scanning to different folders using the Transfer to Storage destination, as
described in detail starting on page 68.
Click on the Help button, in this configuration tab, to launch the SMTP help file. The help file contains detailed
information about the settings in this window and technical implementation notes.
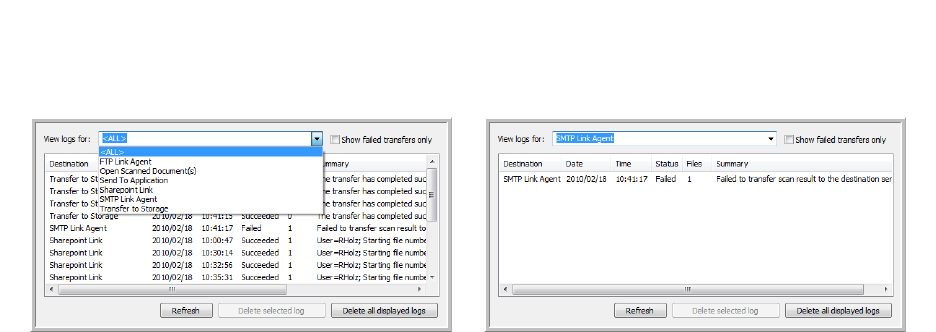
SMTP Link Log Viewer
The One Touch Link Log Viewer opens automatically when scanning is complete. Click on the menu arrow next to
View logs for and select SMTP Link Agent from the list to display the transfer history for the SMTP link only.
Double-click on any of the line items to open the selected log file in the Log File Detail View. If you open a failed
transfer, the log file may contain the information you need to determine why the transfer failed. After you address
the failure indicated in this log file, you can click the Retry button to resend the document to the server.