
Operation Manual


Table Of Contents
- Table of Contents
- Safety
- Welcome
- Scanner Setup
- Installation
- Loading Documents to Scan
- Scanning and Configuring One Touch
- Default One Touch Settings
- Scan from the One Touch Button Panel
- Changing the Button Settings
- Selecting Options for One Touch
- Scan Configurations
- File Formats
- Configure Before Scan
- Open Scanned Document(s)
- Transfer to Storage
- Burn to CD-ROM
- Printer or Fax
- PaperPort
- SharePoint
- FTP Transfer
- SMTP
- Email Applications
- Text Editors
- Still Image Client
- Image Editors
- PDF Applications
- Send to Application
- Scanning to Multiple Destinations
- Scanning with Job Separation
- Scanning with Optical Character Recognition (OCR)
- Selecting One Touch OmniPage OCR Options
- One Touch with Visioneer Acuity Technology
- Hardware Properties and Interface Behavior
- Scanning from TWAIN and WIA
- Scanning from ISIS
- Maintenance
- Regulatory Information
- Compliance Information
- Index
Xerox DocuMate 3125
User’s Guide
55
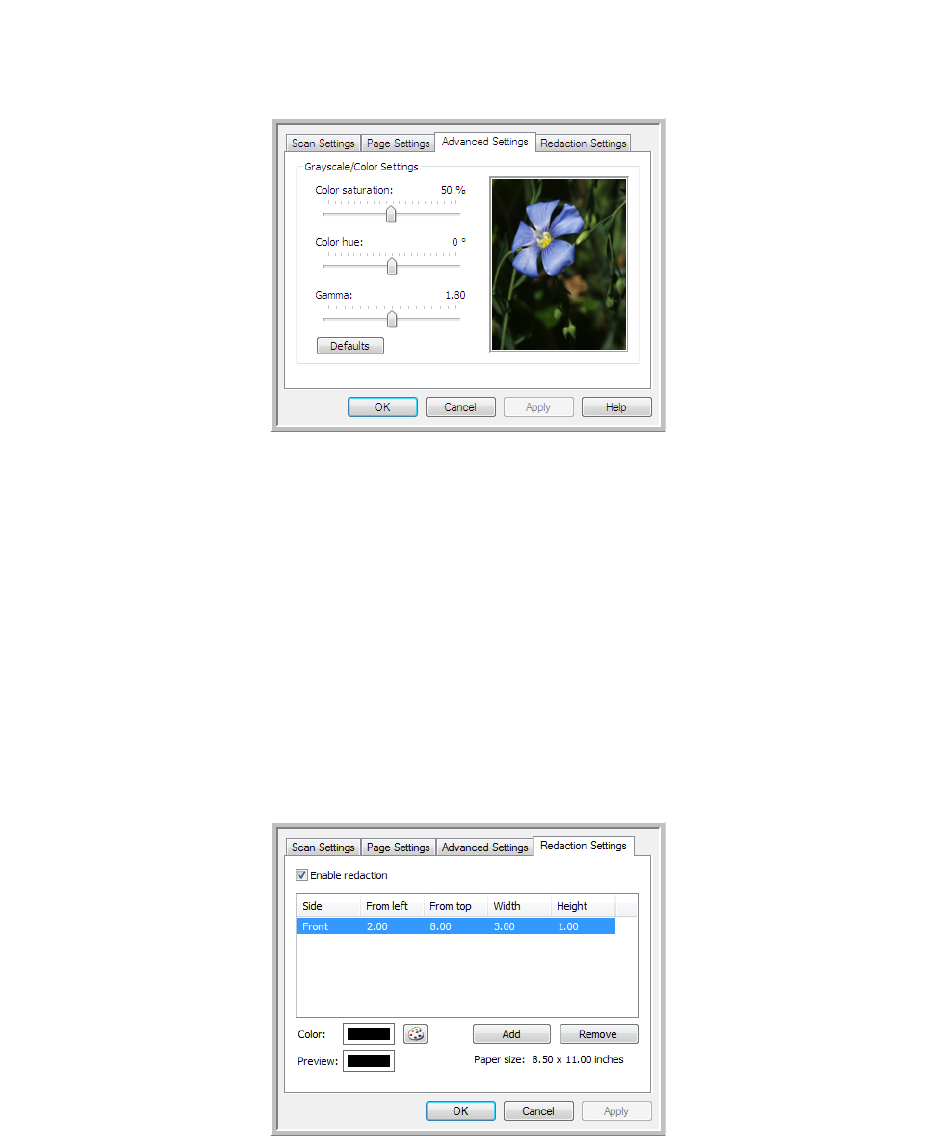
Advanced Settings tab
Use the Advanced Settings tab to set color correction options for Color or Grayscale scanning. Drag the sliders to the
left and right to change the color settings. As you do, the image changes to show the effects of the new settings.
• Color saturation—the strength or purity of a color. This option is only available when the selected scan mode
is Color.
• Color hue—the color your eyes see as reflected from the image. This option is only available when the
selected scan mode is Color.
• Gamma—is the tone curve and the starting point for image enhancement. As you raise or lower the Gamma
value, the values at which saturation, hue, brightness and contrast affect the image are changed. It is
recommended that you keep the default Gamma value or adjust this setting before adjusting the other
options. This option is available for both Color and Grayscale scanning.
Redaction Settings tab
Use the options on the Redaction Settings tab to remove a specified area in the scanned image.
Please refer to the technical note, at the end of this section, for information about how this setting works with other
options in the One Touch Scan Configuration you are modifying.