
Operation Manual


Table Of Contents
- Table of Contents
- Safety
- Welcome
- Scanner Setup
- Installation
- Loading Documents to Scan
- Scanning and Configuring One Touch
- Default One Touch Settings
- Scan from the One Touch Button Panel
- Changing the Button Settings
- Selecting Options for One Touch
- Scan Configurations
- File Formats
- Configure Before Scan
- Open Scanned Document(s)
- Transfer to Storage
- Burn to CD-ROM
- Printer or Fax
- PaperPort
- SharePoint
- FTP Transfer
- SMTP
- Email Applications
- Text Editors
- Still Image Client
- Image Editors
- PDF Applications
- Send to Application
- Scanning to Multiple Destinations
- Scanning with Job Separation
- Scanning with Optical Character Recognition (OCR)
- Selecting One Touch OmniPage OCR Options
- One Touch with Visioneer Acuity Technology
- Hardware Properties and Interface Behavior
- Scanning from TWAIN and WIA
- Scanning from ISIS
- Maintenance
- Regulatory Information
- Compliance Information
- Index
Xerox DocuMate 3125
User’s Guide
30
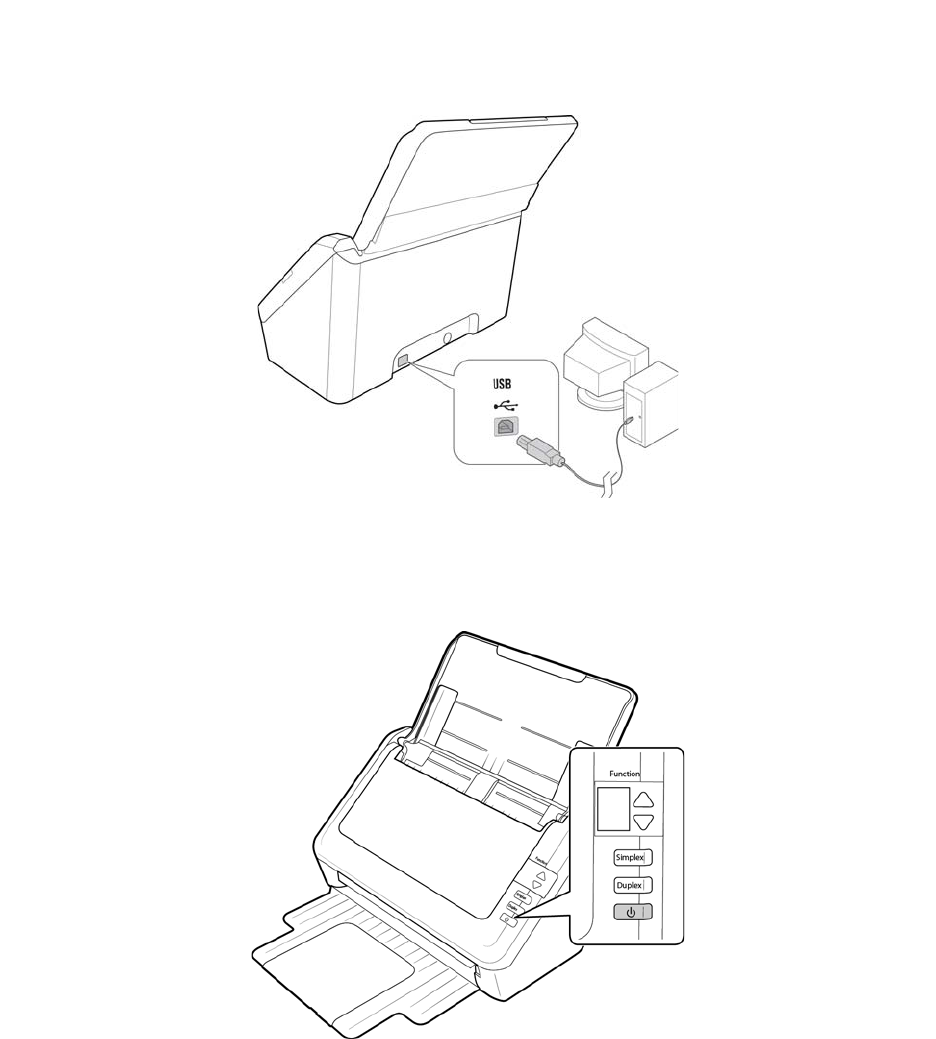
Connect the USB Cable and Turn on the Power
1. Remove any tape from the USB cable.
2. Plug the USB cable into the USB port on the scanner then into a USB port on the computer.
If the plug does not attach easily, make sure that you are plugging it in correctly. Do not force the plug into
either connection.
3. Turn on the scanner power.
The status light comes on and flashes indicating that the scanner is receiving power.
Your computer recognizes that a scanner has been plugged into the USB port and automatically loads the
appropriate software to run the scanner. If your computer is running Windows version XP or later, you will see a
message similar to the one below.