
Operation Manual


Table Of Contents
- Table of Contents
- Safety
- Welcome
- Scanner Setup
- Installation
- Loading Documents to Scan
- Scanning and Configuring One Touch
- Default One Touch Settings
- Scan from the One Touch Button Panel
- Changing the Button Settings
- Selecting Options for One Touch
- Scan Configurations
- File Formats
- Configure Before Scan
- Open Scanned Document(s)
- Transfer to Storage
- Burn to CD-ROM
- Printer or Fax
- PaperPort
- SharePoint
- FTP Transfer
- SMTP
- Email Applications
- Text Editors
- Still Image Client
- Image Editors
- PDF Applications
- Send to Application
- Scanning to Multiple Destinations
- Scanning with Job Separation
- Scanning with Optical Character Recognition (OCR)
- Selecting One Touch OmniPage OCR Options
- One Touch with Visioneer Acuity Technology
- Hardware Properties and Interface Behavior
- Scanning from TWAIN and WIA
- Scanning from ISIS
- Maintenance
- Regulatory Information
- Compliance Information
- Index
Xerox DocuMate 3125
User’s Guide
150
Click on a link below to go to the appropriate page in this section for instructions on adjusting the option that is
displayed on the Main tab.
See Advanced Panel Options on page 156
•Despeckle
Brightness
Brightness is the overall lightness of the image. Move the slider left or right to darken or lighten the image.
Adjusting the brightness level adjusts the tone of the pixels, without changing the true color of the pixels; such as
when adjusting hue.
Note: This option is disabled when Threshold is selected while scanning in black and white.
Choosing brightness values
Adjusting the brightness level is based on how you want the image to appear and there is no standard to adhere to.
Below are some recommended options for brightness image correction based on the original document quality.
•Original documents of good quality - 50%
• Pencil written letters, forms, or drawings - 25% to 40%
• Faded pictures or old documents with faded text - 35% to 45%
• Light colored carbon copy paper, such as yellow or pale pink or pale green, with light text - 45% to 55%
•Newspaper or magazine pages - 55% to 70%
• Book pages - 55% to 80%
• Pictures taken inside or in the shade - 60% to 85%
Brightness works in conjunction with Contrast for image enhancement. When you are adjusting the brightness
level to improve the scanned image quality, try adjusting the contrast level as well. The contrast level is the range
between the lightest and darkest parts of the image. For example, if you scanned a document with notes written in
pencil, you may have to decrease the brightness level to get the handwritten notes to appear in the scanned image.
However, when decreasing the brightness, white starts to appear gray in the image. In that case, raise the contrast
level to make the differences between the lightest and darkest part of the image more defined.
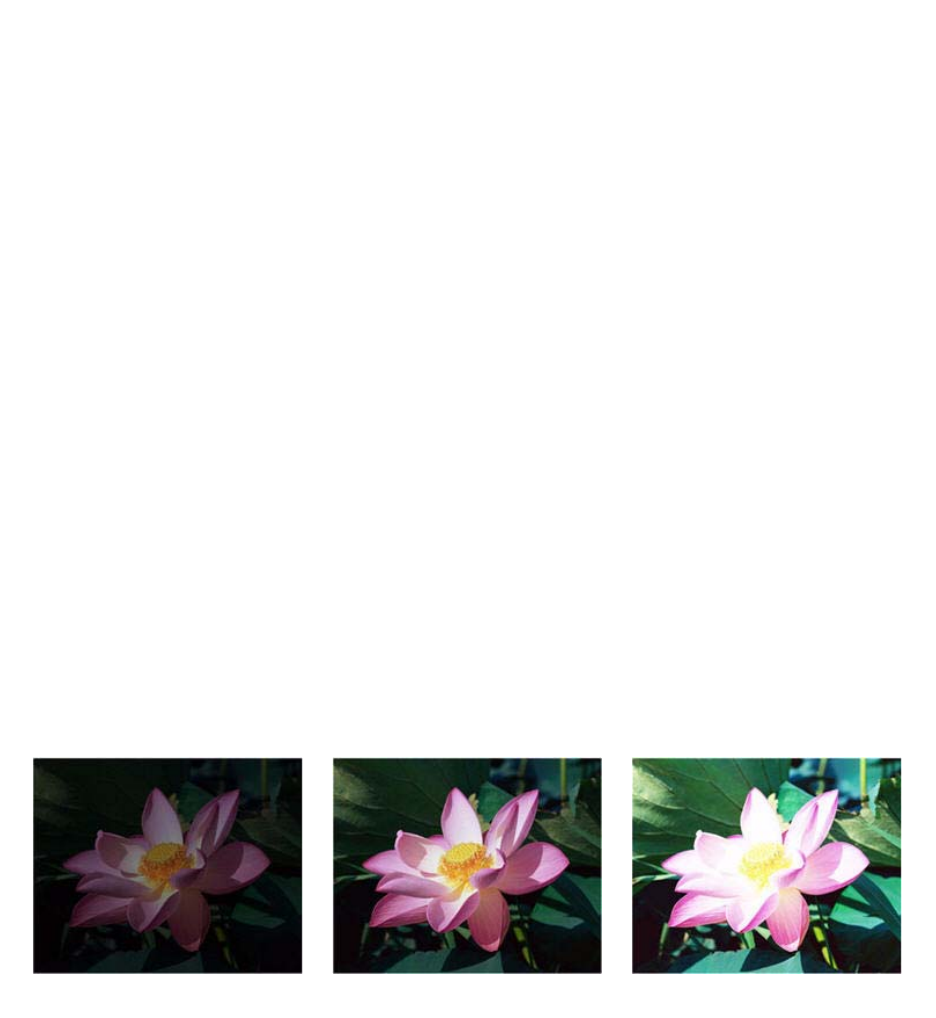
Color image brightness examples
The examples below show the original image at the default setting of 50% brightness level, 25% brightness and
75% brightness. Adjusting the brightness level does not make the image completely black nor completely white.
Technical note:
Brightness: 25% Brightness: 50% Brightness: 75%