
Operation Manual
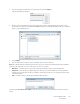

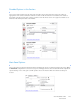


Table Of Contents
- Table of Contents
- Safety
- Welcome
- Scanner Setup
- Installation
- Loading Documents to Scan
- Scanning and Configuring One Touch
- Default One Touch Settings
- Scan from the One Touch Button Panel
- Changing the Button Settings
- Selecting Options for One Touch
- Scan Configurations
- File Formats
- Configure Before Scan
- Open Scanned Document(s)
- Transfer to Storage
- Burn to CD-ROM
- Printer or Fax
- PaperPort
- SharePoint
- FTP Transfer
- SMTP
- Email Applications
- Text Editors
- Still Image Client
- Image Editors
- PDF Applications
- Send to Application
- Scanning to Multiple Destinations
- Scanning with Job Separation
- Scanning with Optical Character Recognition (OCR)
- Selecting One Touch OmniPage OCR Options
- One Touch with Visioneer Acuity Technology
- Hardware Properties and Interface Behavior
- Scanning from TWAIN and WIA
- Scanning from ISIS
- Maintenance
- Regulatory Information
- Compliance Information
- Index
Xerox DocuMate 3125
User’s Guide
141
1. Click on the right pointing arrow next to the presets list and select Import....
A file browsing dialogue will open.
2. Browse to the location where the preset file is saved. If you want to import multiple presets, click on each
preset name. You may need to hold down the Ctrl (Control) key on your keyboard, while clicking on each preset
name, to select multiple presets.
3. Click on Open.
4. The preset will now be in the list of presets available in the scanner's interface.
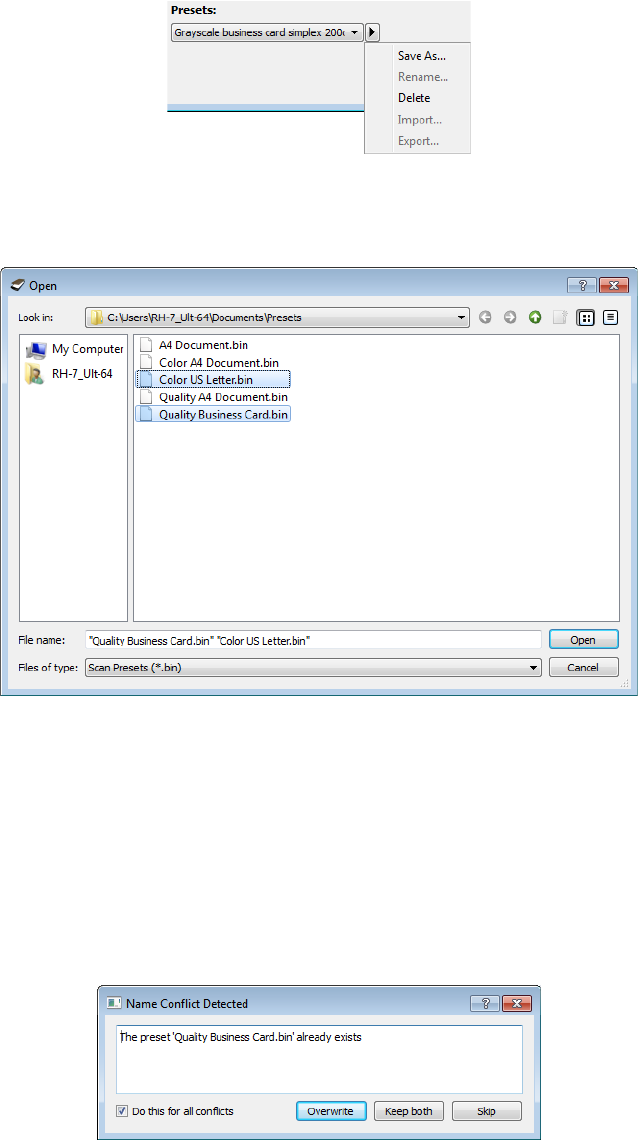
Note: the software will look for duplicate preset names. If you see a notification indicating that a preset with the
same name already exists, select one of the options on-screen to continue.
• Overwrite—select this option to replace the current preset with the one you selected from the list.
• Keep both—select this option to keep both presets. The preset you selected will have a counting number
added to the end of the preset name; for example, “Custom preset name (2)”. The original preset name will
remain unchanged.
• Skip—select this option to skip the preset with the duplicate name.
Select the option Do this for all conflicts to have the action you select in this dialogue be used for all conflicts
found.