
Operation Manual

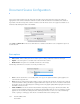


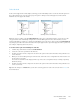
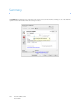


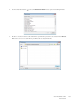
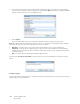
Table Of Contents
- Table of Contents
- Safety
- Welcome
- Scanner Setup
- Installation
- Loading Documents to Scan
- Scanning and Configuring One Touch
- Default One Touch Settings
- Scan from the One Touch Button Panel
- Changing the Button Settings
- Selecting Options for One Touch
- Scan Configurations
- File Formats
- Configure Before Scan
- Open Scanned Document(s)
- Transfer to Storage
- Burn to CD-ROM
- Printer or Fax
- PaperPort
- SharePoint
- FTP Transfer
- SMTP
- Email Applications
- Text Editors
- Still Image Client
- Image Editors
- PDF Applications
- Send to Application
- Scanning to Multiple Destinations
- Scanning with Job Separation
- Scanning with Optical Character Recognition (OCR)
- Selecting One Touch OmniPage OCR Options
- One Touch with Visioneer Acuity Technology
- Hardware Properties and Interface Behavior
- Scanning from TWAIN and WIA
- Scanning from ISIS
- Maintenance
- Regulatory Information
- Compliance Information
- Index
Xerox DocuMate 3125
User’s Guide
134
Sources identical
If the scanner has multiple paper source options, select this option to have the settings you choose in the interface
apply to all paper sources in the scanner. For instance, if you select color scanning when scanning from the input
tray, then the flatbed or front feed tray scans will also be in color.
While the option to enable or disable Sources identical is in the source configuration list, the color mode is not the
only option that can be individually configured for each source. Other options in the scanner interface, such as
resolution, brightness, contrast, etc... will also be individually set for each source. After you deselect Sources
identical, any changes you make in the scanner interface will only be applied to the option that appears at the top
of the list (for example, “Input tray (Front side) Black and White”).
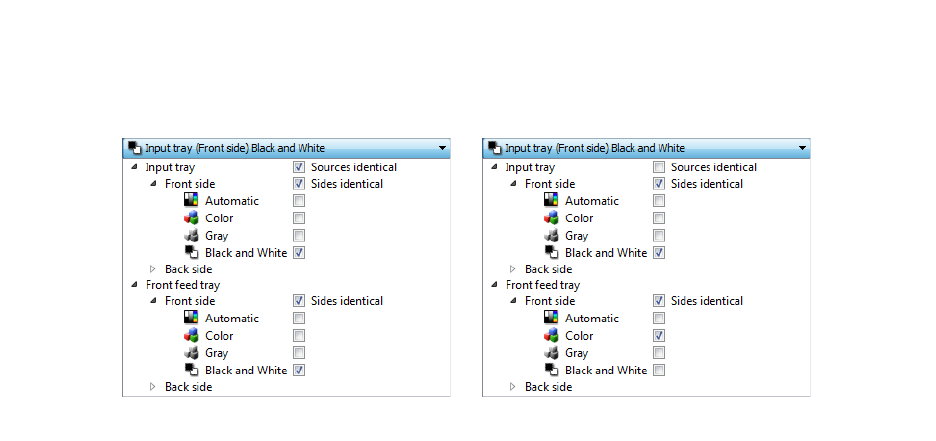
To set the scanner options individually for each source:
1. Click the drop down menu and deselect Sources identical.
2. Select the color mode you want for the first source.
3. Click the top of the menu to collapse the list. Select the options in the scanner interface that you want to use
for the first source.
4. When you are done making changes for the first source, click in the source configuration list and select the
color mode for the second source.
That source selection will now be displayed in the top of the source configuration list.
5. Click the top of the menu to collapse the list. Select the options in the scanner interface that you want to use
for the second source.
Tip: Save the changes to a Preset when you are done selecting options for each source. Please refer to Presets for
more information.
(Example: Sources are identical) (Example: Sources are different)