Operation Manual
Table Of Contents
- Table of Contents
- Safety
- Welcome
- Scanner Setup
- Installation
- Loading Documents to Scan
- Scanning and Configuring One Touch
- Default One Touch Settings
- Scan from the One Touch Button Panel
- Changing the Button Settings
- Selecting Options for One Touch
- Scan Configurations
- File Formats
- Configure Before Scan
- Open Scanned Document(s)
- Transfer to Storage
- Burn to CD-ROM
- Printer or Fax
- PaperPort
- SharePoint
- FTP Transfer
- SMTP
- Email Applications
- Text Editors
- Still Image Client
- Image Editors
- PDF Applications
- Send to Application
- Scanning to Multiple Destinations
- Scanning with Job Separation
- Scanning with Optical Character Recognition (OCR)
- Selecting One Touch OmniPage OCR Options
- One Touch with Visioneer Acuity Technology
- Hardware Properties and Interface Behavior
- Scanning from TWAIN and WIA
- Scanning from ISIS
- Maintenance
- Regulatory Information
- Compliance Information
- Index

Xerox DocuMate 3125
User’s Guide
131
Scanning
1. Load the document(s) in the scanner.
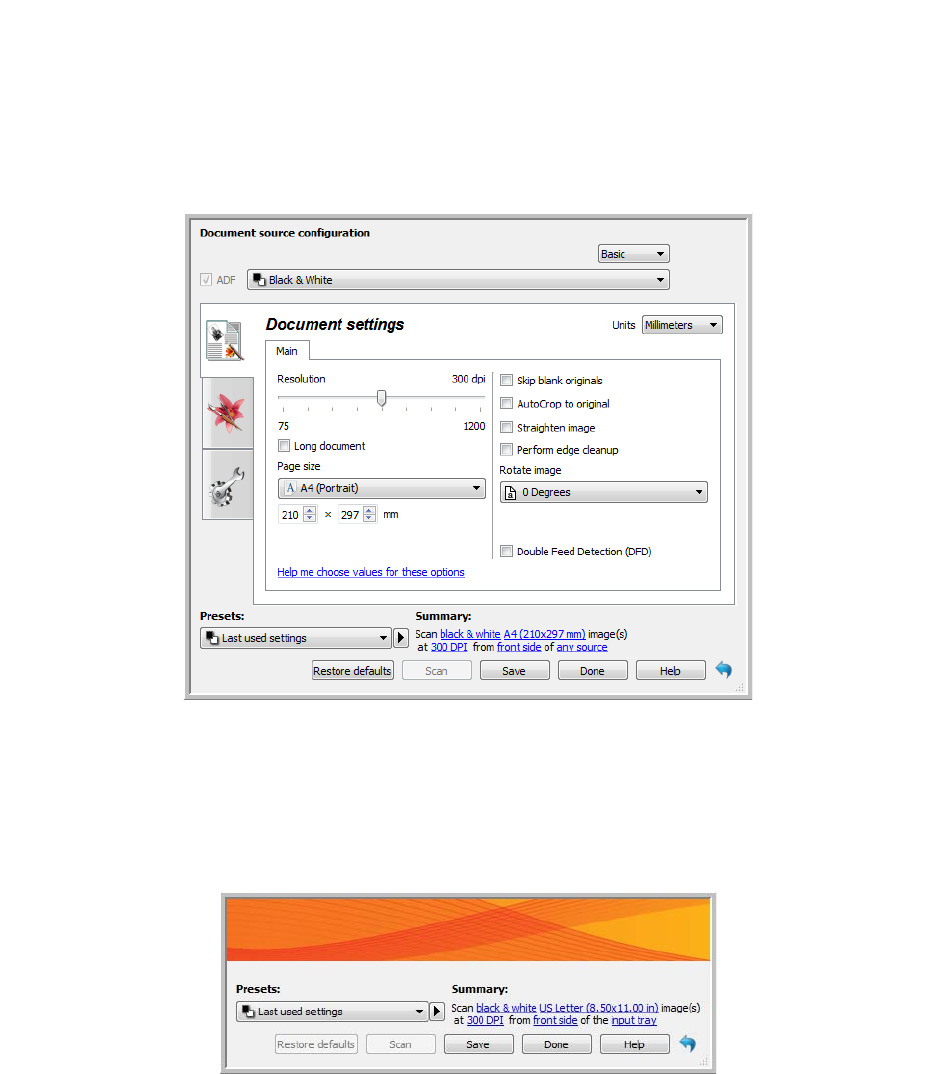
2. Adjust the settings in the interface for the item you are scanning.
3. Click on the Scan button.
4. When scanning is complete, click Cancel to close the interface.
5. The scanned images are now in the scanning application.
Note: if you see this locked version of the scanner’s interface, please click on this link for Driver Settings to go to the
instructions in this guide to turn off the option to lock the settings for the scanner interface. De-select the option
Lock settings under the General settings for the driver options.


