
Corporation Printer User Guide

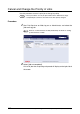
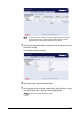

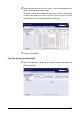
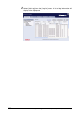
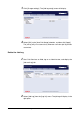
Table Of Contents
- 6030/6050/6050A Wide Format Printer User Guide
- Preface
- Safety Notes
- Regulatory Information
- Environmental Compliance
- Product Recycling and Disposal
- Illegal Copies and Printouts
- Table of Contents
- Product Overview
- 1.1 Product Configurations
- 1.2 Major Components
- 1.3 Power On/Off
- 1.4 Power Save Mode
- 1.5 Printer Control Panel Overview
- 1.6 Print Services on Web Overview (6030/ 6050)
- 1.7 Logical Printers Overview (6030/6050)
- 1.8 Loading Roll Media
- 1.9 Drawer Media Size Indicators
- 1.10 Loading Media for Manual Feeding
- 1.11 Cutting Roll Media
- Printer Overview
- Printer Setup
- 3.1 Communication Parameters
- 3.2 Communication Parameter Setup (Printer Control Panel, 6030/6050)
- 3.3 Communication Parameter Setup (Printer Control Panel, 6050A)
- 3.4 Communication Parameter Setup (Print Services on Web, 6030/6050)
- 3.5 Communication Parameter Setup (Web Printer Management Tool, 6050A)
- 3.6 System Parameter Setup (Printer Control Panel, 6030/6050)
- 3.7 System Settings Setup (Printer Control Panel, 6050A)
- 3.8 System Parameter Setup (Print Services on Web, 6030/6050)
- 3.9 System Parameter Setup (Web Printer Management Tool, 6050A)
- 3.10 Printing a Configuration List (6030/ 6050)
- 3.11 Printing a Configuration List (6050A)
- 3.12 Software Option (Print Services on Web, 6030/6050)
- 3.13 Software Option (Web Printer Management Tool, 6050A)
- 3.14 Change Password (Print Services on Web, 6030/6050)
- 3.15 Change Password (Web Printer Management Tool, 6050A)
- 3.16 Change Default Language (Print Services on Web, 6030/6050)
- 3.17 Change Default Language (Web Printer Management Tool, 6050A)
- Logical Printer Setup and Operation (6030/6050 only)
- 4.1 Creating a New Logical Printer
- 4.2 Defining the Print Settings
- 4.3 Logical Printer Print Settings
- Media Series
- Size/Media Mapping
- Media Source
- Media Type
- User-Defined Size
- Input Option
- Input Size Margin
- Plot Area
- Priority
- Title Block
- Split Drawing
- Message Option
- Printed Copy
- Output Option
- Size Recognition
- Color Option
- Transform
- Define Single Pen
- Define Multi Pen
- Pen Option
- Emulation
- PS Command
- EOP Command
- VCGL Pen Style (VCGL Define Pen)
- VCGL Pen Width
- VRF Define Pen (Define Single Pen)
- VRF Define Multi Pen
- TIFF Option
- CALS Option
- PS/PDF Option
- 4.4 Logical Printer Operations
- 4.5 Print Services on Web: Job and Log
- 4.6 Print Services on Web: Status
- 4.7 Print Services on Web: Tools
- 4.8 Manual Feed Printing
- Additional Operations from the Printer Menu
- 5.1 Introduction
- 5.2 Printer Control Panel Menu (6030/6050)
- 5.3 Printer Control Panel Menu (6050A)
- 5.4 Test Printing (6030/6050 only)
- 5.5 Managing the Job and Error Logs (6030/6050 only)
- 5.6 Reprinting (6030/6050 only)
- 5.7 Billing Meter Confirmation (6030/6050)
- 5.8 Billing Meter Confirmation (6050A)
- 5.9 Print Setup Menu
- 5.10 Automatic Cut Using the Printer Control Panel
- Ethernet Print Service (for UNIX)
- Maintenance
- Problem Solving
- Specifications
- Appendixes
175
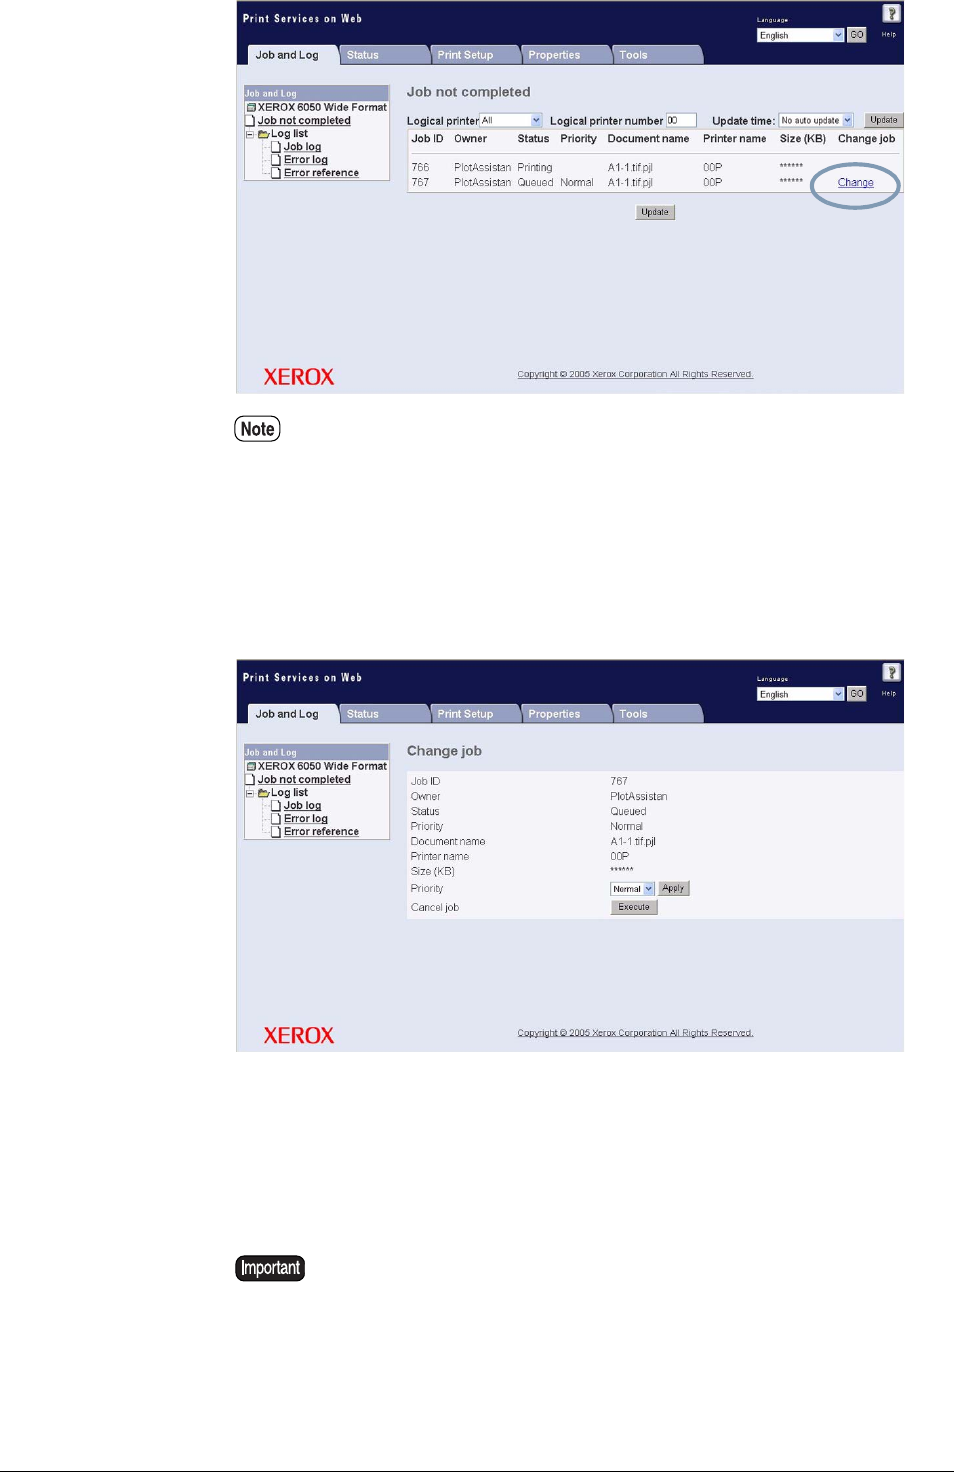
4.5 Print Services on Web: Job and Log
3 Click the [Change] link located on the right side of the job that you want
to cancel or change.
The [Change job] page will display.
4 To cancel the job, click the [Execute] button.
5 To change the priority of the job, select either [High], [Normal], or [Low]
from the [Priority] menu, and then click the [Apply] button.
To reduce the size of the list, set up the [Logical printer] and [Logical
printer number] fields, and then click the [Update] button. Set the
[Update time] to automatically update the list, if desired.
Only one job can be canceled at a time.