
User guide


Table Of Contents
- Table of contents
- Introduction
- System overview of the 4635 LPS
- Using the PC UI
- Paper facts
- System control tasks
- Job control tasks
- Online printing tasks
- Offline printing tasks
- UNKNOWN
- Power on the open-reel tape drive
- Load an open-reel tape
- Load an open-reel tape by hand
- Unload an open-reel tape
- Unload an open-reel tape during a power failure
- Handle open-reel tapes
- Power on the 18 track 1/2 inch cartridge tape drive
- Unload a 1/2 inch cartridge
- Power off the 18/36 track 1/2 inch tape drive
- Handle cartridge tapes
- Load a 1/4 inch cartridge tape
- Handle 1/4 inch cartridge tapes
- Load a floppy disk
- Handle floppy disks
- Start an offline print job
- Rewind/unload tape
- Space
- Move
- UNKNOWN
- HIP printing tasks
- Status and print tasks
- File control tasks
- Maintenance tasks
- Precautions you should take
- Cleaning supplies
- Maintaining the printer
- Replacing the dry ink cartridge
- Replacing the dry ink waste container
- Adding fuser agent
- Cleaning the sensors and the reflecting surfaces
- Tape drive cleaning schedule
- Cleaning precautions—READ BEFORE CLEANING
- Cleaning procedures
- When to clean the tape drive
- Cleaning procedures
- How to clean the floppy disk drive
- Installing the custom transfer assist blade
- Setting tray size with the custom transfer assist blades
- Problem solving tasks
- LPS problems
- Printing problems
- Paper jams
- Incorrect paper size message
- Stacker bin problems
- System controller problems
- Tape drive does not perform self-load routine
- “OK” appears on the tape drive message display, but the loading door is closed
- Basic recovery procedure
- Initial program load (IPL) procedure fails
- You cannot insert a cartridge
- Tape does not unload
- Unloading a cartridge after a power failure
- Tape winds completely out of cartridge
- Message display is blank
- Tape drive does not become ready
- LPS problems
- MICR operating procedures
- Bar code operating procedures
- A. Meter reading and reporting
- B. Supplies
- Glossary
- Index
JOB CONTROL TASKS
Sample files
Use this task to print samples of fonts, forms, logos, or graphics.
Sample files task through windows • To print sample of fonts, forms, or logos:
1. Select “Sample Fonts/Forms/Logos” from the Job Control
menu to open the Sample Fonts/Forms/Logos window.
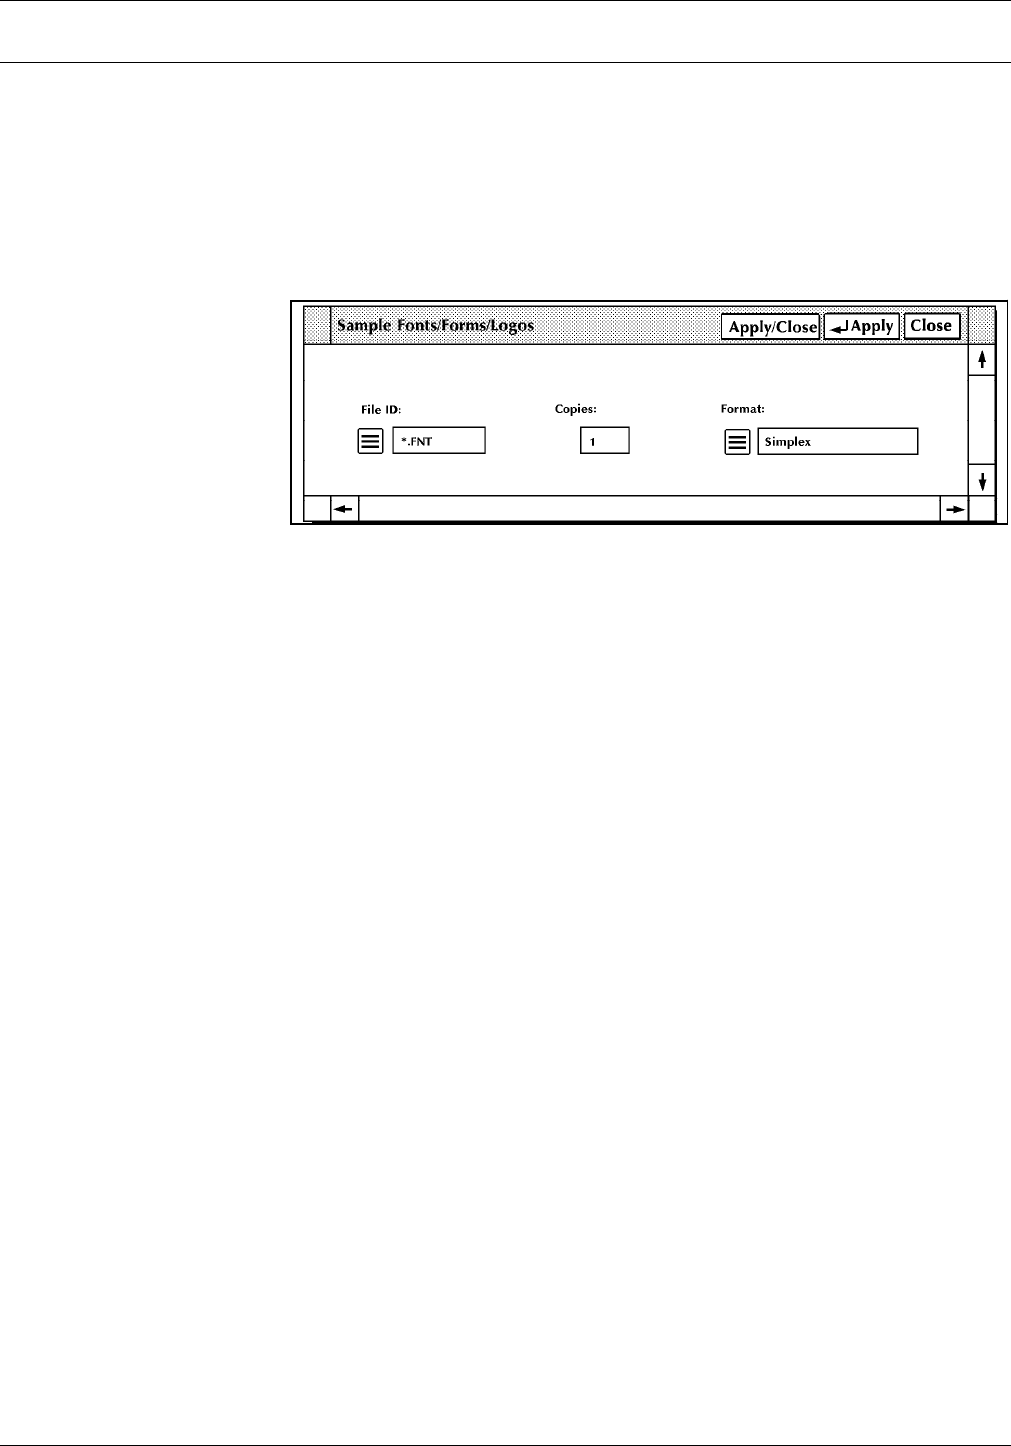
Figure 5-10. Sample Fonts/Forms/Logos window
2. To print a sample of a font, form, or logo, either:
• Enter the file name in the File ID field to print a sample
of a font, form, or logo stored on the system disk.
• Select the appropriate option from the auxiliary menu
next to the File ID field to print a sample of all the
fonts, forms, or logos in the system:
— *.FNT to print samples of all fonts at 300 spots per
inch (spi)
— *.FRM to print samples of all forms at 300 spots
per inch
— *.LGO to print samples of all logos at 300 spots
per inch
a. If you want to print more than one copy of the file
specified, enter the number in the copies field.
Note: The maximum number of copies you can
print is 32,767.
b. If you want to print on both sides of each sheet of
paper, select the Duplex option from the Format
field's auxiliary menu. Otherwise, the samples
print on only one side of the paper (simplex).
c. Select the appropriate header button:
• Apply/Close. Apply your selection and close
the window.
• Apply. Apply your selection.
• Close. Close the window.
XEROX 4635 LASER PRINTING SYSTEM OPERATOR GUIDE 5-13