
Installation Guide
1of3
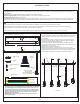
Flatheadscrewdriver,Phillipsscrewdriver,pliers,wirecutters,wirestrippers,electricaltape,safetyglasses,markingpen,1/4”
drillbitanddrill.
(5)
MinimumHangingHeightis14.75”,MaximumHangingHeightis98”.
Contactyouroriginalplaceofpurchase.
LightSource:
FixtureHangingHeight:
A19MediumBaseBulbs100WMaximum,bulbsnotincluded.
EstimatedAssemblyTime:
Preparation:
30-45minutes
Identifyandinspectallpartsbeforebeginninginstallation.Checkpackagecontentlistanddiagramsbelowtobesureallpartsare
present.Ifanypartsaremissingordamaged,donotattempttoassemble,install,oroperatethefixture.
Warnings and Cautions
Turn off electricity at circuit breaker or main fuse box before installation. Consult a licensed electrician if in doubt.
These instructions are provided for your safety. It is very important you read them completely before installing the fixture. We strongly
recommend that a licensed, professional electrician perform the installation.
Disconnect fixture from power source before replacing bulbs. Make sure bulbs are given sufficient time to cool before removal.
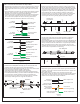
Package Contents
B
Inner Backplate Assembly
x1
A
Ceiling Canopy
x1
Installation Guide
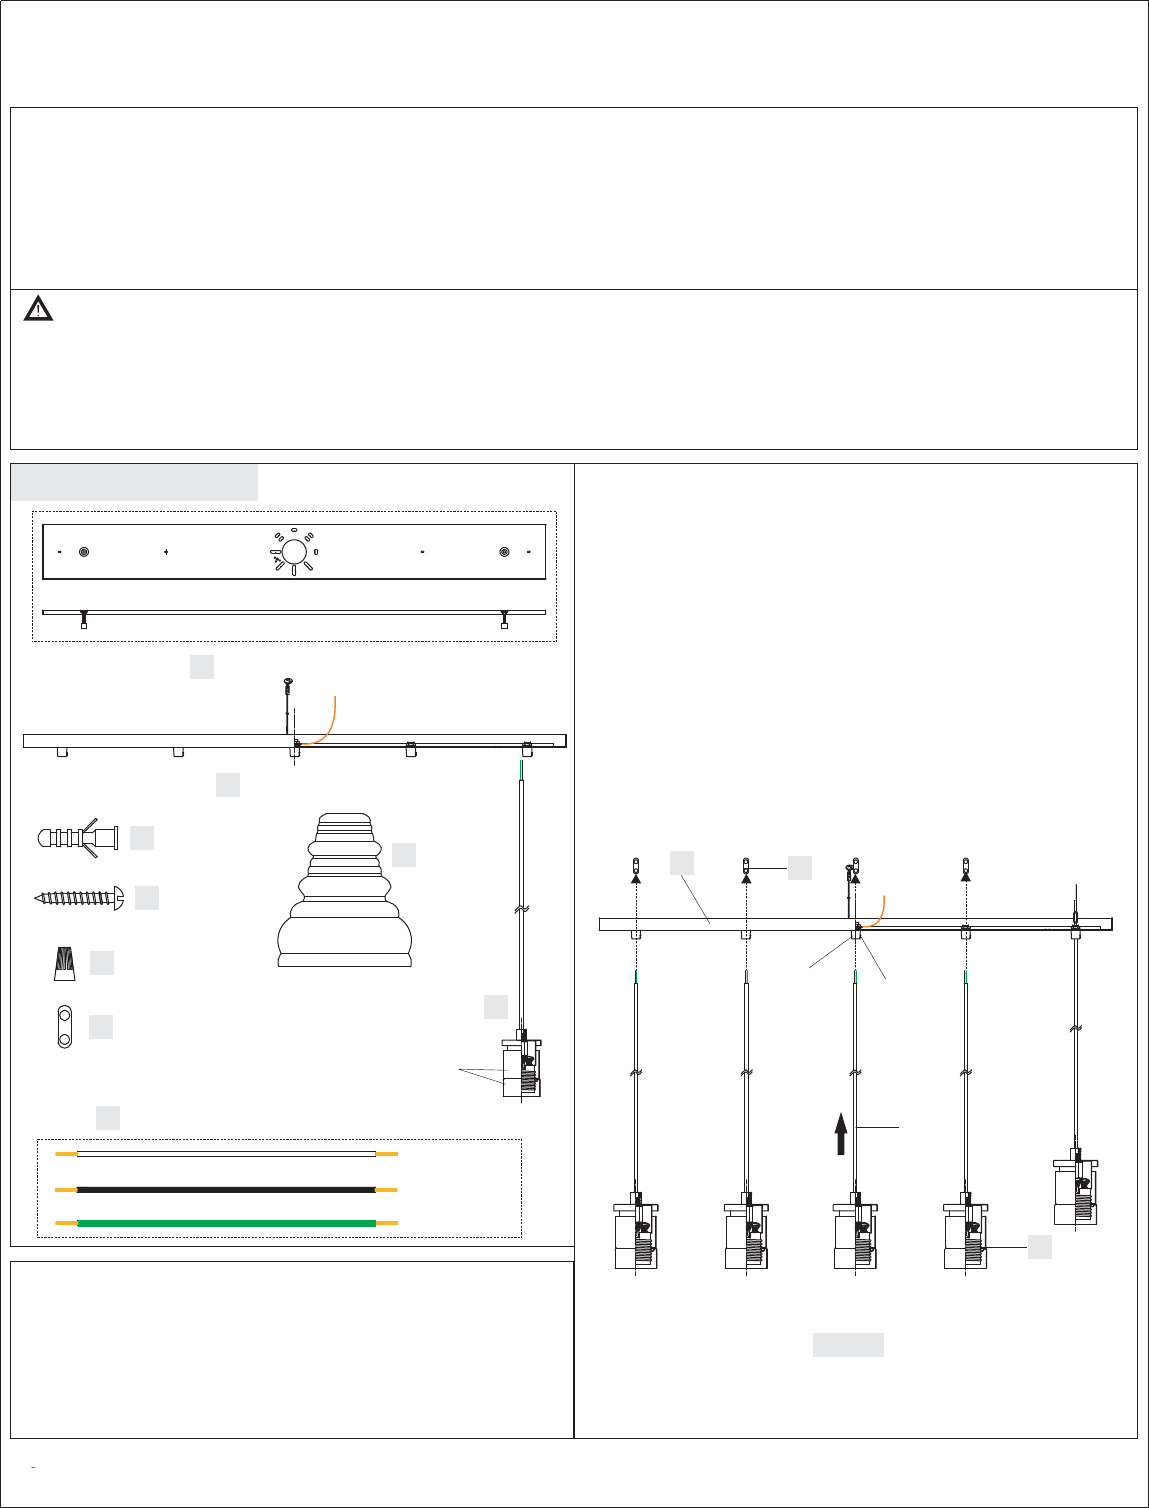
Please measure the height you want to hang the pendant prior
to hanging so you know what length to cut the wire. You can add
6" to that length to help adjust the shades up or down once it’s
hung. Please note, all the extra wire will not fit inside the small
canopy and junction box, the wire needs to be cut at the desired
length to fit inside the canopy and junction box to then help
adjust to the exact height.
IMPORTANT: Install the cord into the ceiling canopy before
cutting it to length.
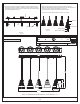
STEP 1 - Install Fixture Bodies to Ceiling Canopy
A. Loosen set screws located on the couplings that are mounted to the
underside of the Ceiling Canopy (B). Do not remove set screws
completely.
B. Place cord through the coupling mounted to the underside of the
Ceiling Canopy (B). Adjust cord to the desired length then tighten
set screw to hold pendant length in place.
C. Install safety clip onto the pendant cords by threading the cord
through one hole then back through the second. Slide safety clip to
approximate 2” from canopy.
D. Repeat these steps for all pendants.
E. After the ceiling canopy is installed to the junction box, a final
adjustment can be made to get the pendants to hang at the desired
height by loosening the set screws on the coupling slightly then re-
tighten when the pendants are adjusted to the desired height.
F
Set Screw
Coupling
Figure 1
E
Wire Connectors
x6
F
Safety Clip
x5
D
Screw
x4
C
Wall Anchor
x4
GN
D
Cord
B
Jumper Wires
x2
White Wire
Black Wire
Green Wire
I
Glass
Shade
x5
G
Fixture Body
x5
H
Steel Collar and
Socket Collar
(Pre-assembled to
the Fixture Body)
H
Pleasegoto our website for produc tcleaning tips. Go to the
Care + Maintenance
selection.
ToolsRequired: