
Technical data
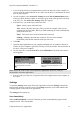

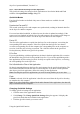
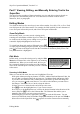
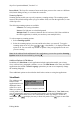
Table Of Contents
- Part 1: Introducing the SuperPen
- How to Use this Manual
- Conventions
- Package Contents
- Registration
- Part 2: Getting Started
- SuperPen Components
- Setting Up the SuperPen
- Basic SuperPen Commands
- Connecting the SuperPen to a Computer
- Using the SuperPen CD-ROM
- Connecting the SuperPen to a PDA or Cellular Phone
- Part 3: The SuperPen CD-ROM
- Part 4: SuperPen Main Menu Options
- Main Menu Overview
- General Main Menu Options
- Part 5: Working with the Quicktionary
- Installing a Dictionary
- Using the Dictionary
- Using the Quicktionary Menu
- Editing Scanned Text in the Quicktionary Application
- Part 6: Scanning Information into the QuickLink Applications
- Using the Notes Application
- Using the Address Book Application
- Using the Internet Links Application
- Using the Tables Application
- Using the Scan to PC Application
- Using the QuickLink Function
- Part 7: Viewing, Editing, and Manually Entering Text in the SuperPen
- Editing Modes
- Entering Text Manually
- Part 8: Using the QuickLink Desktop Application
- Installing the QuickLink Desktop
- Running and Exiting the QuickLink Desktop
- QuickLink Desktop Elements
- Working with QuickLink Applications on the QuickLink Desktop
- Managing Pens on the QuickLink Desktop
- Communicating between the SuperPen and the Computer
- Rearranging SuperPen Applications
- Reallocating Flash Memory
- Part 9: Maintaining and Troubleshooting the SuperPen
- Maintaining
- Troubleshooting
- Contact Us
- Appendix: SuperPen Technical Data
- Glossary
- Index
SuperPen Operation Manual, Version 2.34
Insert Mode.) The SuperPen returns to Insert mode when you move the cursor to a different
field, finish editing an entry, or exit from the current file.
Scanning Options
Scanning options enable you to specify temporary scanning settings. The scanning options
return to their default settings when you go to another field, exit from the application, or turn
off the SuperPen.
The following scanning options are available:
Numeric: For a string of numbers.
Inverse: For light text on a dark background.
Multiple Lines: To scan more than one line of text into a field. (Not available in
the Notes application, in which you can always scan multiple lines.)
To select temporary scanning options:
1. Select Scanning Options.
2. Select the scanning options you want, and de-select those you want off. To toggle a
scanning option on or off, press
, , or . A checkmark (√) is displayed when the
option is on. You can select any amount of options if they are appropriate for the text
you are scanning.
Note: In the Address Book and Internet Links applications, you can also open the Scanning
Options menu for the current field by pressing .
Additional Options in Edit Menus
In addition, the Edit Menu of each application includes options that enable you to insert,
clear, or delete lines, paragraphs, columns, or rows. The Edit Menus of the Notes and Tables
applications also include a Select Language option that you can use to temporarily change
the scanning language.
These additional options are described in detail in the sections covering the applications.
View Mode
The Addresses and
Internet Links
applications have an
additional feature
called View mode.
When you select an
existing Address or Internet Link from the list in the View Addresses or View Links menu,
you are automatically put into View mode. In this mode, you can scroll through the entry
using
and but cannot scan in new information or make any changes. To edit the
information, press to display the entry in Scan Only mode. Press again to enter Edit
mode.
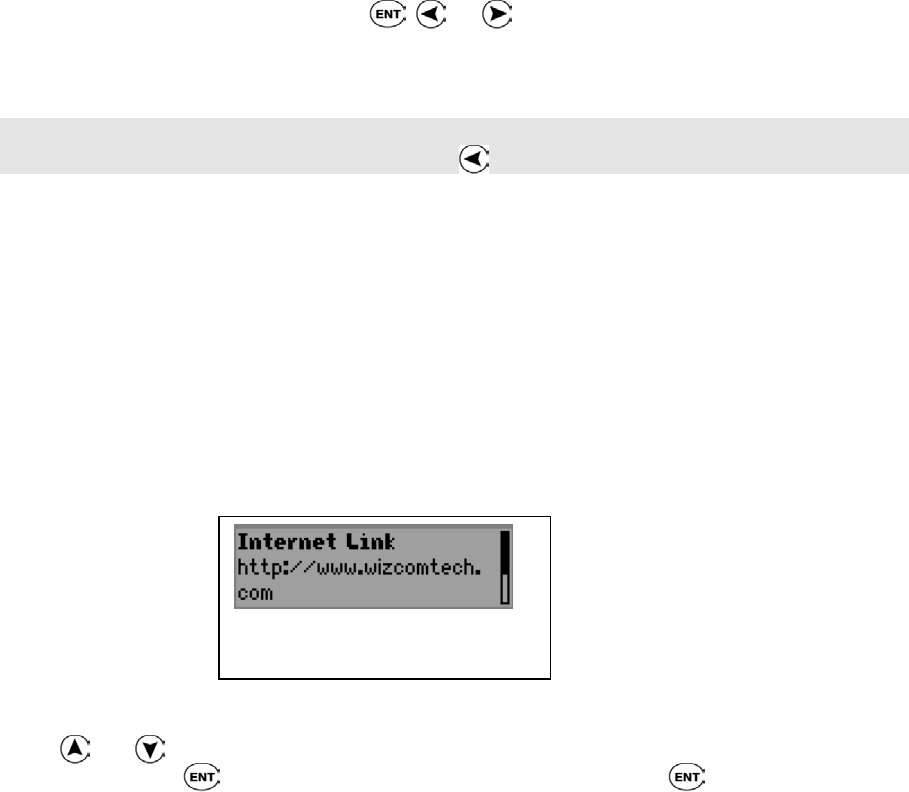
An Internet Link displayed in View mode
Editing Modes
69