
Technical data
Table Of Contents
- Part 1: Introducing the SuperPen
- How to Use this Manual
- Conventions
- Package Contents
- Registration
- Part 2: Getting Started
- SuperPen Components
- Setting Up the SuperPen
- Basic SuperPen Commands
- Connecting the SuperPen to a Computer
- Using the SuperPen CD-ROM
- Connecting the SuperPen to a PDA or Cellular Phone
- Part 3: The SuperPen CD-ROM
- Part 4: SuperPen Main Menu Options
- Main Menu Overview
- General Main Menu Options
- Part 5: Working with the Quicktionary
- Installing a Dictionary
- Using the Dictionary
- Using the Quicktionary Menu
- Editing Scanned Text in the Quicktionary Application
- Part 6: Scanning Information into the QuickLink Applications
- Using the Notes Application
- Using the Address Book Application
- Using the Internet Links Application
- Using the Tables Application
- Using the Scan to PC Application
- Using the QuickLink Function
- Part 7: Viewing, Editing, and Manually Entering Text in the SuperPen
- Editing Modes
- Entering Text Manually
- Part 8: Using the QuickLink Desktop Application
- Installing the QuickLink Desktop
- Running and Exiting the QuickLink Desktop
- QuickLink Desktop Elements
- Working with QuickLink Applications on the QuickLink Desktop
- Managing Pens on the QuickLink Desktop
- Communicating between the SuperPen and the Computer
- Rearranging SuperPen Applications
- Reallocating Flash Memory
- Part 9: Maintaining and Troubleshooting the SuperPen
- Maintaining
- Troubleshooting
- Contact Us
- Appendix: SuperPen Technical Data
- Glossary
- Index
SuperPen Operation Manual, Version 2.34
Exit
Select this option to return to the Main Menu.
About
Select this option to view information about the Tables application, including the current
version number.
Editing Tables
An open Tables file can be edited cell-by-cell, as follows:
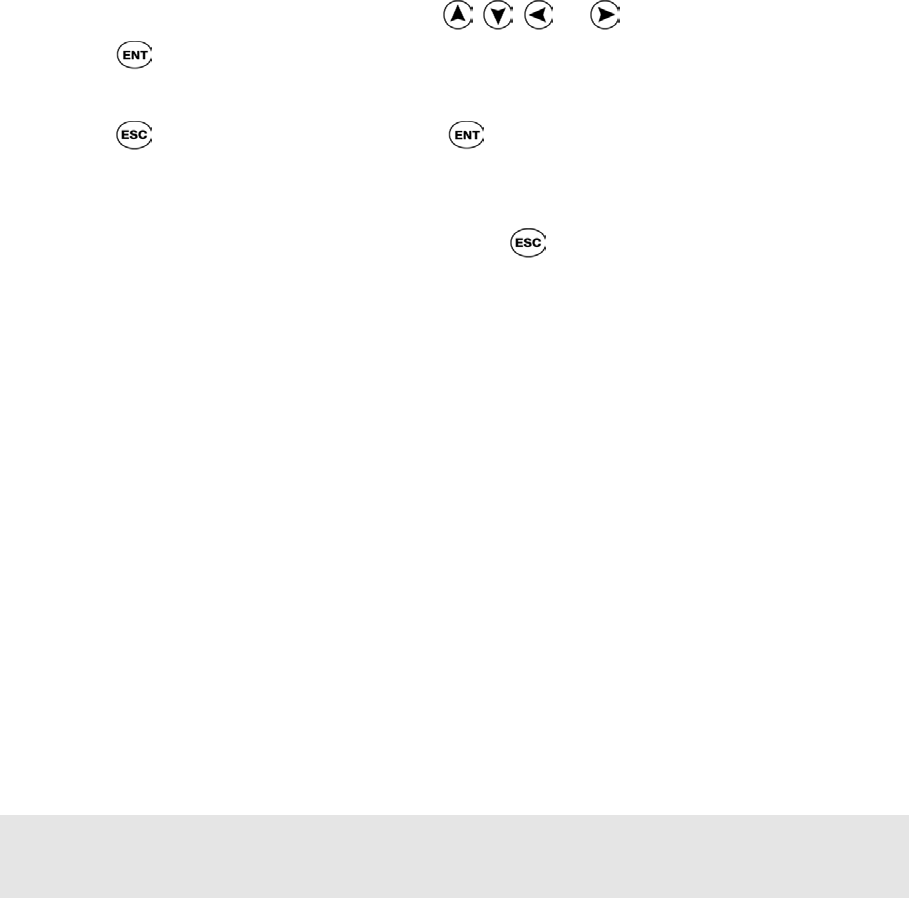
1. Scroll to the cell you want to edit using , , , or .
2. Press to go into Edit mode.
3. Use the arrow buttons to move the cursor to the text you want to modify.
4. Press
to open the Edit Menu, press to display the Character Bar, or scan the
Opticard key of your Opticard to activate the Opticard (see p. 73).
5. Modify the text in the cell.
6. When you have finished editing the cell, press
twice to return to Scan Only mode.
7. Scroll to the next cell you want to edit, and repeat the process.
The Tables Edit Menu
In addition to the standard Edit Menu options (see p. 68), the Tables Edit Menu has the
following options:
Clear Line
Erases the contents of the current line, and leaves the line blank. If the cell contains multiple
lines, the other lines remain unchanged.
Select Language
If the material you are scanning is in a language other than the current default scanning
language, select this command to select the correct language.
To select a scanning language:
1. Select Select Language. The current language is displayed.
2. Select the language you want.
Note: You cannot change the scanning language if text already exists in the cell. Move to a
new cell before you try to change the scanning language. Otherwise, the SuperPen will ask
you to delete the existing text before you change the scanning language.
Insert Row
Adds a row to a Table. The row is inserted above the current row.
Insert Column
Adds a column to a Table. The column is inserted before the current column.
Using the Tables Application
59