
Datasheet


All Visio toolbars can be docked at different locations on the screen. Just grab
the vertical bar at the left end of any toolbar and drag it to a new location on
the screen. A moved toolbar automatically becomes its own window, and you
can position it anywhere you like on the screen by dragging its title bar.
If you’re a toolbar fanatic, you might want to customize the toolbars by adding
buttons you use most often and deleting buttons you never use. You can also
choose any buttons you want and create a new toolbar.
Creating a toolbar
To create a custom toolbar, follow these steps:
1. Choose View➪Toolbars➪Customize.
Visio displays the Customize dialog box.
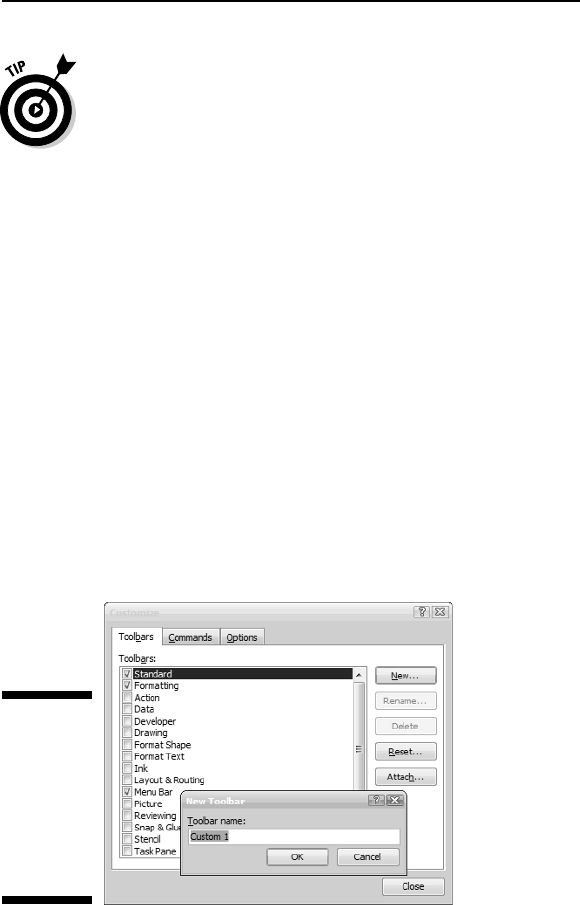
2. On the Toolbars tab, click the New button.
Visio displays the New Toolbar dialog box.
3. In the Toolbar Name field, type a name (see Figure 1-5), and then click
the OK button.
Visio adds the new name to the list of toolbars and displays a new, blank
toolbar on the screen. (It’s small, but it’s there!)
4. If you want to add buttons to the new toolbar, drag and drop the new
blank toolbar into the toolbar area, and then follow the steps in the
next section, “Modifying a toolbar.”
5. Click Close to close the Customize dialog box.
Figure 1-5:
You can add
and delete
toolbar
buttons or
create a
custom
toolbar.
23
Chapter 1: Visio 101
05_089830 ch01.qxp 11/8/06 9:16 AM Page 23