
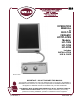
Built-In Ceramic Hotplate Operation Manual Model HC-1006, HC-1256, HC-2256


INSTALLATION
NOTE: DO NOT discard
the carton or other packing
materials until you have
inspected the appliance for
hidden damage and tested it
for proper operation.
Refer to SHIPPING DAMAGE
CLAIM PROCEDURE on the
inside front cover of this
manual.
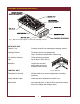
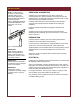
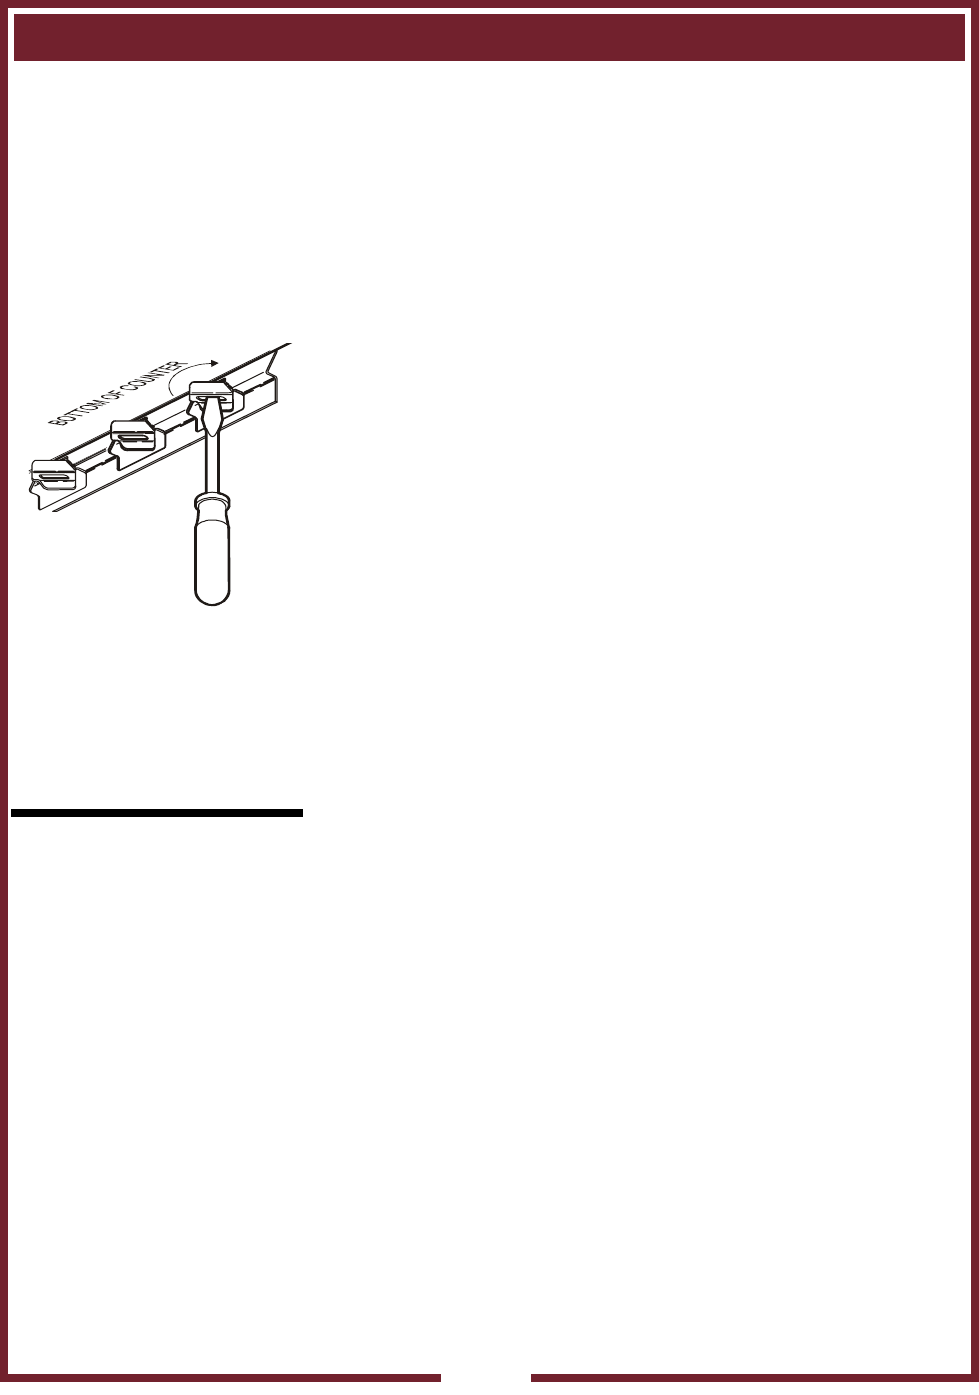
Fig. 3 Set the Wellsloks
IMPORTANT:
Water damage caused by
failure to seat Wellsloks or
failure to install gasket or to
seal flange to counter is NOT
covered by warranty
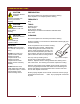
IMPORTANT:
Contact a licensed electrician
to install and connect electrical
power to the hotplate.
IMPORTANT:
Damage due to being
connected to the wrong voltage
or phase is NOT covered by
warranty.
UNPACKING & INSPECTION
Carefully remove the hotplate from the carton. Remove all
protective plastic film, packing materials and accessories from the
hotplate before connecting the hotplate into electrical power or other-
wise performing any installation procedure.
Carefully read all instructions in this manual and the Installation
Instruction Sheet packed with the hotplate before starting any
installation.
Read and understand all labels and diagrams attached to the
hotplate.
Carefully account for all components and accessories before
discarding packing materials. Store all accessories in a convenient
place for later use.
PREPARATION
Carefully read the Installation Instruction Sheet packed with the
hotplate for cutout dimensions and restrictions.
For wood and non combustible (i.e. metal) installation, do not install
closer than 1 inch to back and side walls, 3-5/8" between unit
Supplied gasket must be installed under the mounting flange, and the
Wellsloks turned out to seal the hotplate and control unit to the
counter.
Apply a thin bead of food-grade silicone sealant where the flange
meets the counter.
ELECTRICAL
Hotplate must be installed by a licensed electrician in accordance with
all applicable codes and ordinances.
Refer to the nameplate. Verify the electrical service power. Voltage
and phase must match the nameplate specifications. Connecting the
hotplate to the wrong voltage can severely damage the equipment or
cause noticeably decreased performance.
For supply connections, use 14 ga. (HC-1006) or 10 ga. (HC-1256
and HC-2256) copper wires suitable for at least 75ºC.
The ground lug of the hotplate and control unit must be connected to
a suitable building ground.
4