
User Documentation
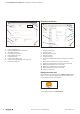

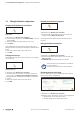
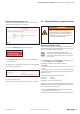
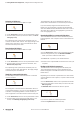
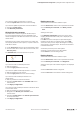

Table Of Contents
- Content
- 1 About this documentation
- 2 Safety
- 3 IO-Link overview
- 4 Module description
- 5 Assembly and installation
- 6 Commissioning
- 6.1 Requirements
- 6.2 Device description files
- 6.3 Procedure for commissioning
- 6.4 Commissioning with the SIMATIC Manager (PROFINET)
- 6.5 Commissioning with the TIA portal(PROFINET)
- 6.6 Commissioning with TwinCAT (EtherCAT)
- 6.7 Commissioning with Studio 5000(Ethernet/IP)
- 6.8 Commissioning with Automation Studio (POWERLINK)
- 6.9 Reading and writing data objects on IO-Link devices
- 6.10 “IO_LINK_CALL” function block
- 6.11 I&M functions
- 7 Planning IO-Link device configurations
- 8 Process data
- 9 Diagnostics and troubleshooting
- 10 Disassembly and disposal
7 PlanningIO-Linkdevicecongurations | Editing IO-Link device congurations online
46 2547720000/03/09.2019Manual Communication module UR20-4COM-IO-LINK
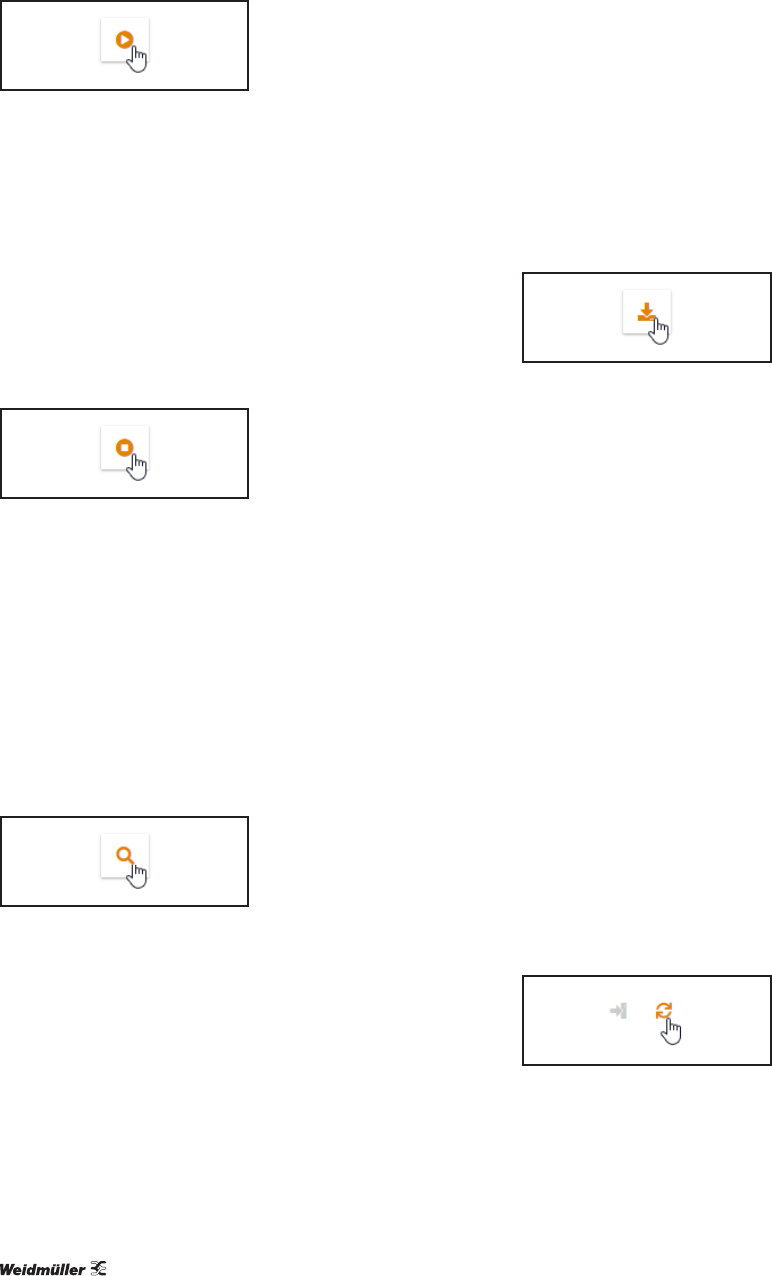
Activating an IO-Link port
You must be connected to the eldbus coupler.
Activating an IO-Link port
▶ In the device tree, switch to the required IO-Link master.
▶ For the IO-Link port that you want to activate, click Acti-
vate (play icon).
The “Operating mode” parameter of the IO-Link port con-
cerned is set to the value “IO-Link”. The supply voltage of the
IO-Link port is switched on. The connected IO-Link device
sends and receives process data.
Deactivating an IO-Link port
You must be connected to the eldbus coupler.
Deactivating an IO-Link port
▶ In the device tree, switch to the required IO-Link master.
▶ For the IO-Link port that you want to deactivate, click
Deactivate (stop icon).
The “Operating mode” parameter of the IO-Link port con-
cerned is set to the value “Deactivated”. The supply voltage
of the IO-Link port is switched off.
Identifying a connected IO-Link device
The IO-Link port to which the IO-Link device is connected
must be activated.
Identifying an IO-Link device
The congurator can determine the identication data of a
connected IO-Link device. You can use the identication data
to nd the corresponding IODD or to check whether you
have assigned the correct IO-Link device to the IO-Link port.
▶ In the device tree, switch to the required IO-Link master.
▶ For the IO-Link port to which the IO-Link device is con-
nected, click Identify (magnifying class icon).
The Congurator calls up the identication data of the
IO-Link device and illustrates it in the IO-Link port overview.
If you have already assigned an IO-Link device to this
IO-Link port, the Congurator compares the identication
data of the IODD with the identication data of the connect-
ed IO-Link device. Matches are highlighted in green. Devia-
tions are highlighted in red.
Downloading IODDs for a connected IO-Link device
The connected IO-Link device must be identied by the IO-
Link Congurator. Your computer must be connected to the
Internet.
Downloading IODDs
▶ In the device tree, switch to the required IO-Link master.
▶ For the empty IO-Link port, click Download IODD to
which you want to add the IO-Link device.
The IODDnder is opened in your standard browser.
▶ Search for the required IODDs and load the files onto your
computer.
Reading out IO-Link device parameters
The IO-Link device must be assigned to the IO-Link port.
The connected IO-Link device must be identied by the
IO-Link Congurator. The IODD must match the connected
IO-Link device.
Depending on the number of parameters to be read and the
capacity utilisation of the coupler, it may take a while until all
data is read.
▶ In the device tree, switch to the required IO-Link master.
▶ For the IO-Link device whose data you want to edit, click
Edit (cog icon).
The detailed view of the IO-Link device is opened.
Updating the parameters
If you want to update an individual parameter:
▶ Click the update icon next to the entry.