
User guide


CHAPTER 7 LANES & STOP BARS 75
Manual Configuration
Aer the automatic conguration process is complete, manual adjustments can be made to
ne-tune the sensor conguration. In some cases, it will be easier to congure the sensor
manually than to use the auto-congured lanes and stop bars. e following manual opera-
tions can be performed:
Adding/deleting a lane
Inserting/deleting/moving a stop bar
Inserting/deleting a lane node
Moving a lane node
Adjusting the width of a lane node
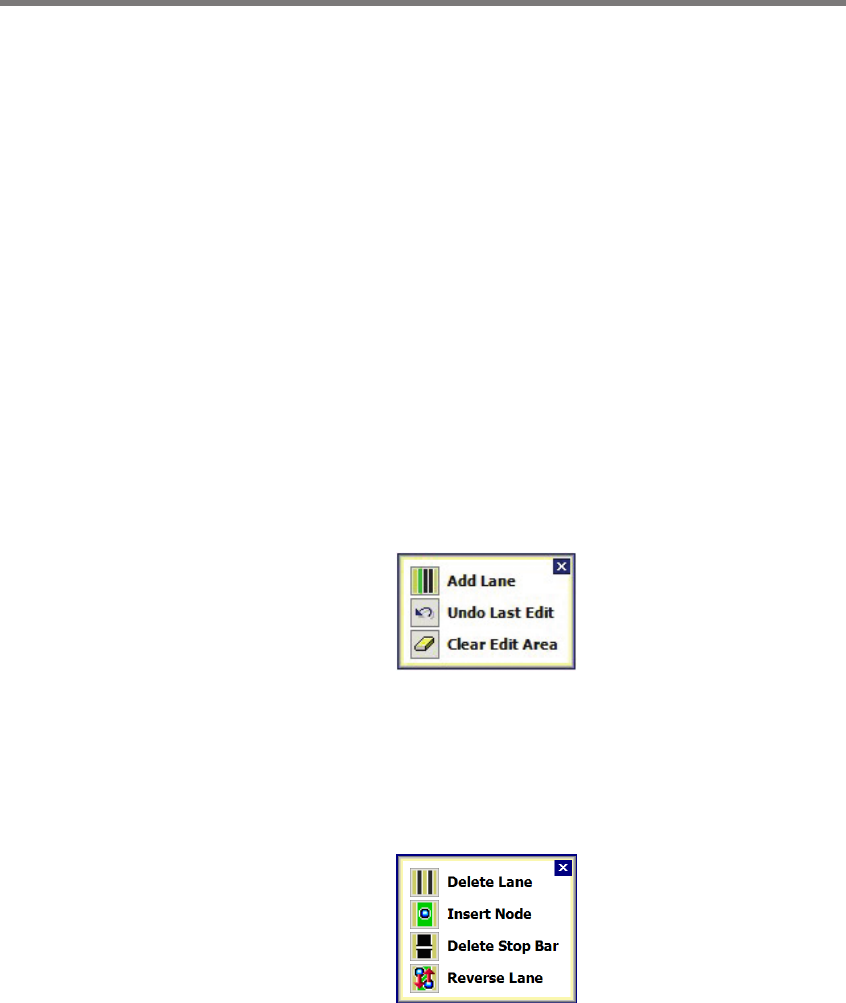
Adding/Deleting/Moving a Lane
To add a new lane:
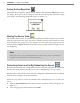
1 Click in the edit area where you would like to add a lane and the Edit Area window will
appear (see Figure 7.13).
2 Click on the Add Lane button. You are allowed to have a maximum of ten lanes and
you will not be able to save your conguration if any lanes overlap.
Figure 7.13 – Edit Area Window
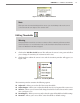
To delete a lane:
1 Click in the edit area to select the lane you would like to delete and the Edit Lane win-
dow will appear (see Figure 7.14).
2 Click the Delete Lane button.
Figure 7.14 – Edit Lane Window
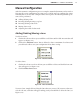
To move a lane, simply click and drag the lane wherever you need. If you move a lane out-
side the edit area, a window will appear asking you if you would like to delete the lane (see
Figure 7.15).