
User manual
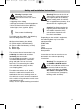


Mechanical installation
Commence installation on the driver’s
door. Remove the crank handle of the
window winder and the arm rest and
remove the inside panelling of the door.
Remove the plastic foil carefully from
the bottom.
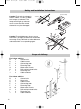
Choose a favourable position for the
control unit (B) close to the locking rod
which connects the locking button to the
door lock. The direction of movement of
the control unit and the locking rod should
be as parallel as possible and in tandem.
Pull the connecting rod (E) through the
eye of the control unit and bend it so
as to provide easy connection with the
locking bar.
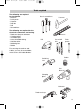
Attach the control unit directly to the door
by means of a drill template (page 9) or
one of the enclosed rails with punched
holes (H). Move the control unit and the
locking button into ”unlocked” position
and adjust the fastening clips (F) on the
connecting rod (E) according figures on
page 4 and pinch off the excess part of
the rod.
Pay attention that the window pane and
the winder mechanism do not come
in contact with the control unit during
opening and closing.
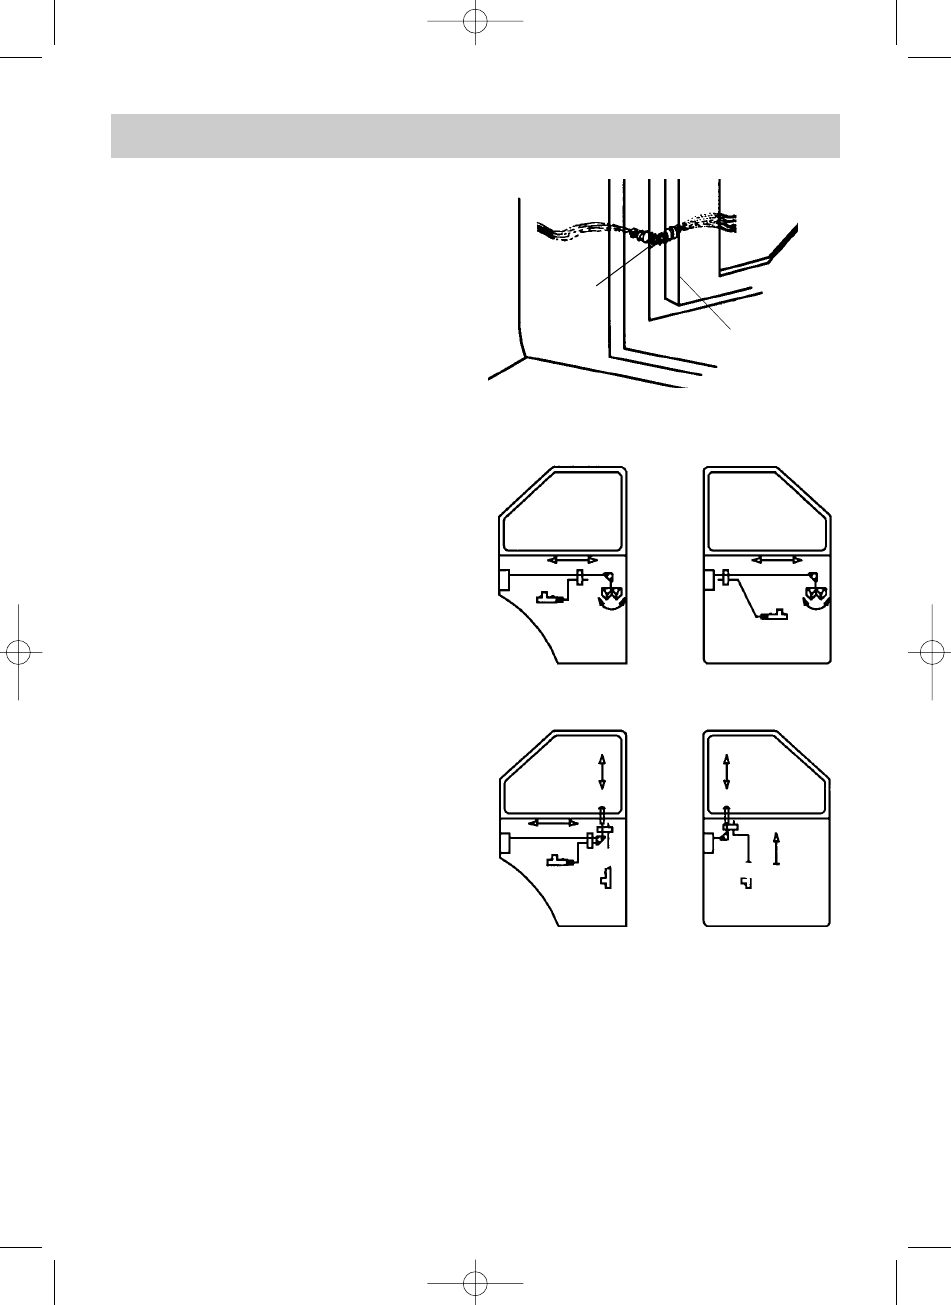
If the head of the door has no hole or
opening in it, drill a hole with approx. 9 mm
diameter and insert the rubber cable.
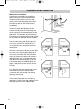
J
door
1
2
1
2
front door
1 = locked
2 = unlocked
1.
rear door
Installation of the control unit
2.
3.
r
ear door
1 = locked
2 = unlocked
12 12
fr
ont door
1
2
14
manual ml-22/44 29.06.2004 8:32 Uhr Seite 16