
User manual

60
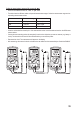
k) Capacitance measurement
Ensure that all objects that you want to measure (including circuit components, circuits and com-
ponent parts) are disconnected and discharged.
Always pay attention to the polarity when using electrolytic capacitors.
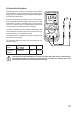
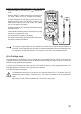
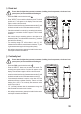
- Switch the DMM on and select the mode
- Press the “SELECT” button (I) three times to switch mode. The
unit “nF” will appear on the display for capacitance measure-
ment. Press the button again to switch to the next mode.
- Insert the red lead into the V socket (G) and the black lead into
the COM socket (H).
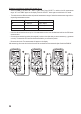
Due to the sensitive measuring input, the display may
show a reading even with “open” test leads. Press the
“REL” button to measure small capacities (<600 nF).
The indicator is then set to “0”. Auto range is thereby
disabled.
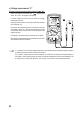
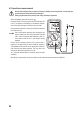
- Connect the two measuring probes (red = positive, black =
negative) to the object that you want to measure (capacitor).
The capacitance will be shown on the display after a few sec-
onds. Wait until the display stabilises. This may take a few
seconds for capacitances greater than 40 µF.
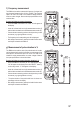
- “OL” (overload) indicates that the measuring range has been
exceeded.
- After taking a measurement, remove the leads from the measured object and switch the DMM off.