
User`s guide
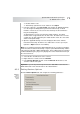
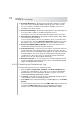

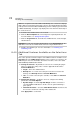
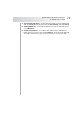
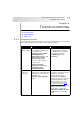

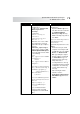
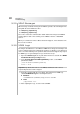
Table Of Contents
- Table of Contents
- Introducing Quest NetVault Backup Plug-in for VMware
- Installing the Plug-in
- Configuring the Plug-in
- Defining a Backup Strategy
- Performing Image-Level Backups
- Performing File-Level Backups
- Restoring Image-Level Backups
- Restoring File-Level Backups
- Troubleshooting
Quest NetVault Backup Plug-in
for VMware User’s Guide
71
Double-click the node
Alternatively, right-click the node, and then select Open
3. In the list of plug-ins, open File System. (The Plug-in for VMware internally
uses the Plug-in for FileSystem to perform file-level backups of virtual
machines. Therefore, the savesets for these backups are listed under the
Plug-in for FileSystem.)
To distinguish the savesets generated for virtual machines, the virtual
machine name is appended to the Job Title. Thus, the label for the savesets
contains the Job Title, followed by the virtual machine name, the saveset ID,
and the backup timestamp.
4. Open the applicable backup saveset to display the directories and files
included in the backup. From this level, double-click a node to open it (the
right-click + Open method is not available).
Note: For a regular Incremental or Differential Backup, the selection tree displays
all files that were included in the backup sequence (the initial Full Backup and the
subsequent Incremental or Differential Backups), but for a Dump Type Incremental
or Differential Backup, the plug-in only displays those files that were backed up in
the selected saveset.
5. Select the files and directories to be restored.
6. Right-click a file or folder, and select Rename.
7. In the Restore Rename window, select the Relocate To check box, and
enter the network share path.
Important: If you do not perform steps 6 and 7, the data will be restored to the
NVBU Client and not the shared folder on the virtual machine.
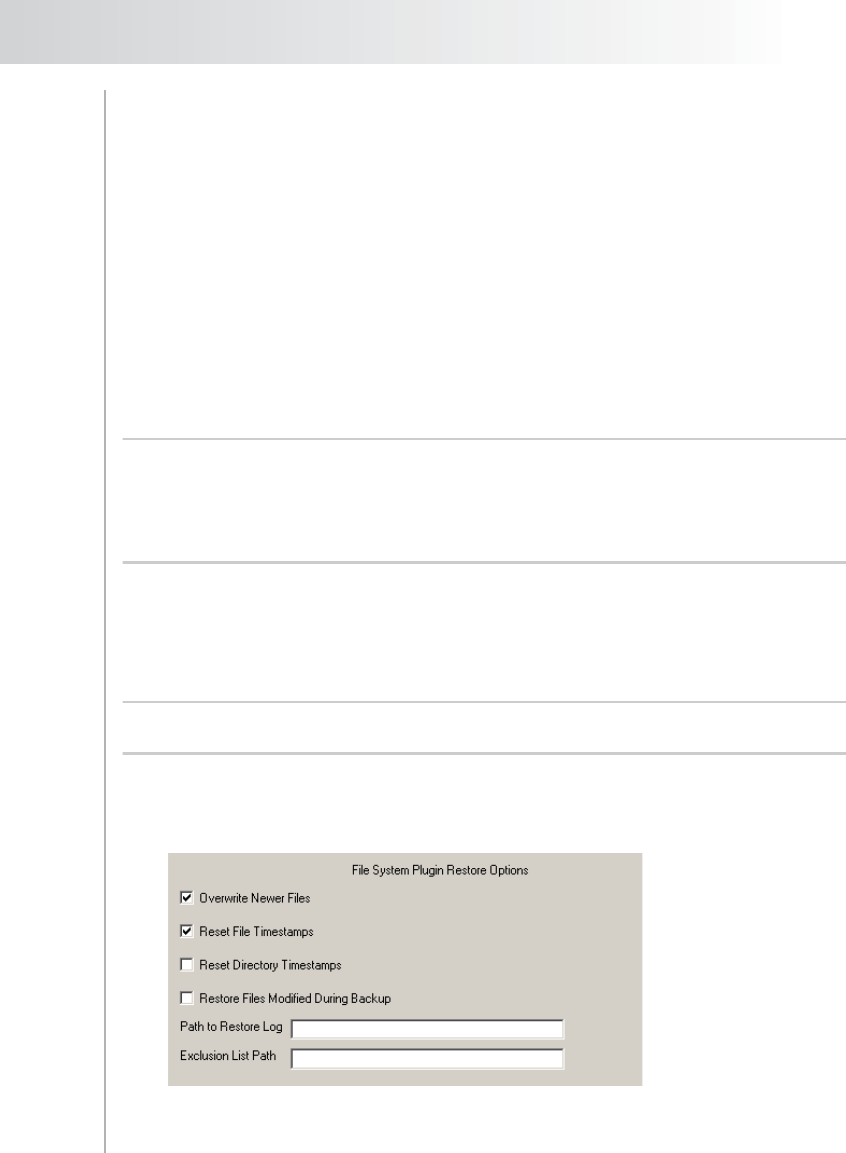
8.2.3 Setting Restore Options
Click the Restore Options tab, and configure the following parameters:
Figure 8-1:
Restore
Options for
File-level
Restore