
Programming instructions
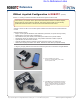


7. Power the Cortex and Joystick ON. After roughly 15 seconds, the ROBOT and VEXnet LED’s
will blink green, indicating that the VEXnet communication link has been established.
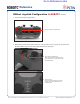
7b. Turn the VEXnet Joystick ON
7a. Turn the Cortex ON
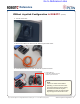
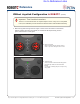
7c. Status LEDs
After roughly 15 seconds, the ROBOT and
VEXnet status LEDs will start quickly blinking
green. With the VEXnet link established, you
should power OFF your Cortex and VEXnet
Joystick to preserve battery.
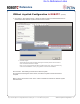
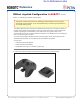
VEXnet Joystick Conguration in ROBOTC (cont.)
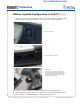
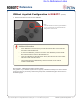
End of Section: Creating a Wireless Link between the VEXnet Joystick and VEX Cortex
Your VEXnet Joystick and VEX Cortex can now communicate over the VEXnet USB Keys. Move
on to the next section to calibrate the values your VEXnet Joystick sends out.
Reference
Project Lead The Way
©
and Carnegie Mellon Robotics Academy
©
/ For use with VEX
®
Robotics Systems
VEXnetJoystickConguration• 7
Go to Reference Links