
User guide
24 © 2009 VBrick Systems, Inc.
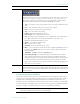
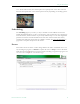
T To run an existing playlist
1. Click on the
Asset Library and navigate to the MyMedia folder or to any folder that has a
playlist.
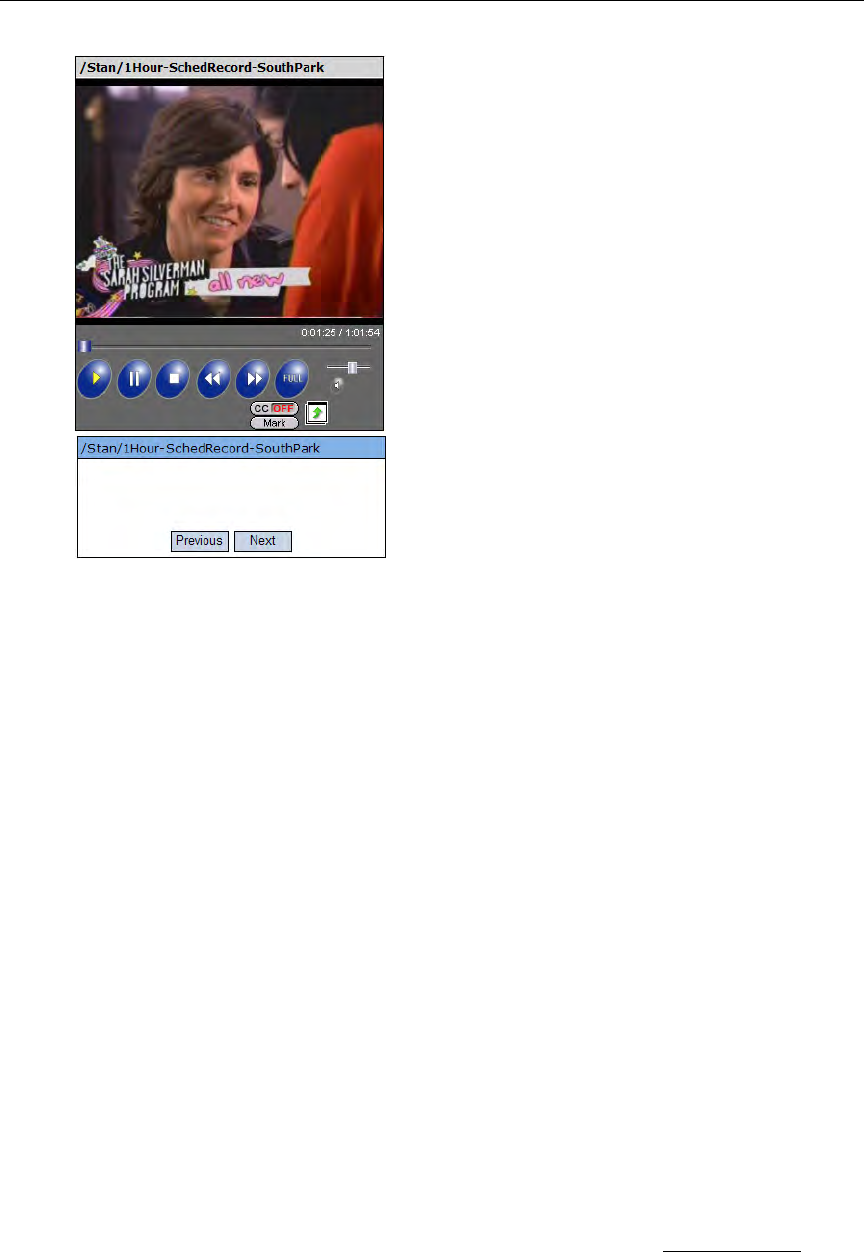
2. Click on any item with a playlist icon to launch the playlist in the preview window.
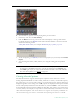
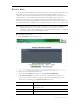
3. Use the
Previous and Next buttons to move up and down the playlist. (Use the Forward
and Rewind buttons to navigate to the beginning or end of the clip in progress—not to
the beginning or end of the playlist.)
There may be a slight delay between clips—this is normal Portal Server behavior as the video
loads. If any content in a playlist is unavailable for any reason (for example the file was
moved or the content expired), the Portal Server will skip that clip, advance to the next clip,
and display an informational message. below the preview window. As explained below, there
are two ways to create playlists. You can quickly bookmark a stream playing in the preview
window using the
Mark button; this creates a playlist with one bookmark. You can also create
a playlist from the Playlists page. This is the standard way to create a playlist.
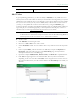
Creating Playlists
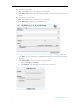
T To create a playlist from the Playlists page
1. Click
Playlists on the navigation bar at the bottom of the page.
2. Mouseover any video from the folders you have permission to access and select
Add to
Playlist
. This adds the selected stream to the new playlist. By default, it starts at the
beginning of the file and ends at the end of the file.
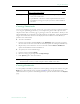
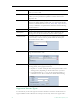
3. Repeat for each stream you wish to add.
4. Edit the start and end times or reorder the playlist as necessary. Mouseover any item in
current playlist to see editing options (Up, Down Start, etc.). See Editing Playlists
below
for more details.
5. Enter a title for the playlist and select a folder where it will be stored (the default is the
MyMedia folder of the user who logged in.) Note that only those folders for which you have
"publish" access are displayed.