
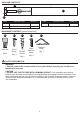
Installation Guide

B
A
8
9
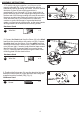
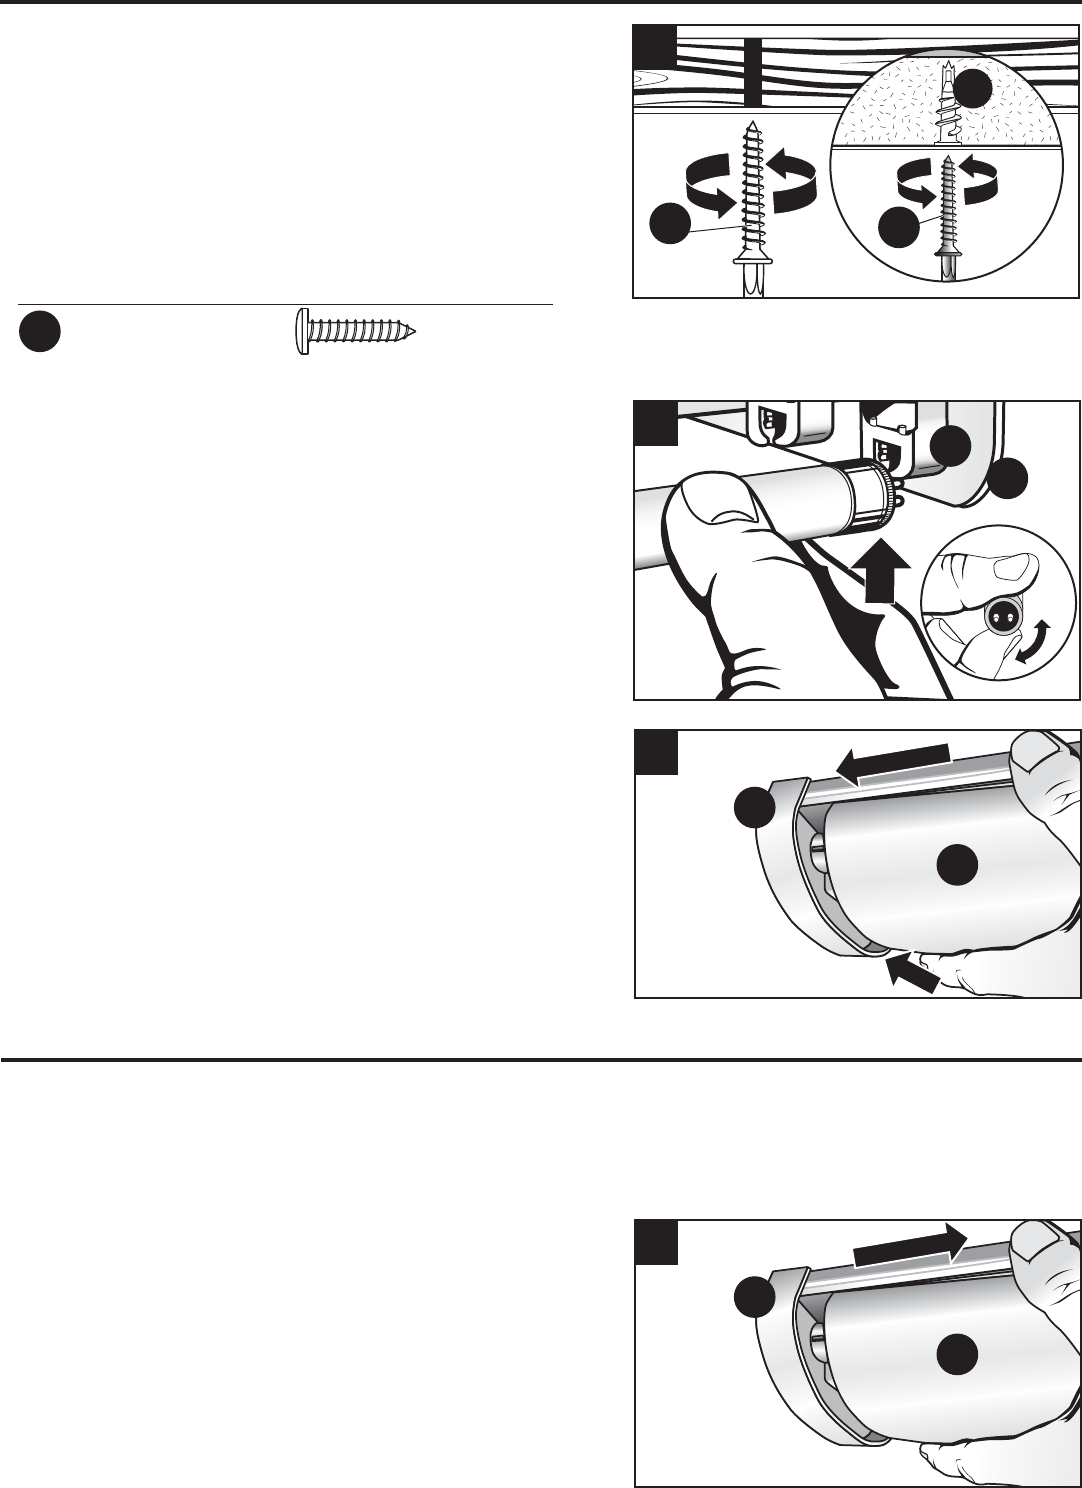
8. Install (2) 32-watt T8/CCT-3500K/10,000 hour/F32T8
fluorescent bulbs (not included). Do not use any other
wattage of linear fluorescent bulb. These bulbs are readily
available at your local home center and most larger
hardware stores. Install the bulb into the bulb sockets (B)
by aligning the pins of the bulb with the slot in the bulb
sockets (B) (Fig. 8). Using your thumbs and forefinger,
press the metal ends of the bulb, and roll the bulb forward
until it rotates 90 degrees inside the bulb socket (B),
making contact between the bulb pins and the bulb socket
(B) contacts. Repeat for each bulb.
BULB REPLACEMENT INSTRUCTIONS
ASSEMBLY INSTRUCTIONS
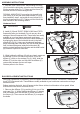
9.
While holding the diffuser (C) with one hand, maneuver
the diffuser (C) into one side of the fixture (A) so the
diffuser (C) rests on the endcap (Fig. 9). Next, slide the
diffuser (C) into the other end cap until the diffuser (C)
rests evenly between the two end caps.
Restore power to the fixture.
C
A
1
C
A
When bulb replacement is necessary, you must replace the bulb with a 32-watt, 120-volt/CCT-3500K/10,000
hour/F32T8 fluorescent bulb. These bulbs are readily available at your local home center and most larger
hardware stores.
Before replacing the bulb, shut off power to the fixture at the circuit breaker or fuse panel. Allow
sufficient time for fixture and bulb to cool.
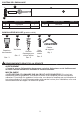
1.
Remove the diffuser (C) by pushing it into one of the
end caps (Fig. 1). While holding the diffuser (C) steady
with one hand, pivot the diffuser (C) down and out of
the fixture (A). Then remove the diffuser (C) to expose
the bulbs.
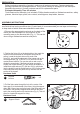
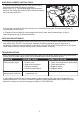
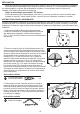
7. CEILING JOIST MOUNTING:
While holding the fixture
(A) in line with the pilot holes, screw the wood screws (BB)
into the wooden studs (Fig. 7). Tighten until the fixture (A)
has been secured to the mounting surface.
DRYWALL MOUNTING: For mounting into drywall, hold
your fixture (A) in line with the drywall anchors (CC) that
were installed in step 2, and screw all wood screws (CC)
into the drywall anchors (CC). Tighten until the fixture has
been secured to the mounting surface.
7
BB
Hardware Used
Wood Screw x 2
BB
BB
CC
5