
User manual
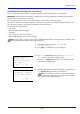
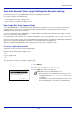
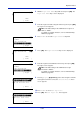
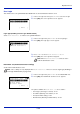
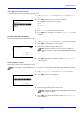
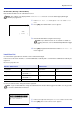

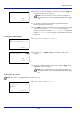

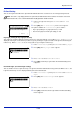
Table Of Contents
- Included Guides
- Safety Conventions in This Guide
- Symbols
- Contents
- Legal and Safety Information
- Notice on Software
- Notice
- Regarding Trade Names
- License Agreements
- Compliance and Conformity
- Energy Saving Control Function
- Automatic 2-Sided Print Function
- Resource Saving - Paper
- Environmental benefits of "Power Management"
- Environment
- Cautions when Handling Consumables
- Other precautions
- Laser Safety (Europe)
- About the Operation Guide
- Conventions
- 1 Part Names
- 2 Preparation before Use
- 3 Printing
- 4 Document Box
- 5 Status Menu
- 6 Operation Panel
- Report Print
- USB Memory (USB memory selection)
- Counter (Viewing the counter value)
- Paper Settings
- Print Settings
- Paper Source (Selecting the paper feed source)
- MP Tray Priority (the settings for priority paper feed from the MP tray)
- Paper Feed Mode (Setting the paper feed source)
- Duplex (Setting the duplex printing)
- Paper Output (Selecting the Paper Output Location)
- Override A4/LTR (Overriding difference between A4 and Letter)
- Emulation (Setting the emulation)
- Color Mode (Selecting color or black & white printing)
- Print Quality (Setting print quality)
- Page Setting (Setting pagination)
- Offset 1PageDoc. (Offset One Page Documents)
- User Name (The User Name display settings)
- Job Name (The Job Name display settings)
- Network (Network settings)
- Optional network (Optional Network settings)
- Device Common (Selecting/Setting the common device)
- Language (Selecting the message language)
- Def. Screen(Box) (Document Box default screen settings.)
- Date Setting (Date and time settings)
- Buzzer (Alarm (Buzzer) setting)
- Display Bright. (Display brightness setting)
- Disp. Backlight (Display backlight setting)
- Error Handling (Error detection setting)
- ColorToner Empty (Setting when color toner runs out)
- Timer Setting
- USB Keyboard Type (USB keyboard type selection)
- Manual Staple (Manual Staple setting)
- TonerAlert Level (Setting for the alert level for toner addition)
- Display Jobs Log
- Msg Banner Print (Preview screen setting for Banner Printing)
- Security (Security function setting)
- User/Job Account (User Login Setting/Job Account setting)
- Adjust/Maint. (Adjust/Maintenance selection/setting)
- Op Functions (Optional application settings)
- Shut down (Shutting down the machine)
- 7 Maintenance
- 8 Troubleshooting
- General Guidelines
- Print Quality Problems
- Error Messages
- Clearing Paper Jams
- Possible Paper Jam Locations
- General Considerations for Clearing Jams
- Utilizing Online Help Messages
- Cassette 1
- Cassette 2
- Optional Cassettes 3 and 4
- Multi Purpose Tray
- Inside the Right Covers 1, 3 and 4
- Duplex unit
- Duplex Unit and Cassette 1
- Bridge Unit (Option)
- 1,000-sheet Finisher (Option)
- 4,000-sheet Finisher (Option)
- Mailbox (Option)
- Center-Folding Unit (Option)
- Cassette 5 (Option)
- Cassette 6,7 (Option)
- Clearing a Staple Jam
- Appendix
- Optional Equipment
- Overview of Optional Equipment
- Paper Feeder (500-sheet x2)
- Large Capacity Feeder (1,500-sheet x 2)
- Side Feeder (3,000-sheet)
- Side Feeder (500-sheet x 3)
- Large Capacity Side Feeder (500, 1,500-sheet x 2)
- 1,000-sheet Finisher
- 4,000-sheet Finisher
- Manual staple mode
- Mailbox
- Folding Unit
- Banner Tray
- Network Interface Kit
- Wireless Network Interface Kit
- Data Security Kit
- ThinPrint Option
- Emulation Option
- Card Authentication Kit (B)
- USB Keyboard
- Character Entry Method
- Paper
- Specifications
- Common functions
- Paper Feeder (500-sheet x 2) (Option)
- Large Capacity Feeder (1,500-sheet x 2) (Option)
- Side Feeder (500-sheet x 3) (Option)
- Large Capacity Side Feeder (500, 1,500-sheet x 2) (Option)
- Side Feeder (3,000-sheet) (Option)
- 1,000-sheet Finisher (Option)
- 4,000-sheet Finisher (Option)
- Hole Punch Unit (Option)
- Mailbox (Option)
- Center-Folding Unit (Option)
- Glossary
- Optional Equipment
- Index
Operation Panel
6-102
Domain Name (Entering of Domain Name)
Enter the Domain Name for the authentication server.
1 In the Netwk Auth. Set menu, press or to select Domain
Name.
2 Press [OK]. The Domain Name screen appears.
3 Enter the Domain Name using the numeric keys.
4 Press [OK]. Register the Domain Name and the Netwk Auth. Set
menu reappears.
Local User List
User information registered in the machine can be viewed and changed.
In the local user list for the machine, 1 user with administrator authority and 1 user with device administrator authority are
registered.
Each user's properties are:
Use the procedure below to change the details registered.
1 In the User Login Set. menu, press or to select Local User List.
2 Press [OK]. The Local User List screen appears.
Note This setting is only displayed when NTLM or Kerberos has been set as the Server Type (Server type
selection) on page 6-101.
Note Up to 256 characters can be entered. For details on
entering characters, refer to Character Entry Method on page
A-6.
Domain Name:
a
b
*
ABC
[ Text ]
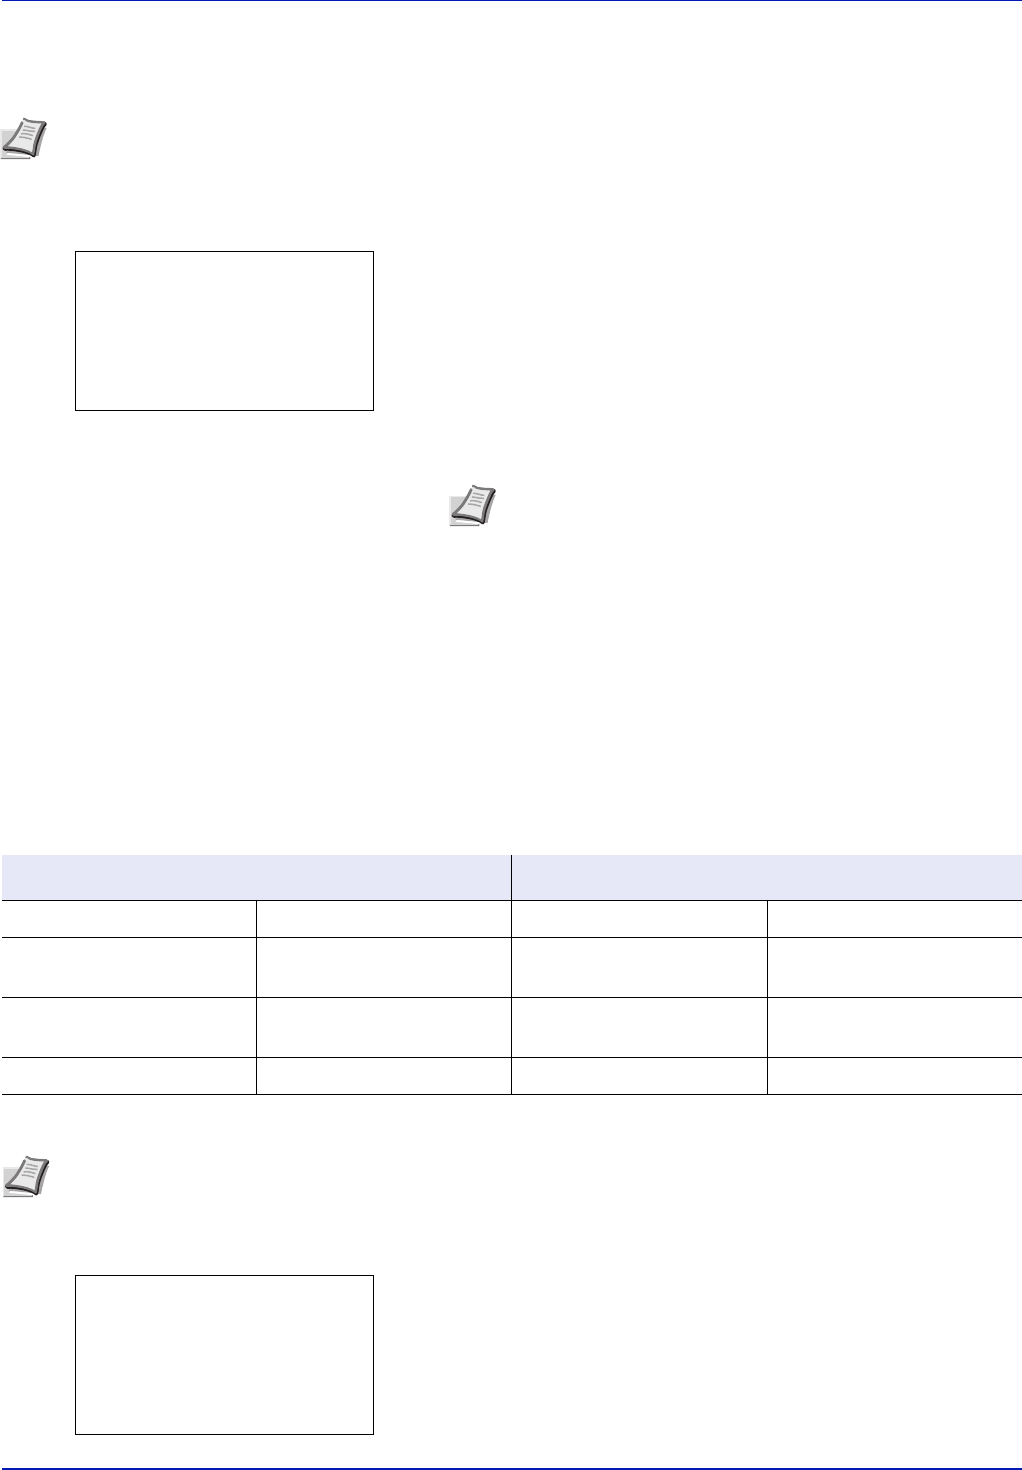
Machine Administrator Administrator
User Name: DeviceAdmin User Name: Admin
Login User Name: P-C4580DN: 4500
P-C5580DN: 5500
Login User Name: Admin
Login Password: P-C4580DN: 4500
P-C5580DN: 5500
Login Password: Admin
Access Level: Machine Administrator Access Level: Administrator
Note Log in as DeviceAdmin to change the administrator information. When logged in as Admin., it is only possible
to check the administrator information.
Local User List:
a
b
********************-
l
DeviceAdmin
l
Admin