
Technical data
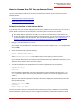
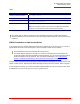
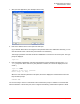


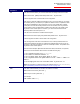
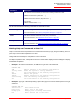
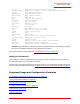
Table Of Contents
- Professional Access Point Administrator Guide
- Contents
- About This Document
- Getting Started
- Web User Interface
- Basic Settings
- Navigating to Basic Settings
- Review / Describe the Access Point
- Provide Administrator Password and Wireless Network Name
- Set Configuration Policy for New Access Points
- Update Basic Settings
- Summary of Settings
- Basic Settings for a Standalone Access Point
- Your Network at a Glance: Understanding Indicator Icons
- Cluster
- Status
- Advanced
- Basic Settings
- Command Line Interface
- Troubleshooting
- Regulatory Information
- U.S. Robotics Corporation Two (2) Year Limited Warranty
- Glossary
- Index
Professional Access Point
Administrator Guide
Class Structure, Commands, and Examples - 183
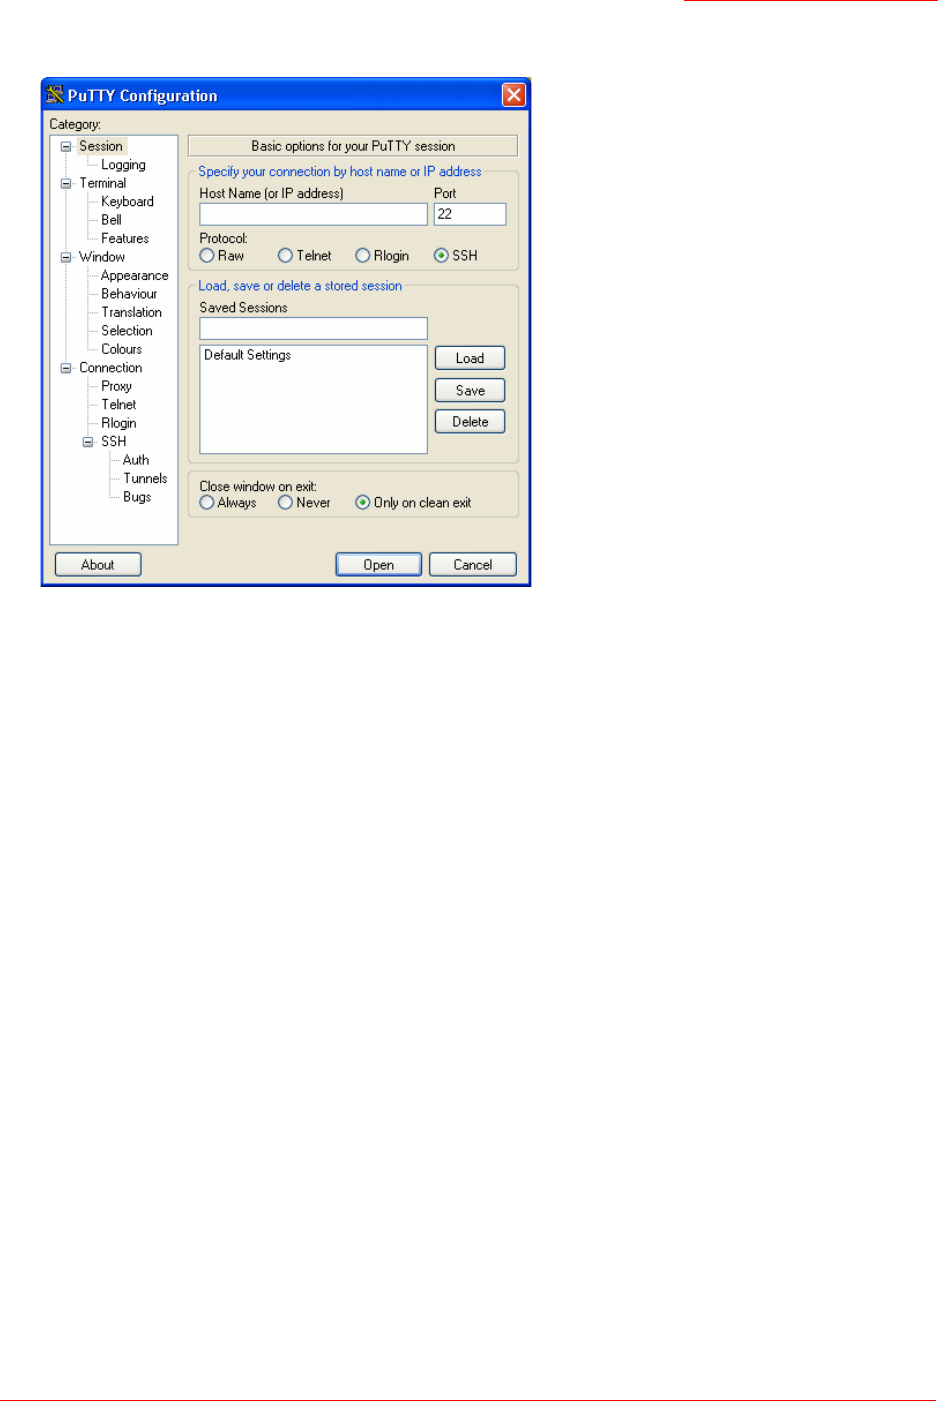
1. Start your SSH application. (This example uses PuTTY.)
2. Enter the IP address of the access point and click Open.
(If your Domain Name Server is configured to map domain names to IP addresses via DHCP, you can
enter the domain name of the access point instead of an IP address.)
This brings up the SSH command window and establishes a connection to the access point. The login
prompt is displayed.
login as:
3. Enter the default Administrator username and password for the Professional Access Point (
admin
,
admin
), and press "Enter" after each. (The password is masked, so it will not be displayed on the
screen.)
login as:
admin
admin@10.10.100.110's password:
Enter 'help' for help.
When the user name and password is accepted, the screen displays the Professional Access Point
help command prompt.
USR5453-AP#
You are now ready to enter CLI commands at the command line prompt. In addition to commands that
affect the behavior or the access point, the CLI supports the following commands that pertain to Telnet