
Manual


July 2017 | uniz3d.com
24
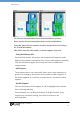
Hollowing hollows segment of the object. The Wall Thickness can be
changed at Wall Thickness of Hollowing in Advanced Setting. This works only
with simple slice geometries, and the object must be thicker than twice the
Wall Thickness.
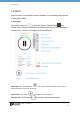
Pause sets a pre-set pause at the layer of choice during printing, the pause
can be resumed after pressing the Resume button in the printing control tab.
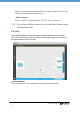
b. Customize Your Own Z Resolution
Dividing the model into multiple segments and define different slice parameters,
Z resolution customization can be used to balance print speed and surface
quality.
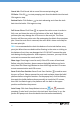
Click the block on the slider bar to start customizing print parameters. The white
line shows the division layer of the two adjacent segments. The upper menu sets
the segment above the division, and the lower menu sets the segment below.
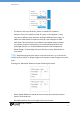
You may drag the slider block to change the division location or double click on
blank space on the slider bar to add another division layer. Press Delete key
when dragging the slider block to erase the division layer. The last division layer
cannot be deleted.
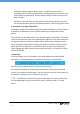
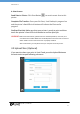
c. Slice Tools
Click Slice Button to slice all models on the build platform with the defined
parameters. The estimated print information will show in the status bar.
Click Show Slices Button to check slice of any sliced layer.
If Print When Finished is checked, the sliced data will be sent to the selected
printer in the right bar automatically, you still need to touch the front button on
the printer to confirm the print job to start printing.
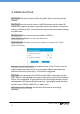
Tips: ‘Print When Finished’ will only be enabled when a printer is connected,
the corresponding Printer Control Panel is open, and the printer is in ready
status.