
Manual

July 2017 | uniz3d.com
16
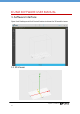
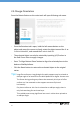
1.5 Status Bar
The status bar appears along the lower edge of the window and shows
software progress, such as the loading, generating support, and slicing
progresses.
2. Start Your First Printing Job
Once the printer hardware is set up, make sure the power is plugged in and
printer is turned on, and connected to your computer via USB.
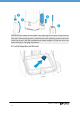
2.1 Load 3D Model
To load one or more 3D models, you may either drag-and-drop into the 3D
viewer, click Load File Button from the Main Tools, or double click on the
file directly (if Uniz Desktop is set as default software to open such file
format). File format supported: STL, OBJ, AMF, 3MF and UNIZ.
Tips: If the model happens to be defective, it is recommended to repair it with
Microsoft/Netfabb or Materialize/Magics, or other third party tools
before further processing. You may also choose to ignore the error
warning, however, the slices may be erroneous.
UNIZ file does not support multiple load in parallel.
The model file limit with this application is 180MB.
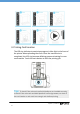
2.2 Select Object(s)
Clicking left mouse button on an object to activate it for further operations.
Drag the pointer across objects to select multiple objects. The activated
objects will turn blue once selected.
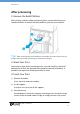
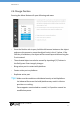
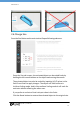
2.3 Change View
Viewing your model from preferred angle will benefit model positioning.
To rotate the view, right click and drag around the activated object. To pan,
hold the shift key and click-drag with right mouse or holding scroll wheel
and move mouse around. To zoom in or out, use the scroll wheel.