
User Manual


Table Of Contents
- UAD Powered Plug-Ins
- Introduction
- UAD Installation
- Overview
- QuickStart DVD
- System Requirements
- Supported Hosts
- Latest Information & Software Updates
- UAD Software Installation
- Install Software First
- UAD Hardware Installation
- Authorization
- Authorize Plug-Ins Procedure
- Load Authorization File
- Offline Authorization
- Using Unlicensed Plug-Ins
- Verifying Installation
- Learn More
- Software Removal
- UAD System Overview
- My.uaudio.com
- Using Multiple UAD Cards
- UAD Meter & Control Panel
- Overview
- Launching the UAD Meter & Control Panel Application
- Using the UAD Meter
- UAD Meter Elements
- UAD Control Panel
- System Information Panel
- Plug-Ins Panel
- Configuration Panel
- Help & Support Panel
- Using UAD Powered Plug-Ins
- Tempo Sync
- UAD Delay Compensation
- UAD-Xpander & UAD-Xtenda
- LA-2A and 1176LN
- LA-3A Compressor
- Fairchild 670
- Precision Multiband
- Precision Limiter
- Precision Buss Compressor
- Neve 33609 Compressor
- VCA VU
- Neve 88RS Channel Strip
- CS-1 Channel Strip
- Precision Equalizer
- Cambridge EQ
- Pultec and Pultec-Pro
- Neve 1073 Equalizer
- Neve 1081 Equalizer
- Helios Type 69 Equalizer
- Roland CE-1
- Roland Dimension D
- Roland RE-201
- RealVerb Pro
- DreamVerb
- Plate 140
- Precision Maximizer
- Precision De-Esser
- Precision Enhancer kHz
- SPL Transient Designer
- Nigel
- Introducing Nigel
- Preflex Plug-in
- Preflex Modules
- Gate/Comp Module
- Amp Module
- Amp Controls
- Cabinet Module
- Phasor Module
- Mod Filter Module
- TremModEcho plug-in
- Trem/Fade Module
- Mod Delay Module
- Echo Module
- Moog Multimode Filter
- History
- Index
UAD Powered Plug-Ins Manual - 196 - Chapter 21: Precision Equalizer
Power Switch The Power Switch determines whether the plug-in is active.
This is useful for comparing the processed settings to that
of the original signal, or to bypass the plug-in to reduce
the UAD DSP load.
Click the rocker switch to change the Power state. Alter-
nately, you can click the blue UA logo to toggle the Power
state.
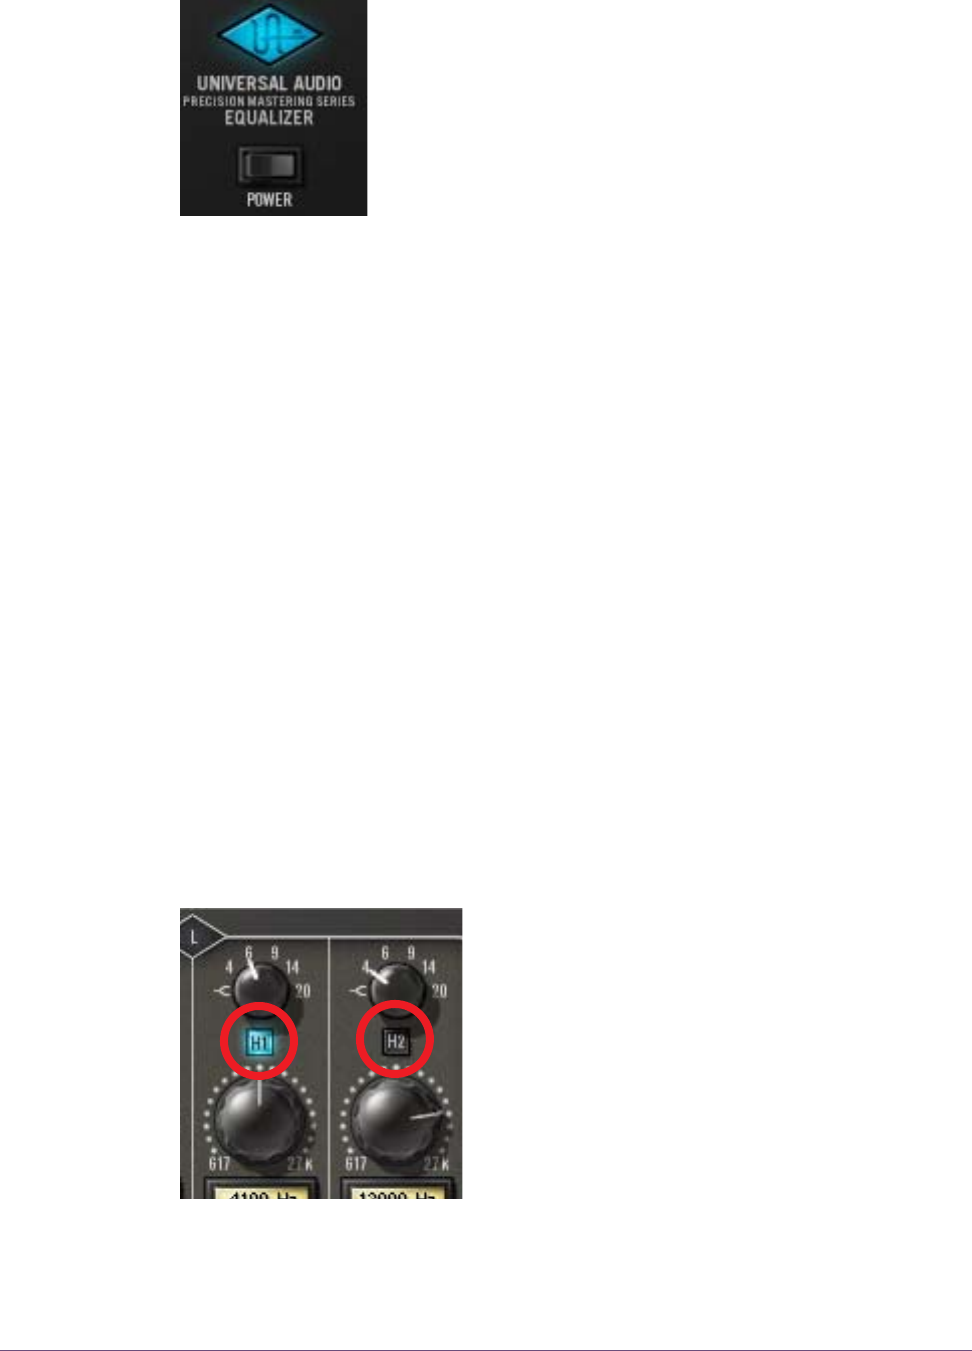
Band Controls
Each control set (L and R) has four EQ bands. Two bands are overlapping low
frequency bands labeled L1 and L2, and two bands are overlapping high fre-
quency bands labeled H1 and H2.
Each of the four bands has a control for bandwidth, enable, frequency, and
gain. All four of the EQ bands can be used in parametric or shelf mode. The
controls are exactly the same for each band; only the available frequency val-
ues differ.
Bandwidth Knob The Bandwidth (Q) knob defines the proportion of frequencies surrounding
the band center frequency to be affected by the band gain control.
The numbers represent the filter slope in dB per octave. The available selec-
tions are 4, 6, 9, 14, 20, and Shelf.
When set to Shelf on the L1 and L2 bands, the band becomes a low shelving
filter. When set to Shelf on the H1 and H2 bands, the band becomes a high
shelving filter.
Band Enable
Button
Each band can be individually engaged with the
Enable button. All bands default to disabled.
When a band is enabled, the button glows blue.
To enable a band, click the Enable button or
move the band Gain knob.
You can use these buttons to compare the band
settings to that of the original signal, or to bypass
the individual band. UAD DSP usage is slightly
decreased when a band is disabled.