Assembly Instructions
Manuals
Brands
Union Rustic Manuals
Beds & Headboards
Allonah Panel Headboard
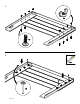
1
2
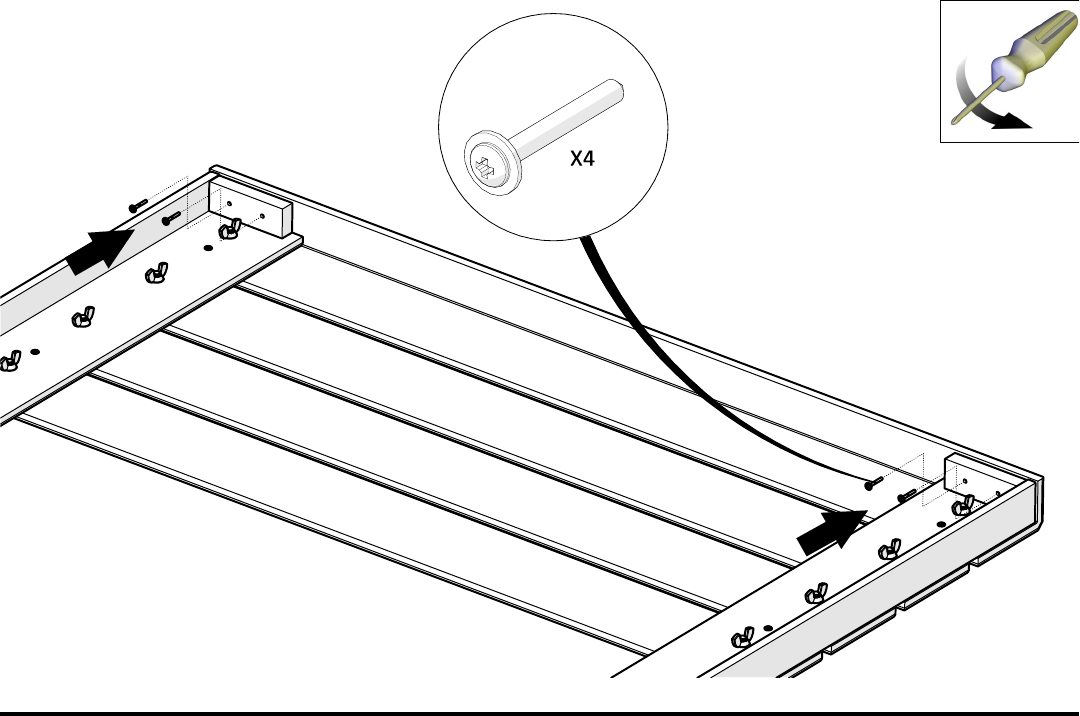
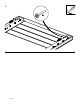
3
4.
Page 3 of 3
1
2
3