
Manual
7
Reviewing Sensor Data
After installing and conguring sensors, it is possible to
review sensor data as it is transmitted to the controller.
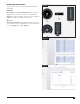
1. Press the Diagnostic button.
2. Turn the Command dial to Sensor Monitor.
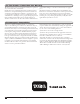
Units explained:
To see what units the numbers are in, press the down
arrow to get to the last line. e units of the numbers will
switch between an explanation of the metric and English
designations.
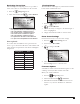
Designation Unit
P psi
p kPa
F gpm
f lpm
R inches
r mm
T Farenheit
t Celcius
Clearing Alarms
e Home screen will display any current alarms with the
board and the terminal called out.
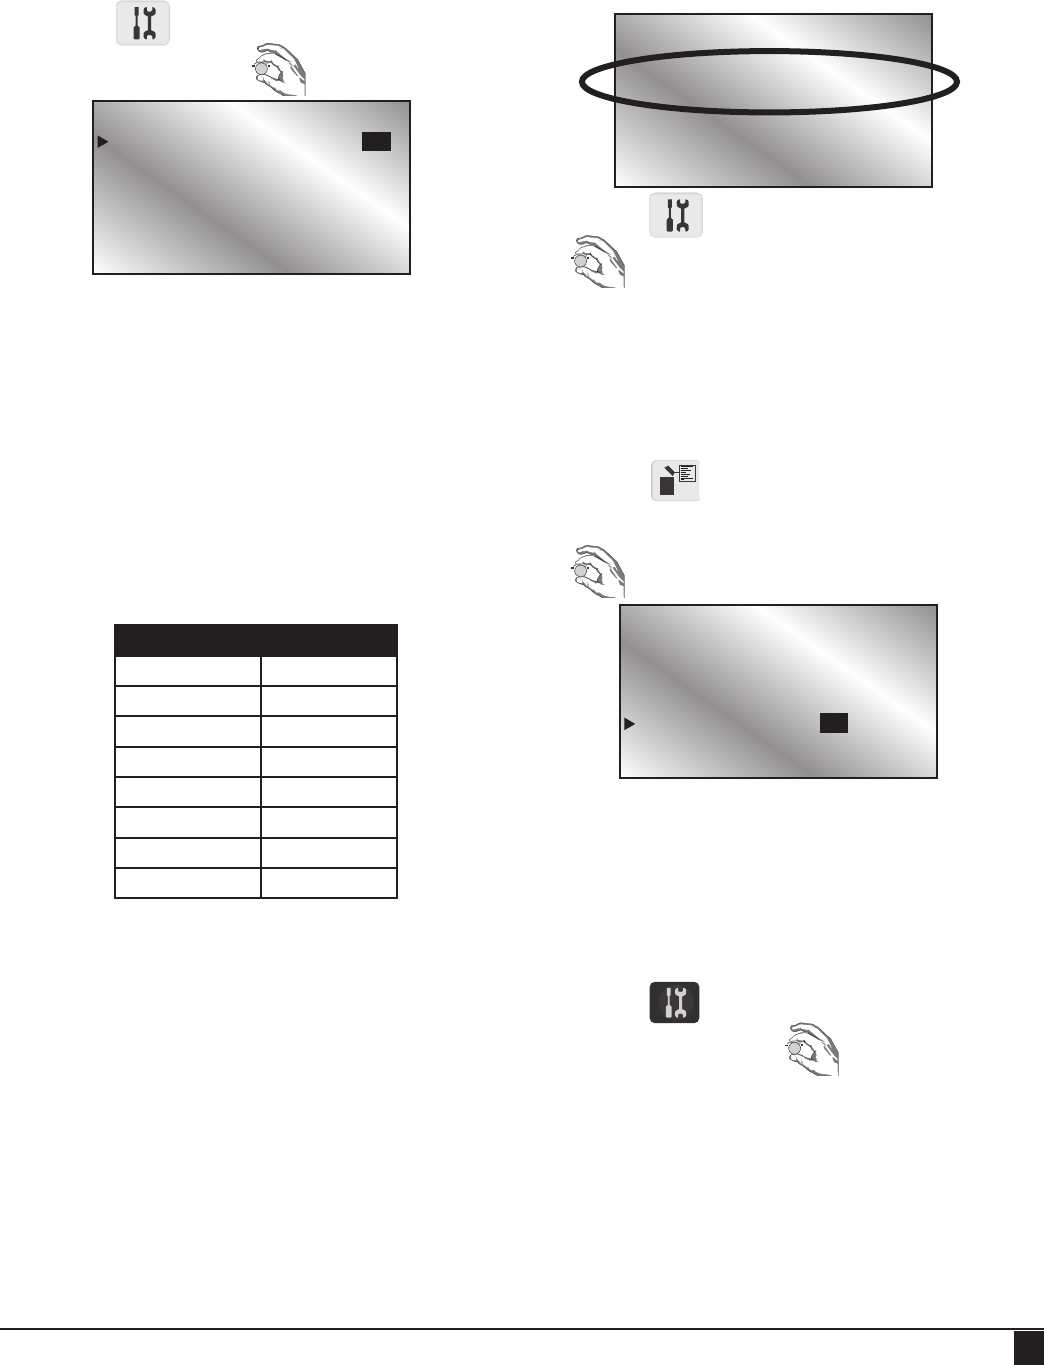
1. Press the Diagnostic button.
2. to Sensor Monitor.
3. Use the arrow keys to navigate to the desired input so
that it is highlighted.
4. Simply turn the Control Dial to clear the alarm.
Reset Sensor Settings
If it becomes necessary to reset all sensor settings:
1. Press the Satellite Settings button.
2. Down arrow to Reset SIB’s.
3. to change to Yes All.
4. ere is a conrmation screen.
Press the Stop button to cancel the reset.
Firmware Update
A handful of satellites will need a rmware update to take
advantage of the Lynx Smart Satellite Sensor Kit.
Check your satellite’s rmware:
1. Press the Diagnostic button.
2. Turn the Command dial to Revision.
3. Check Revision number. If rmware revision is less
than 2.0, see your Toro distributor for a rmware
update.
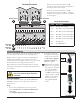
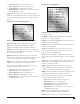
Menu: Sensor Monitor
Sensor Board Slot 8
P1: 150.7 R2: 00.12
S3: Open F4: 33.10
R5: 00.14 I6: NONE
T7: 73 PW: +12V
In the Sensor Monitor screen above:
• P1: a pressure sensor is installed on input 1
• R2: a rain bucket is installed on input 2
• S3: a status sensor is installed on input 3
• F4: a ow sensor is installed on input 4
• R5: a rain bucket is installed on input 5
• I6: input 6 does not have a sensor attached
• T7: input 7 has a temperature sensor attached
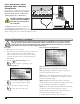
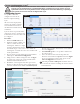
Mon 04/17/17 02:33pm
Sat# 001-001 Sec: 40
!ALARM! BRD 8 Sen 1
Day Change: 12:00am
Lynx Smart Satellite
Hold Rain : None
Reset Prg’s: No
Reset Sta’s: No
Reset Unit : No
Reset SIB’s: No
Enabl Sta’s: No