
User Manual


Using the Eepskye Program – Version 1 16
To create a new or modified splash screen requires the use of an application such as Paint. The
image must meet strictly defined requirements: the file can be in binary format (.bin) or bitmap
format (.bnp, .pbm, etc.); it can be inverted if necessary but must be monochrome black and
white, 2 bit, 128 x 64 pixels. The pilot name must be 8 pixels high and can be up to 60 pixels
wide.
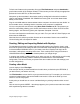
Here are some examples of possible images:
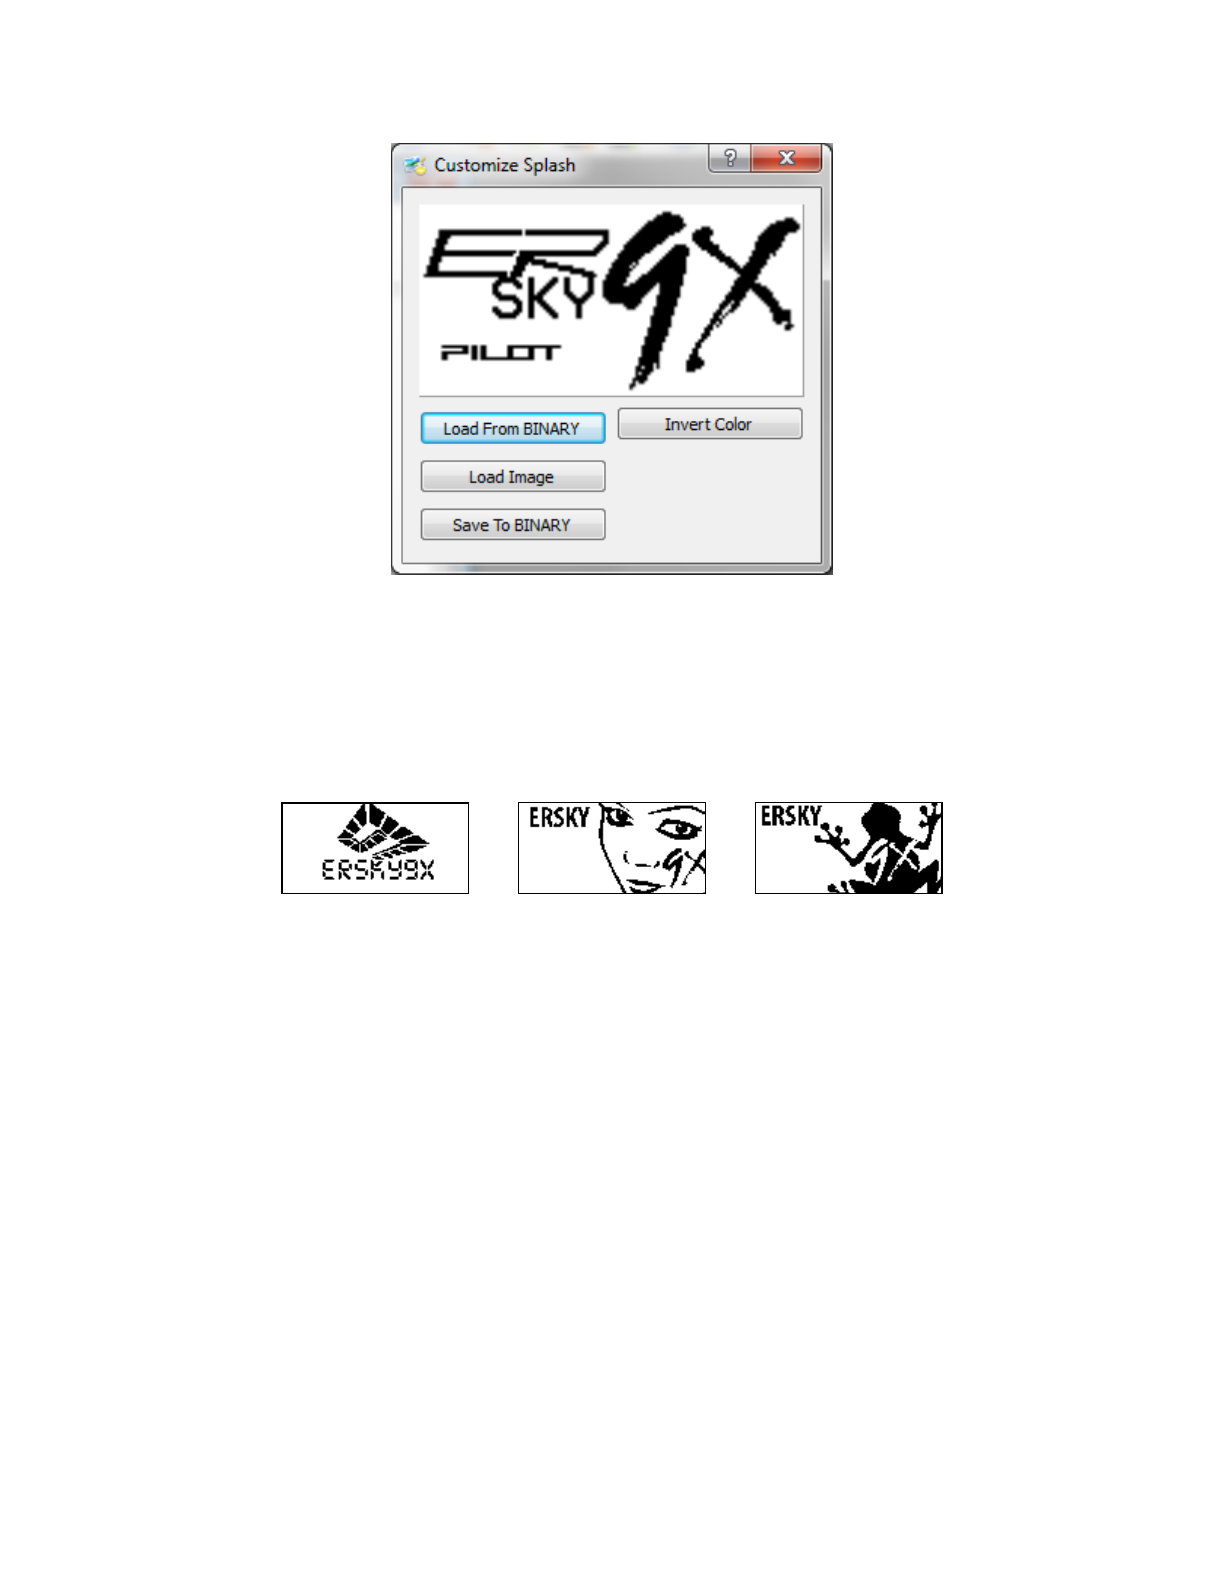
To insert a new splash image into the firmware file, go to the Help>Customize Splash Screen
within Eepskye. Click on the “Load Image“ button. Fill in the file name or browse to the new
image and click Open. This will display the image inside the dialog box. If you are satisfied with
the image, click on “Save to BINARY”, making sure you select the correct firmware file for
modification. This inserts the image into the firmware instead of the existing one and saves the
firmware file back to the folder in which it was stored.
The firmware file including the new or modified splash screen can now be flashed to the
transmitter, as described above. Turn OFF the transmitter and restart it to see the new splash
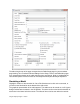
screen. To open the image already within the firmware, click on “Load from BINARY” and find
the relevant firmware file (ersky9xr_rom or similar). Open this file. An image will appear on the
dialog box screen, such as:
You can also copy an image from one firmware file to another. Start by going to Help>Customize
Splash Screen within Eepskye. Click on “Load from BINARY” and find the firmware file that is to
provide the image. Open the file and you will see the image. The image may then be copied into
another firmware file by clicking on “Save to BINARY” and selecting the target file. Press Save
and you should see “Successfully Updated….” Close the dialogue and Eepskye.