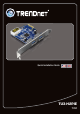
Quick Installation Guide TU3-H2PIE 1.
Table of Contents English 1. Before You Start 2. How to Install 1 1 2 Technical Specifications Troubleshooting 6 7 Version 01.01.
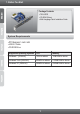
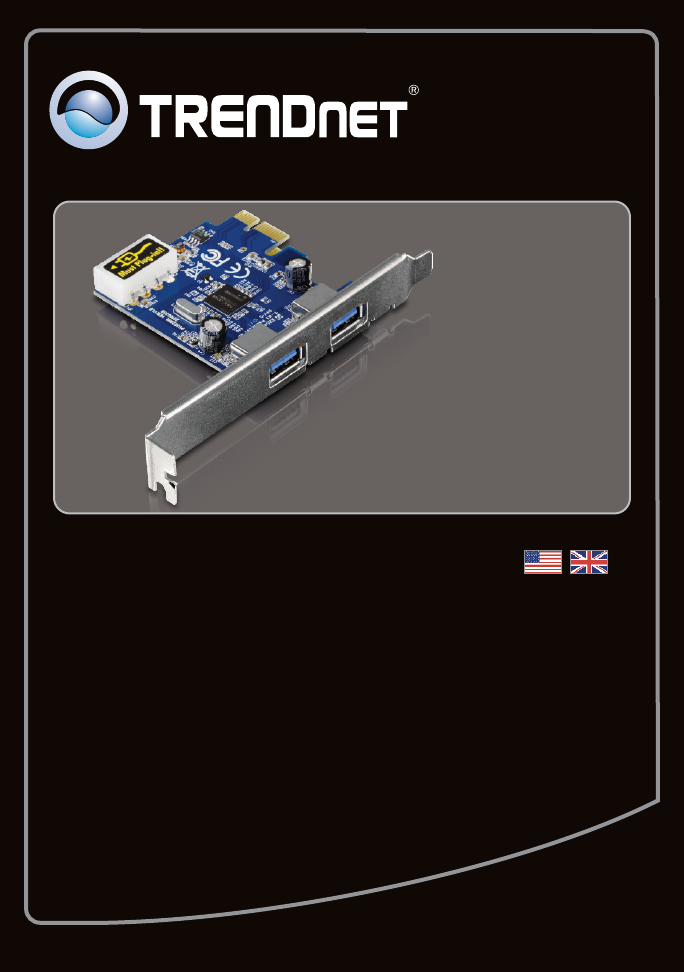
1. Before You Start Package Contents ŸTU3-H2PIE ŸCD-ROM (Driver) ŸMulti-Language Quick Installation Guide System Requirements ŸPCI Express 1.0a/2.0 slot ŸUSB 3.
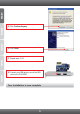
2. How to Install Important! Do not insert the TU3-H2PIE in the computer until instructed to do so. 1. Insert the Driver CD-ROM into your CD-ROM drive. 2. Click Run Autorun.exe (Windows 7/ Vista only). 3. Click Install Driver. 4. Click Next. Then follow the InstallShield Wizard instructions. 5. Click Install.
6. Click Continue Anyway (Windows XP only). 7. Click Finish. Note: Please refer to your computer's user manual regarding hardware installation. 8. Shutdown your computer. 9. Open your computer case.
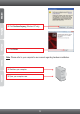
10. Insert the TU3-H2PIE card firmly into an available PCIe slot. 11. Connect an available 4-pin Molex power cable from the computer's power supply to the TU3-H2PIE card. 12. Turn ON the computer and wait until the Windows desktop appears. Note: For Windows 7/Vista, drivers will install automatically. Please skip to step 18. For Windows XP, continue on to step 13. 13. The Found New Hardware Wizard appears Select No, not this time and then click Next. 14.
15. Click Continue Anyway. 16. Click Finish. 17. Repeat steps 13-16. 18. Connect your USB device to one of the USB ports on the TU3-H2PIE.
Technical Specifications Hardware Interface ŸUSB 3.0 ŸPCI Express Interface Revision 2.0 backwards ŸElectromechanical Specification Revision 2.0 ŸBus Power Management Interface Specification Revision 1.2 Port Ÿ2 x USB 3.0 Port Ÿ1 x 4-pin internal power port (cable not included) Supported OS Windows 7 (32/64-bit), Vista (32/64-bit), XP (32/64-bit) Data Rates ŸSuper speed: 5Gbps (USB 3.0) ŸHigh speed: 480Mbps (USB 2.0) ŸFull speed: 12Mbps (USB 1.1) ŸLow speed: 1.5Mbps (USB 1.
Troubleshooting 1. I inserted the Driver CD-ROM into my computer's CD-ROM Drive but the installation menu does not appear automatically. What should I do? 1. For Windows 7, if the installation menu does not appear automatically, click on the Windows Icon on the bottom left hand corner of the screen, click the “Search programs and files” box, and type D:\Autorun.exe, where “D” in “D:\Autorun.exe” is the letter assigned to your CD-ROM Drive, and then press the ENTER key on your keyboard 2.
Limited Warranty TRENDnet warrants its products against defects in material and workmanship, under normal use and service, for the following lengths of time from the date of purchase. TU3-H2PIE – 2 Years Limited Warranty AC/DC Power Adapter, Cooling Fan, and Power Supply carry a 1 year warranty.
WARRANTIES EXCLUSIVE: IF THE TRENDNET PRODUCT DOES NOT OPERATE AS WARRANTED ABOVE, THE CUSTOMER'S SOLE REMEDY SHALL BE, AT TRENDNET'S OPTION, REPAIR OR REPLACE. THE FOREGOING WARRANTIES AND REMEDIES ARE EXCLUSIVE AND ARE IN LIEU OF ALL OTHER WARRANTIES, EXPRESSED OR IMPLIED, EITHER IN FACT OR BY OPERATION OF LAW, STATUTORY OR OTHERWISE, INCLUDING WARRANTIES OF MERCHANTABILITY AND FITNESS FOR A PARTICULAR PURPOSE.
Copyright ©2011. All Rights Reserved. TRENDnet.