
User Guide


Table Of Contents
- Package Contents
- Chapter 1 About this Guide
- Chapter 2 Introduction
- Chapter 3 Login to the Switch
- Chapter 4 System
- Chapter 5 Switching
- Chapter 6 VLAN
- Chapter 7 Spanning Tree
- Chapter 8 Multicast
- Chapter 9 QoS
- Chapter 10 ACL
- Chapter 11 Network Security
- Chapter 12 SNMP
- Chapter 13 LLDP
- Chapter 14 Cluster
- Chapter 15 Maintenance
- Chapter 16 System Maintenance via FTP
- Appendix A: Specifications
- Appendix B: Configuring the PCs
- Appendix C: 802.1X Client Software
- Appendix D: Glossary
12.1.5 SNMP Community
SNMP v1 and SNMP v2c adopt community name authentication. The community name can limit
access to the SNMP agent from SNMP network management station, functioning as a password. If
SNMP v1 or SNMP v2c is employed, you can directly configure the SNMP Community on this
page without configuring SNMP Group and User.
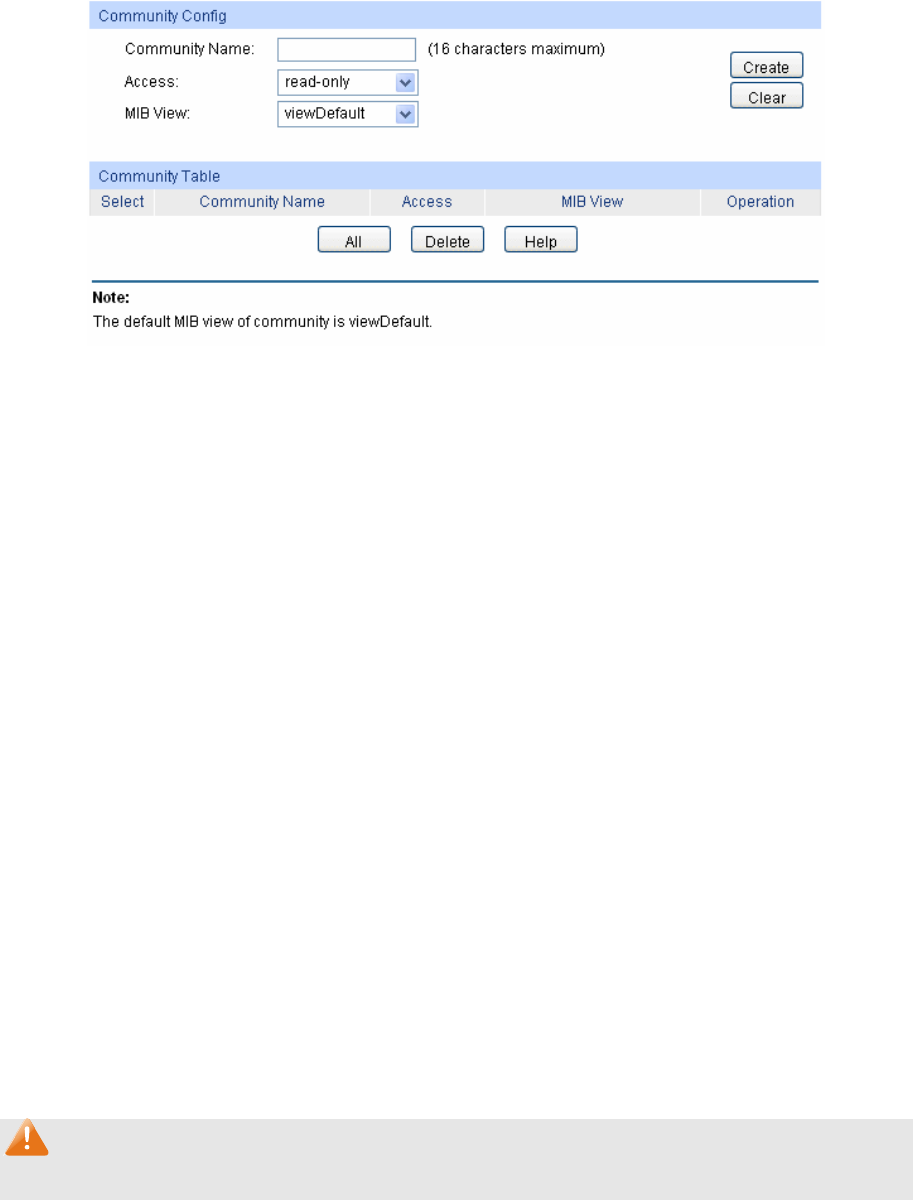
Choose the menu SNMP→SNMP Config→SNMP Community to load the following page.
Figure 12-7 SNMP Community
The following entries are displayed on this screen:
Community Config
Community Name: Enter the Community Name here.
Access: Defines the access rights of the community.
read-only: Management right of the Community is
restricted to read-only, and changes cannot be made to
the corresponding View.
read-write: Management right of the Community is
read-write and changes can be made to the corresponding
View.
MIB View: Select the MIB View for the community to access.
Community Table
Select: Select the desired entry to delete the corresponding Community. It
is multi-optional.
Community Name: Displays the Community Name here.
Access: Displays the right of the Community to access the View.
MIB View: Displays the Views which the Community can access.
Operation: Click the Edit button to modify the MIB View and the Access right
of the Community, and then click the Modify button to apply.
Note:
The default MIB View of SNMP Community is viewDefault.
180