
User's Manual


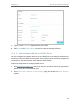
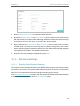
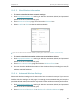
Table Of Contents
- About This Guide
- Get to Know Your Modem Router
- Quick Start
- Log In to Your Modem Router
- Configure Internet Connections
- Network Security
- USB Settings
- Parental Control
- Guest Network
- NAT Forwarding
- Specify Your Network Settings
- Administrate Your Network
- Appendix: Troubleshooting
59
Chapter 10
Specify Your Network Settings
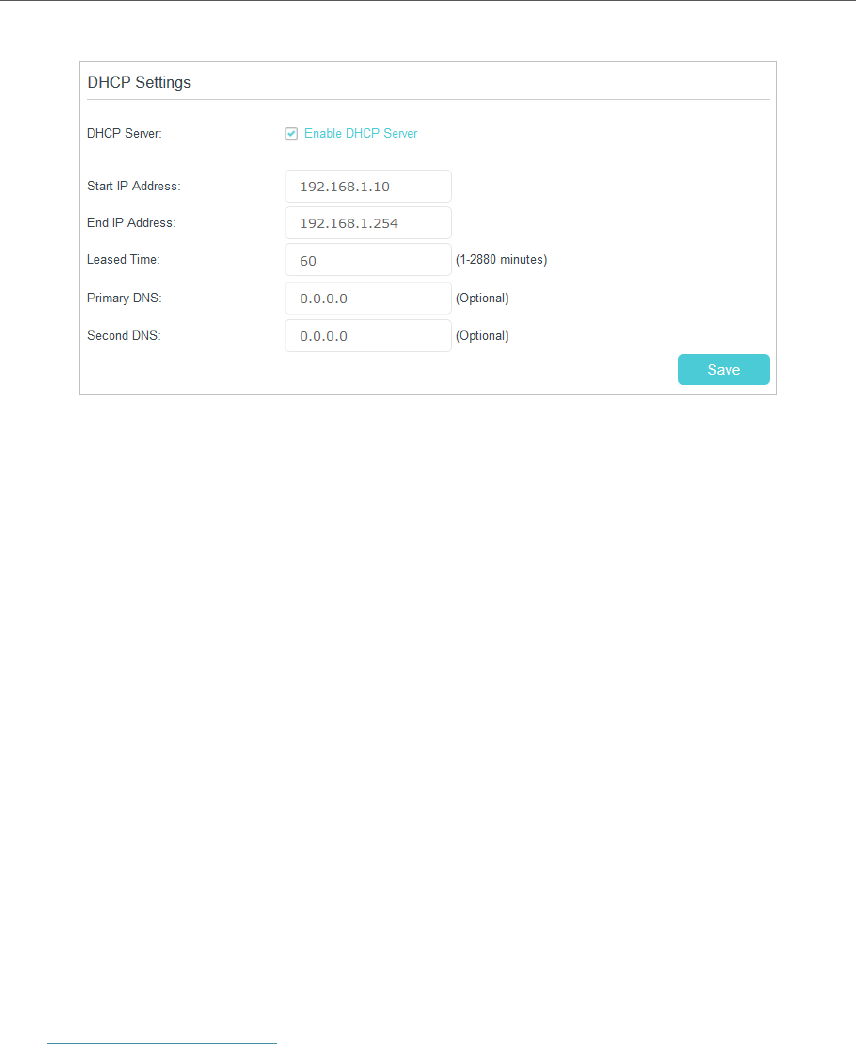
3. Select Enable DHCP Server to enable the DHCP function.
4. Specify the Start IP Address and End IP Address which must be on the same subnet
with the LAN IP. The modem router will assign addresses within this specified range
to its clients. It is from 192.168.1.10 to 192.168.1.254 by default.
5. Enter a value for the Leased Time. The Leased Time is the amount of time in which
a DHCP client can lease its current dynamic IP address assigned by the modem
router. After the dynamic IP address expires, the user will be automatically assigned
a new dynamic IP address. The default is 60 minutes.
6. Keep the rest of the settings as default and click Save.
10. 3. Wireless Settings
10. 3. 1. Specify Basic Wireless Settings
The modem router’s wireless network name (SSID) and password, and security option
are preset in the factory. The preset SSID and password can be found on the product
label. You can customize the wireless settings according to your needs.
Visit http://tplinkmodem.net, and log in with the username (admin) and password (admin
or the one customized by you). Go to Basic > Wireless page.