
User's Manual
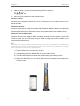
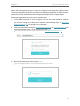
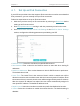
Table Of Contents
- About This Guide
- Get to Know Your Modem Router
- Quick Start
- Log In to Your Modem Router
- Configure Internet Connections
- Network Security
- USB Settings
- Parental Control
- Guest Network
- NAT Forwarding
- Specify Your Network Settings
- Administrate Your Network
- Appendix: Troubleshooting
13
Chapter 4
Congure Internet Connections
4. 1. Set Up an IPv6 Connection
If your ISP has provided a line that supports IPv6 connection as well as some detailed
IPv6 parameters, you can manually set up an IPv6 connection.
Follow the steps below to set up an IPv6 connection:
1. Make sure you have set up an IPv4 connection by referring to Quick Start before
setting up an IPv6 connection.
2. Visit http://tplinkmodem.net, and log in with the password you set for the router.
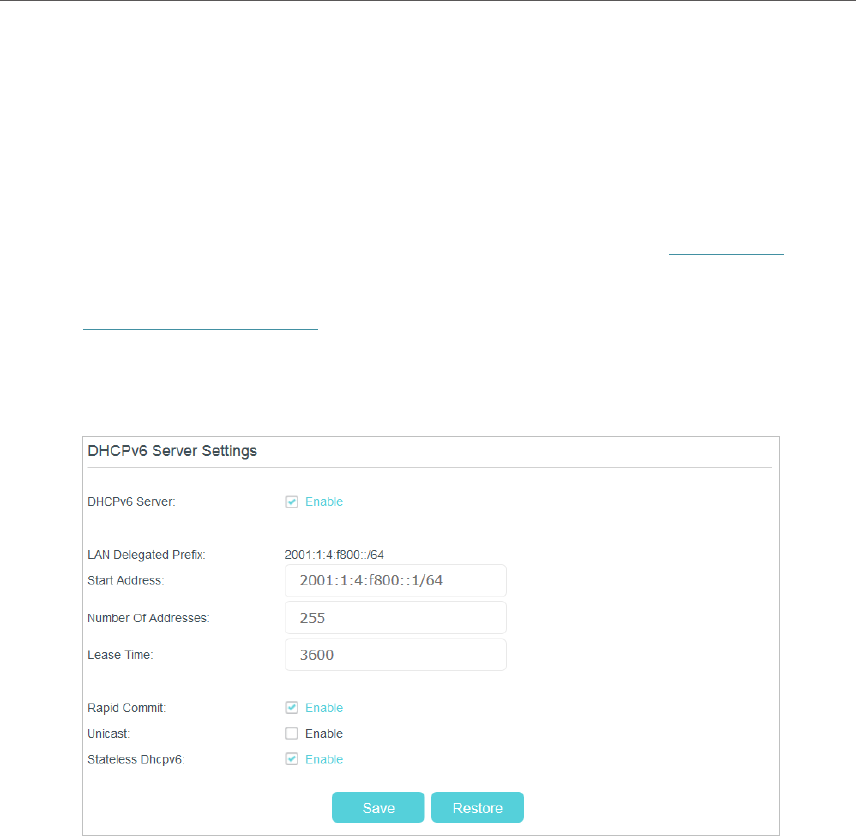
3. Go to Advanced > Network > IPv6 LAN Settings. In the DHCPv6 Server Settings
section, configure the following parameters provided by your ISP.
• DHCPv6 Server: Select the checkbox to enable DHCPv6 server.
• Start Address: Enter a value for the DHCPv6 server to start with when issuing IP
addresses.
• Number of Addresses: Enter a value between 0-255 for DHCPv6 server preference.
The default value is 255.
• Lease Time: The Lease Time is the amount of time in which a network user will be
allowed connection to the modem router with their current dynamic IP address. Enter
the amount of time, in seconds, then the user will be assigned this dynamic IP address.
After the dynamic IP address has expired, the user will be automatically assigned a
new dynamic IP address. The default is 3600 seconds.
• Rapid Commit: Select the checkbox to enable the prefix fast distribution function.
• Unicast: Select the checkbox to enable the unicast function. The default setting is
disabled.