
Operation Manual


Table Of Contents
- CONTENTS
- NOTICE TO USERS
- TOSHIBA QUALITY IS SECOND TO NONE
- PREFACE
- FEATURES OF THE e-STUDIO520/600/720/850
- GENERAL PRECAUTIONS
- DISCLAIMER NOTICE
- 1. BEFORE USING EQUIPMENT
- 1. Description of Each Component
- 2. Turning Power On / Shutdown
- 3. Energy Saving Mode
- 4. Setting Copy Paper
- 2. HOW TO MAKE COPIES
- 3. SETTING OF BASIC COPY MODES
- 1. Paper Selection
- 2. Enlargement and Reduction Copying
- 3. Selecting Finishing Modes
- 4. Duplex Copying
- 5. Original Mode
- 6. Copy Density Adjustment
- 4. IMAGE ADJUSTMENT
- 5. USING THE EDITING FUNCTIONS
- 6. e-FILING
- 7. TEMPLATE
- 8. JOB STATUS
- 9. BLINKING GRAPHIC SYMBOLS
- 10. WHEN THIS MESSAGE APPEARS
- 1. “Toner low”
- 2. “Check staple cartridge”
- 3. “Check staple cartridge in the saddle stitch unit”
- 4. “Examine stapler”
- 5. “READY (CHECK STAPLER)”
- 6. “Examine stapler in the saddle stitch unit”
- 7. “READY (CHECK SADDLE STITCH STAPLER)”
- 8. “READY (HOLE PUNCH DUST BIN IS FULL)”
- 9. “POWER FAILURE”
- 10. “Time for periodic maintenance”
- 11. “Check paper size setting on control panel for drawer N”
- 12. “Reboot the machine”
- 11. MAINTENANCE
- 12. SPECIFICATIONS & OPTIONS
- INDEX
54
2.HOW TO MAKE COPIES
2
1. General Copying Procedures
Set originals after placing paper or confirming that there is paper in the drawers. When the [START] button
on the control panel is pressed with any of the settings unchanged, copies are made in the initial (default)
settings. You can make copies as desired by setting various copy modes.
Initial (Default) settings
When the power is turned on, when the energy saving mode is cleared, and when the [FUNCTION
CLEAR] button on the control panel is pressed, various setting items are automatically set. These items
are called the initial (default) settings. These initial settings can be changed as desired. See the User
Functions Guide for details.
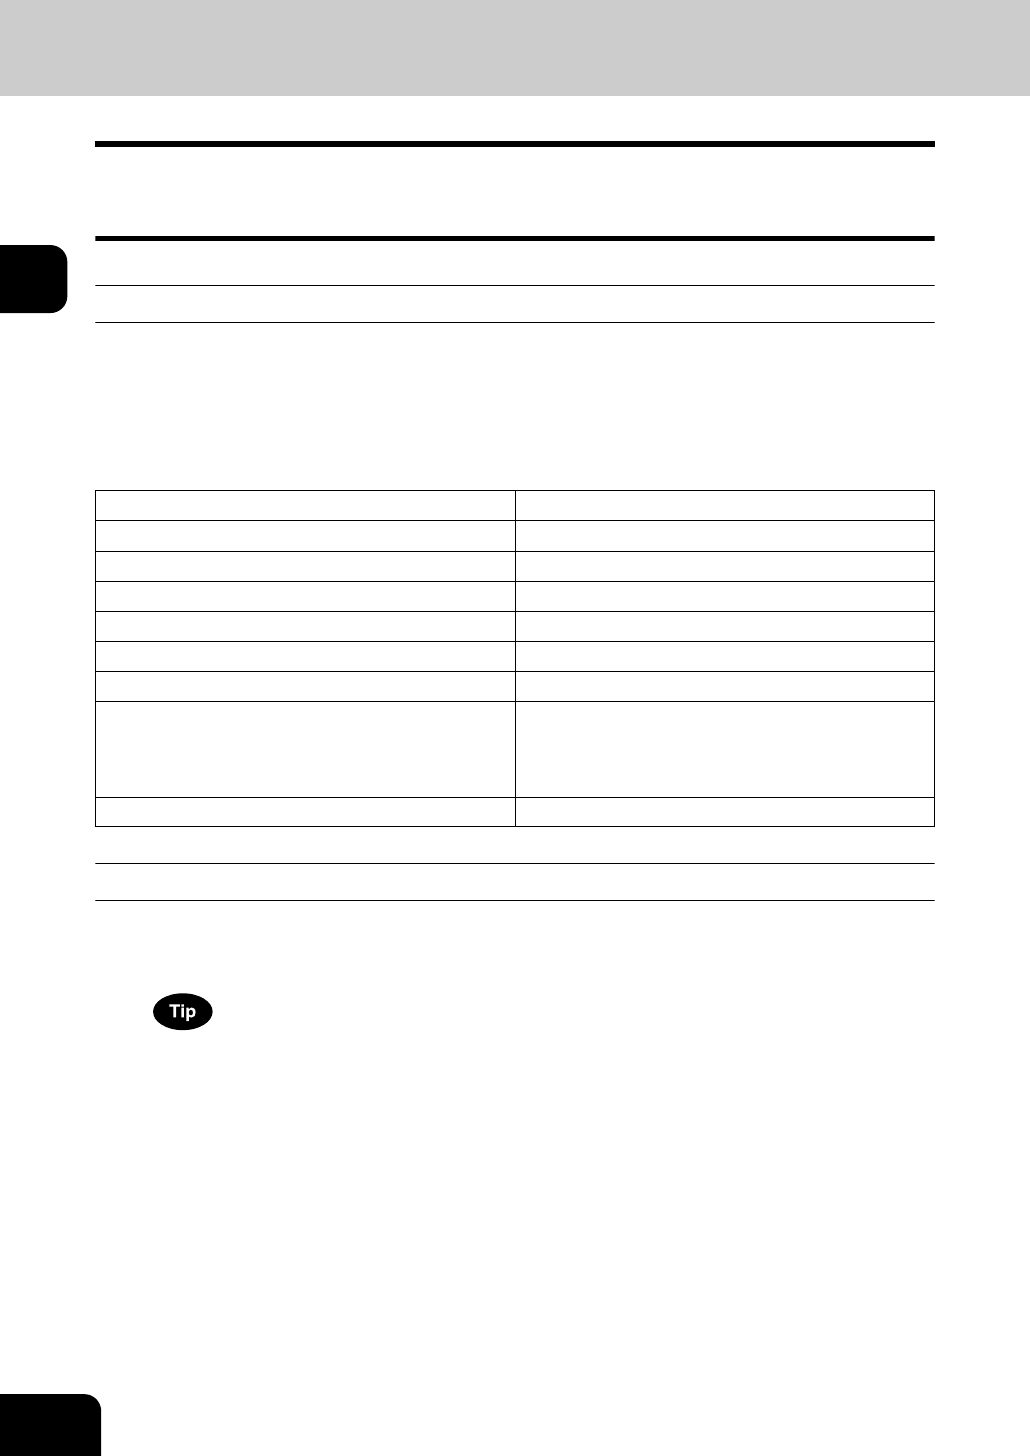
The table below lists the various items of the initial settings at the time of installation of this equipment.
Copying procedure
1
Place paper in the drawer(s).
• For the types and sizes of paper selectable, see P.37 “Copy paper types and sizes”.
When the desired size or type of paper is not in any of the drawers or the External Large Capacity Feeder, see
the following pages.
- P.40 “Setting copy paper (size change) / Setting the drawer for special uses”
- P.50 “Setting paper in the External Large Capacity Feeder (optional)”
- P.69 “6.Bypass Copying”
Item Initial (Default) setting
Reproduction ratio 100%
Copy quantity 1
Paper selection Automatic Paper Selection (APS)
Original -> Copy 1-Sided -> 1-Sided
Density adjustment Automatic copy density adjustment
Image quality TEXT/PHOTO MODE
Finishing mode Placing originals on the original glass: Non-sort/
Non-staple mode
Placing originals on the Reversing Automatic Doc-
ument Feeder: Sort mode
Using Reversing Automatic Document Feeder Continuous feed mode