
Operation Manual


Table Of Contents
- CONTENTS
- NOTICE TO USERS
- TOSHIBA QUALITY IS SECOND TO NONE
- PREFACE
- FEATURES OF THE e-STUDIO520/600/720/850
- GENERAL PRECAUTIONS
- DISCLAIMER NOTICE
- 1. BEFORE USING EQUIPMENT
- 1. Description of Each Component
- 2. Turning Power On / Shutdown
- 3. Energy Saving Mode
- 4. Setting Copy Paper
- 2. HOW TO MAKE COPIES
- 3. SETTING OF BASIC COPY MODES
- 1. Paper Selection
- 2. Enlargement and Reduction Copying
- 3. Selecting Finishing Modes
- 4. Duplex Copying
- 5. Original Mode
- 6. Copy Density Adjustment
- 4. IMAGE ADJUSTMENT
- 5. USING THE EDITING FUNCTIONS
- 6. e-FILING
- 7. TEMPLATE
- 8. JOB STATUS
- 9. BLINKING GRAPHIC SYMBOLS
- 10. WHEN THIS MESSAGE APPEARS
- 1. “Toner low”
- 2. “Check staple cartridge”
- 3. “Check staple cartridge in the saddle stitch unit”
- 4. “Examine stapler”
- 5. “READY (CHECK STAPLER)”
- 6. “Examine stapler in the saddle stitch unit”
- 7. “READY (CHECK SADDLE STITCH STAPLER)”
- 8. “READY (HOLE PUNCH DUST BIN IS FULL)”
- 9. “POWER FAILURE”
- 10. “Time for periodic maintenance”
- 11. “Check paper size setting on control panel for drawer N”
- 12. “Reboot the machine”
- 11. MAINTENANCE
- 12. SPECIFICATIONS & OPTIONS
- INDEX
137
5
7. EDITING
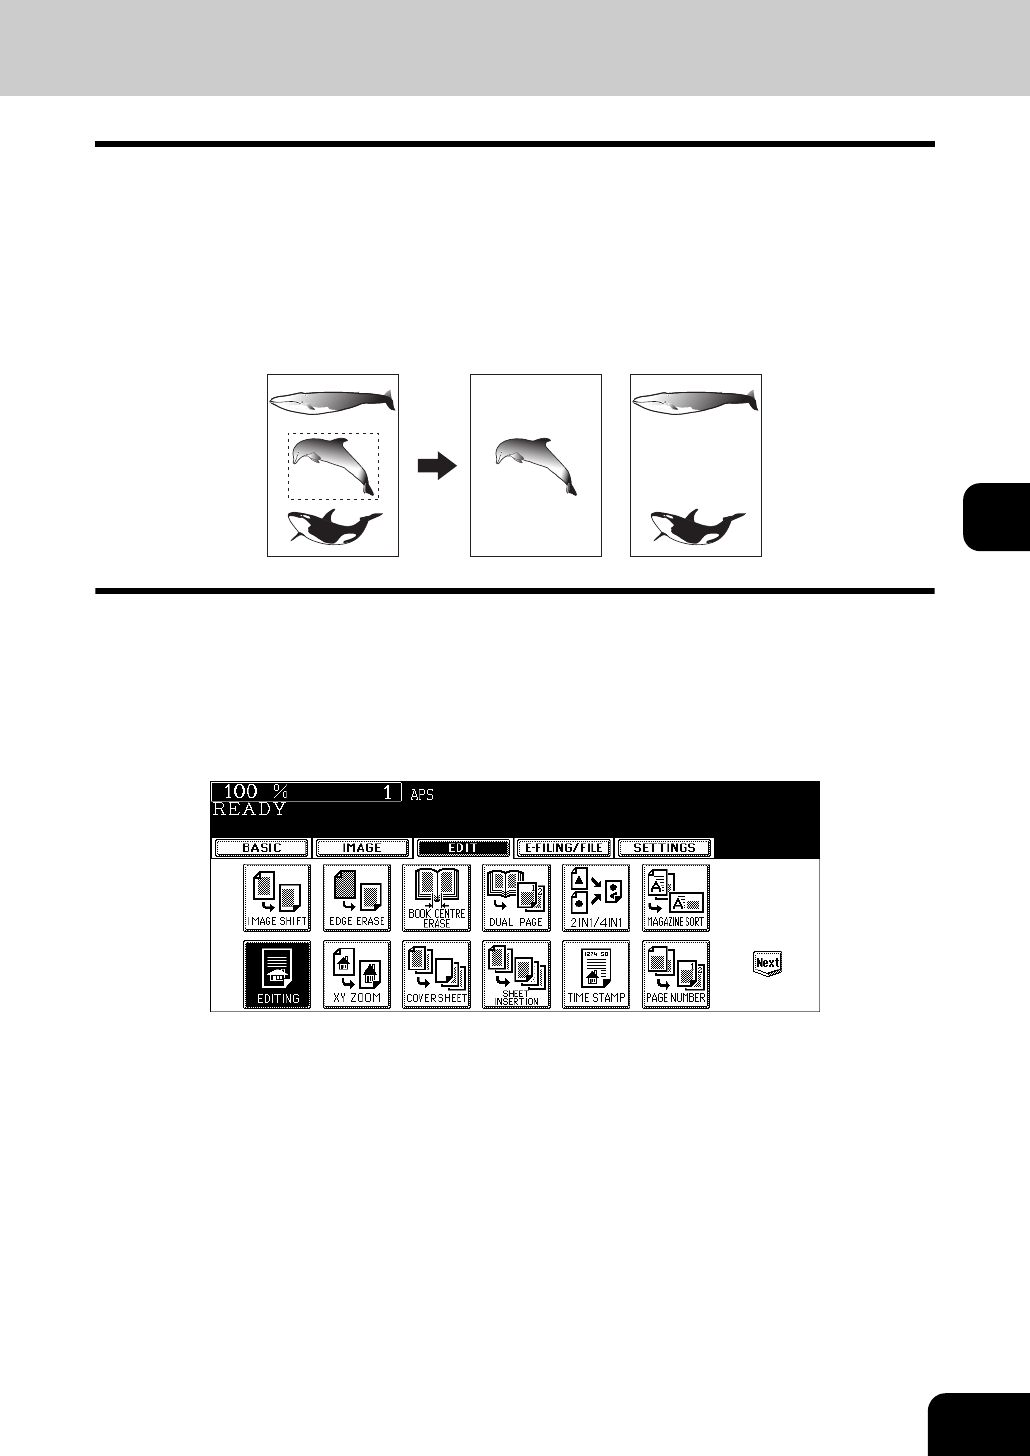
Trimming / Masking
This function allows you to copy only the inside of the specified area on an original (trimming) or copy with
the specified area masked (masking). Up to 4 rectangular areas can be specified on an original.
• Image editing is only available with standard-size originals.
• If the original and copy paper sizes are set incorrectly, the image in the specified range may not be
copied correctly.
1. An example of trimming
2. An example of masking
1
Place paper in the drawer(s).
• When using this mode in bypass copying, be sure to specify the paper size ( P.78 “1.Paper Selection”).
2
Press the [EDIT] button to enter the edit menu, and then press the
[EDITING] button.
12