
Installation Instructions

external linkage equipment.
3.6.8 Train operators in correct operation and use methods, and immediately put them
into normal operation after acceptance.
4. System application
Chapter 4 General user instructions
4.1 Power-on, Power-off and Self-test
When the commissioning work is completed, the user can start the equipment in the
following order:
·
Turn on the power of related equipment.
·
Turn on the main and standby switches that control the power supply.
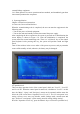
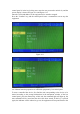
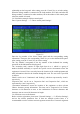
After completing the above operations, the system is powered on for initialization (the
screen display is shown in Figure 4-1). After the initialization is completed, the
system enters the normal monitoring state. There is a "self-check" key on the control
panel keyboard. After pressing this key, the system will perform sound and light
check.
Turn off the switches in the reverse order of the power-on process, and pay attention
to turn off the standby switch, otherwise, the battery may be damaged.
Figure 4-1
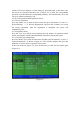
4.2 operation level
There are three operation levels of the control panel, which are "Level I", "Level II"
and "Level III". When the control panel is turned on, it defaults to "Level I". At this
time, the "Mute", "Query" and "Set Query" menus can be operated, and the status bar
below the LCD screen shows "Operation Level: Level I". Level 2 can operate "user
setting, self-test, reset, start, stop, disable, enable, linkage mode, sounder start and
stop", and level 3 can operate "system setting, network setting, linkage setting".
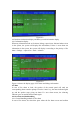
Press the "Operation Level" key, press the numeric keys to select the operation level,