
User`s manual


174
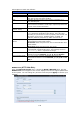
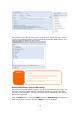
1. Enable Rsync Target Server
2. Add a username and password (they can be different than your NAS’s
username and password)
3. Select Apply
*Now Rsync is turned on your NAS, which means it can be used as a target for Rsync
backup, in other words, only the backup NAS needs to be activated in this way.
Rsync
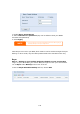
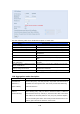
Step 2 – Setting up your backup task and schedule on your source NAS
-Log in to your other NAS (your source NAS) through the UI in your web browser
-Go to Rsync under Backup in the menu of the UI
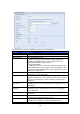
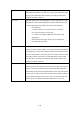
-From the Rsync Schedule Backup task list, choose Add
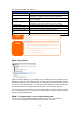
NOTE
• You will need this user name and password while the data is going to
remotely backup to this rsync target server.