
User Manual
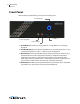
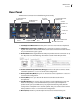
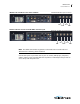
Table Of Contents
- Contents
- Preface
- Introduction to WC Gear
- WC Gear Panels
- Installation of WC Gear
- Using WC Gear
- Troubleshooting and Updating WC Gear
- Support for WC Gear
- Regulatory Compliance Statements
Installation of WC Gear
Wireless Connections
20
Note: The Wirecast Gear system is configured to work with up to three displays.
1. If you plan to use Wifi, connect the antenna to the two jacks and position the
antenna as desired.
2. If available, plug a network cable into one of the available RJ45 Ethernet jacks.
Note: After it is powered on, Wirecast Gear will attempt to automatically connect to
your installed network configuration (via LAN). If your network requires authentication
or specific configuration, please check with your network administrator to determine
computer and network setting requirements.
3. Plug HDMI or SDI cables into the 4 video input connectors on the right rear panel.
4. Plug a standard computer monitor into either the HDMI or DVI monitor output
ports on the back of the unit.
Note: Every Wirecast Gear unit has two HDMI outputs and one DVI-D output. These
are standard display outputs that are used for connecting computer monitors. If you
have more than one monitor installed, Wirecast will allow you to send a full screen
output of your program to the second display as a program monitor. These are also the
ports to be used for in-venue, presentation displays (also known as IMAG) as they
provide for the lowest latency output.
5. Make audio input and output connections to Line In, Mic In, Speaker Out, and
Optical S/PDIF Out.
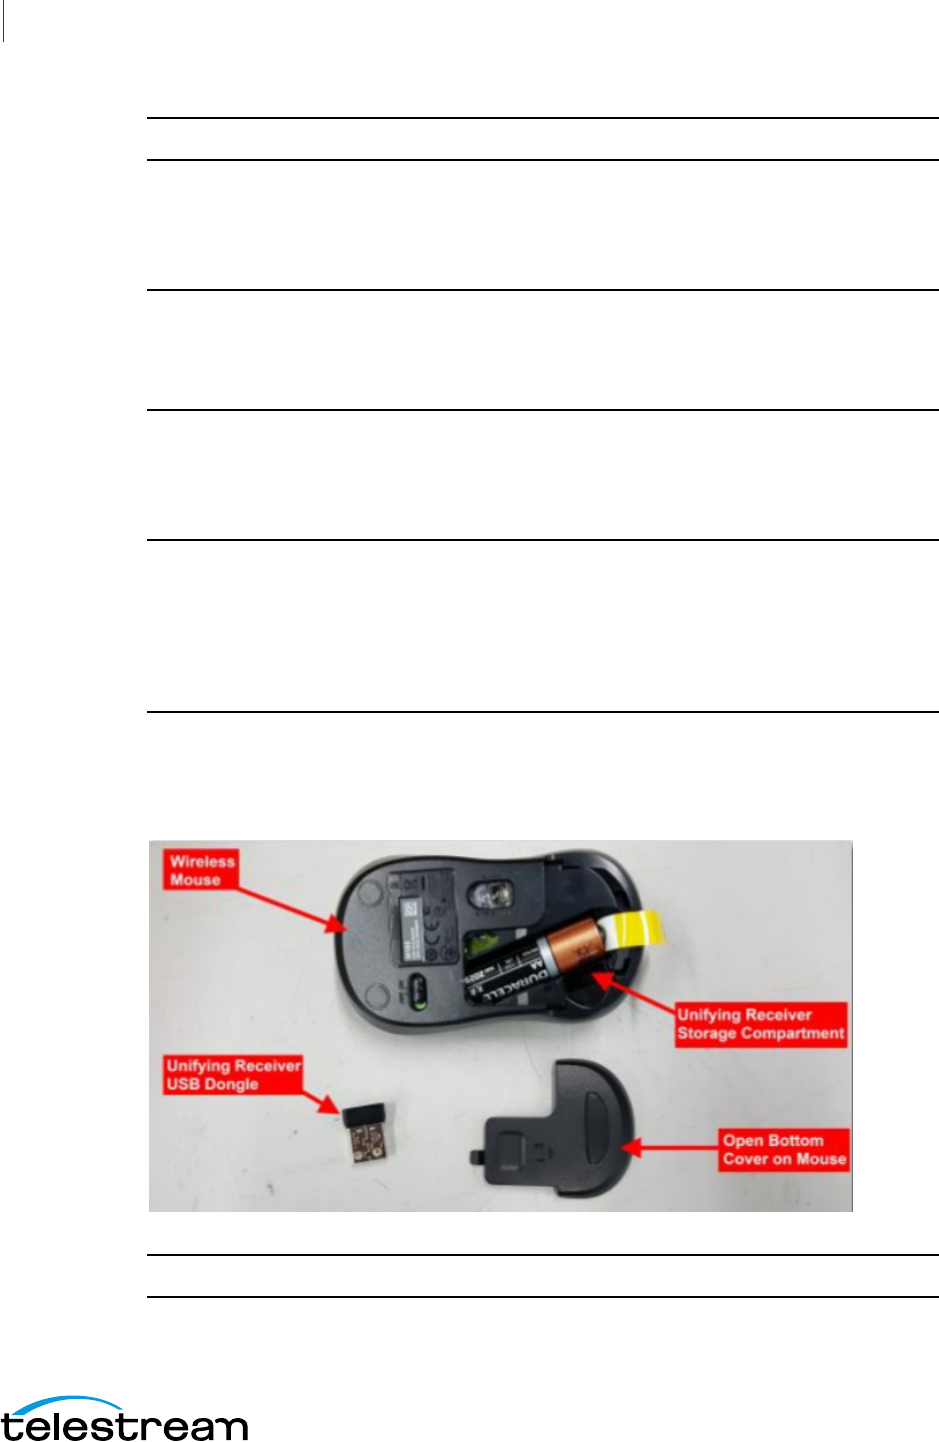
6. Remove the USB dongles from the bottom of the wireless mouse.
Note: The mouse dongle communicates to both the mouse and the keyboard.