User manual
Table Of Contents
- toc
- General safety summary
- Compliance Information
- Preface
- Getting Started
- Operating Basics
- Understanding Oscilloscope Functions
- Application Examples
- Taking Simple Measurements
- Using Autorange to Examine a Series of Test Points
- Taking Cursor Measurements
- Analyzing Signal Detail
- Capturing a Single-Shot Signal
- Measuring Propagation Delay
- Triggering on a Specific Pulse Width
- Triggering on a Video Signal
- Analyzing a Differential Communication Signal
- Viewing Impedance Changes in a Network
- Data Logging
- Limit Testing
- Math FFT
- USB Flash Drive and Device Ports
- USB Flash Drive Port
- File Management Conventions
- Saving and Recalling Files With a USB Flash Drive
- Using the Save Function of the Print Front Panel Button
- USB Device Port
- Installing the PC Communications Software on a PC
- Connecting to a PC
- Connecting to a GPIB System
- Command Entry
- Connecting to a Printer
- Printing a Screen Image
- Reference
- Appendix A: Specifications
- Appendix B: TPP0101 and TPP0201 Series 10X Passive Probes Inform
- Appendix C: Accessories
- Appendix D: Cleaning
- Appendix E: Default Setup
- Appendix F: Font Licenses

Application Examples
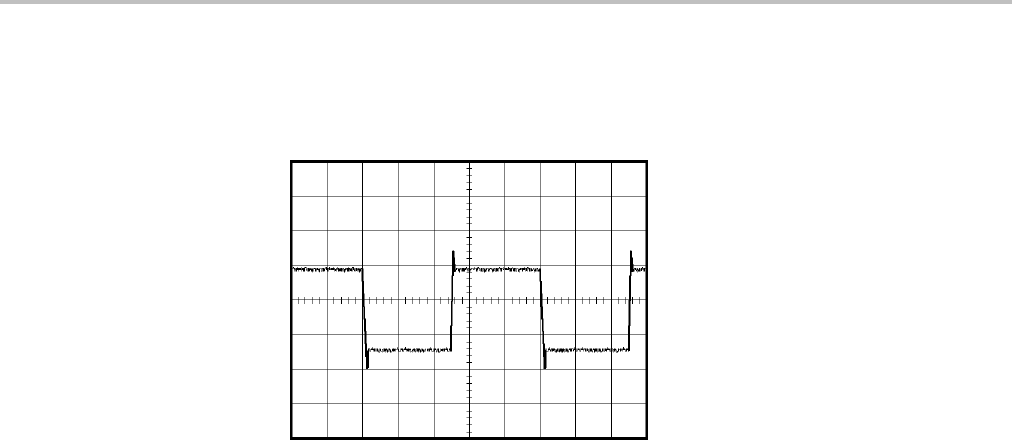
Averaging redu
ces random noise and makes it easier to see detail in a signal. In
the example below, a ring shows on the rising and falling edges of the signal when
the noise is removed.
Capturing a Single-Shot Signal
The reli
ability of a reed relay in a piece of equipment has been poor and you need
to investigate the problem. You suspect that the relay contacts arc when the relay
opens. The fastest that you can open and close the relay is about once per minute,
so you need to capture the voltage across the relay as a s ingle-shot acquisition.
To set up for a single-shot acquisition, follow these steps:
1. Turn the Vertical Scale (volts/division) and Horizontal Scale
(seconds/division) knobs to the appropriate ranges for the signal you expect to
see.
2. Push the Acquire button to see the Acquire Menu.
3. Push the Peak Detect option button.
4. Pus
htheTrig Menu button to see the Trigger Menu.
5. Push Slope ► Rising .
6. Turn the Level knob to adjust the trigger level to a voltage midway between
the open and closed voltages of the relay.
7. Push the Single button to start the acquisition.
When the relay opens, the oscilloscope triggers and captures the event.
TBS1000 Series Oscilloscopes User Manual 41


