
User guide


User Guide
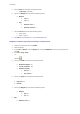
5. Click th
e Page tab and select the following values:
Page sizing: Automatic,
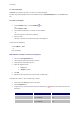
6. Click on the Margins tab and enter the following values:
Margins:
Left: 10,
Top: 10,
Gap:
Between rows: 5,
Between columns: 5.
7. Click the Stock tab and enter the following values:
Type: Family,
Name: Layout1.
8. Click OK then save the label as C:\CSL1\WORK\TEST1.LAB.
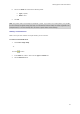
Designing a CD sleeve: page setup and creating a customized stock
1. Create a new document and call it FRONT.
2. Select the printer.
3. Go to Tools > Options, click the Display tab and select Millimeters as the unit of measurement.
Click OK.
4. Go to File > Page setup...
-or-
Click the
.
5. Click on the Label tab and enter the following values:
Width and Height: 120,
Corner roundness: 100,
Number of labels:
Per row: 1,
Per column: 2.
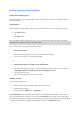
6. Click on the Page tab and select the following values:
Page size: A4,
Portrait.
7. Click on the Margins tab and enter the following values:
Margins:
Left: 40,
Top: 10,
Gap:
Between rows: 15.