
User's Manual
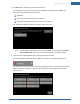
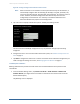
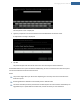
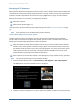

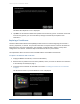
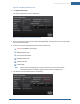
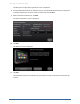
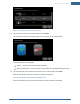
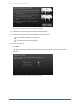
Table Of Contents
- Managing Sensors & Zones
- Maintaining Sensors
- Resetting Sensors to Factory Default
- Managing Cross-Zone Associations
- Managing Sirens
- Managing Cameras
- Managing Thermostats
- Managing Lights
- Managing Key Fobs
- Managing Key Pads
- Managing Panel Interfaces
- Managing Wi-Fi Repeaters
- Replacing a TouchScreen
- Replacing the Security Network Router
- Troubleshooting Router Swapping
- Appendix A: General Concepts of the Security System
- Appendix B: General Info for Sensor Placement
- Appendix C: Replacing the TouchScreen Battery
- Appendix D: Using the Key Pad
- Appendix E: Installer Quick Reference (SIA)

Managing Sensors & Zones
141
3. Tap Next to begin searching for panel interface boards.
The TouchScreen searches for boards that are available to be added. To be available, the
boardmust meet the following requirements:
Defaulted
Not currently paired with another TouchScreen
In Search mode (LED blinking three times every five seconds)
The TouchScreen displays all the panel interface boards it can find.
Note: If all available installed PIMs are not found, tap Done. On the next page, tap Cancel
Panel Interface Add to return to the Technician Settings menu without adding.
4. Press a key on the Honeywell key pad to trip the panel interface board.
The panel interface is paired with the TouchScreen, and the icon is a lighter shade of gray.
The TouchScreen searches for zones connected to the panel system. This can take a few minutes.
When all the zones are found, an icon for each is displayed on the Configure Panel Interface
Sensors screen.