
Codec C90 Administrator Guide


Table Of Contents
- Introduction
- Getting started
- About the menus
- The Settings menu
- Administrator Settings Library
- Description of the administrator settings
- The Audio settings
- The Camera settings
- The Conference settings
- The Do not disturb setting
- The H323 Profile settings
- The Network settings
- The Camera settings
- The Phone book server settings
- The Provisioning settings
- The Serial port settings
- The SIP Profile settings
- The Standby settings
- The System unit settings
- The Time zone setting
- The Video settings
- The Experimental menu
- Description of the administrator settings
- Cameras
- Appendices
- General room guidelines
- Guidelines for the executive meeting room
- Guidelines for the high end meeting room
- The Video Input Matrix
- Software upgrade
- Upload certificates
- XML files
- Log files
- NTP Time Zone expressions
- Supported RFCs in SIP
- TANDBERG Remote Control TRC5
- TANDBERG Remote Control TRC5 key map
- The PrecisionHD camera
- CE Declaration for Codec C90
- China RoHS table
- TANDBERG Codec C90 dimensions
- PrecisionHD 1080p camera dimensions
- PrecisionHD camera dimensions
- Technical specifications
D14129.02—NOVEMBER 2008
12
Codec C90
Administrator Guide
Contents Introduction Getting started About the menus About the settings Settings Library Cameras Appendices Contact us
Getting started
4 5
Add the system to the network
Your service provider should have provided you with the information you
need to get on-line.
For H323 type of communication, this will include such things as system
name, H323 alias, gatekeeper address, etc. For SIP type of communication,
similar type of information will be supplied.
For networks administrated through TMS (TANDBERG Management Suite),
your TMS administrator will be able to assist you when configuring.
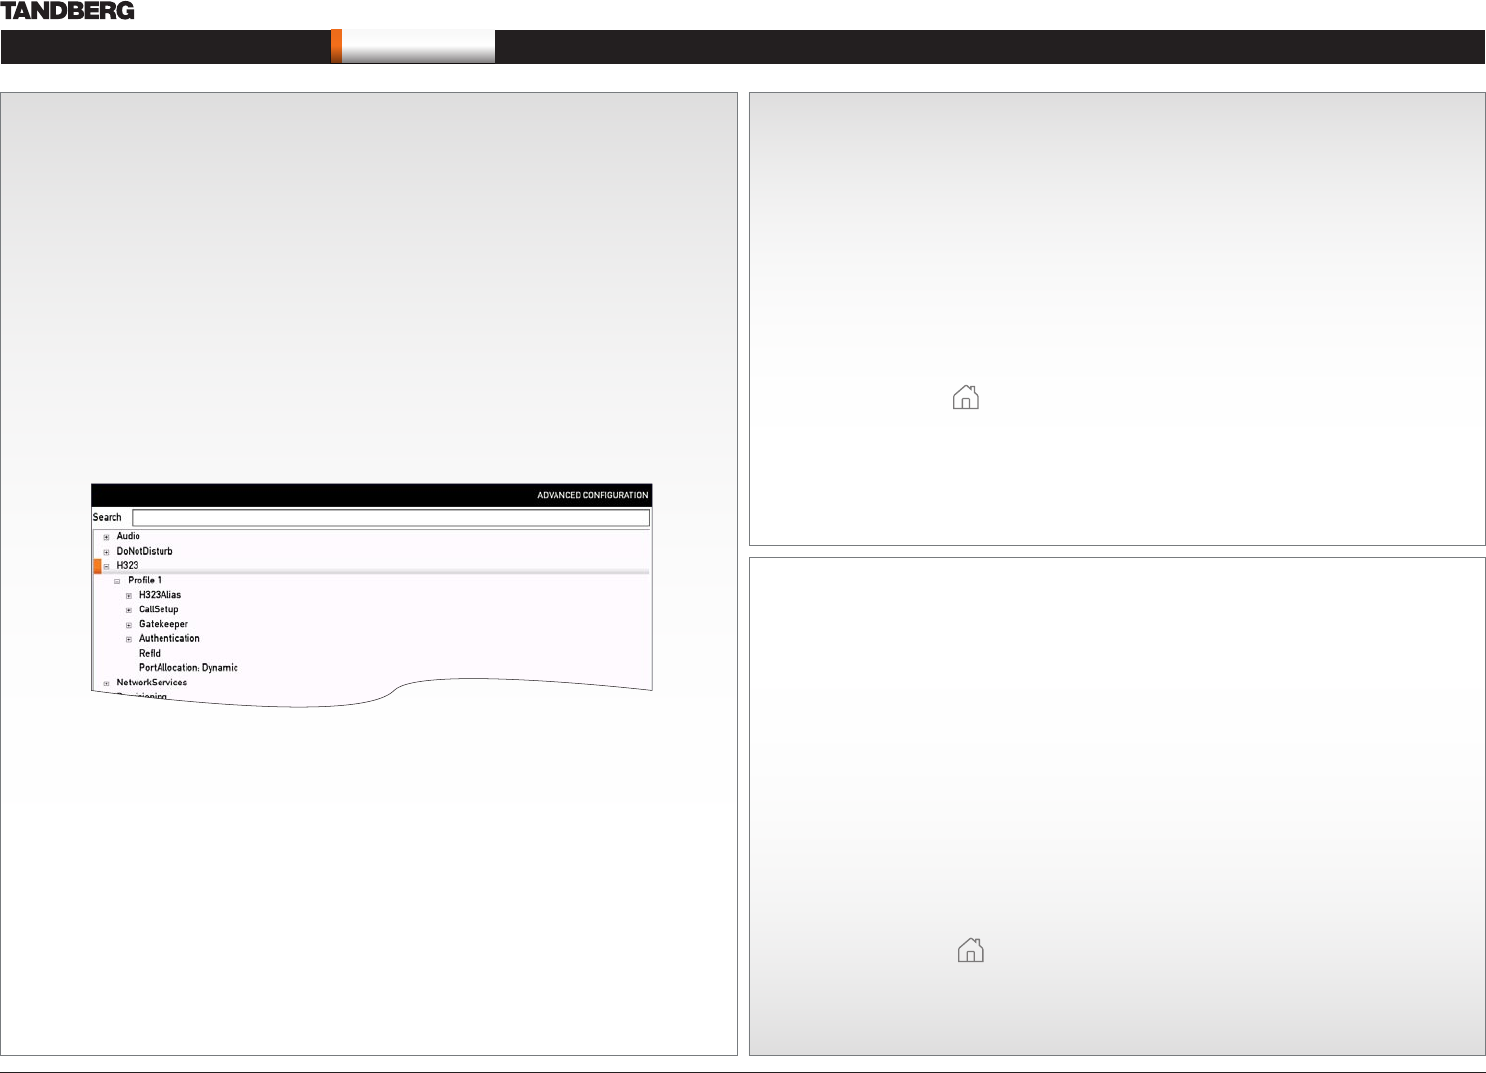
The H323 and SIP settings are configured from the Administrator Settings
menu:
Navigate to Settings > Administrator Settings > Advanced Settings.
Expand the items in need of modification and enter the information •
supplied by your service provider.
Verify your settings
We strongly recommend that you verify the settings by inspecting the System
Information list.
You do this by accessing the System Information in the same way as you did
when you verified you IP address setting.
Go to System Information to verify the settings:
Navigate to 1. Settings > System Information
Verify the previous configurations. For example, if you successfully registered 2.
to a SIP server the Status will show Registered. If the registration failed the
Status will show Not registered.
Press Home ( 3. ) to exit.
6
Time zone settings
Verify the date and time to see if the time zone settings need to be adjusted. The
date and time is located in the upper right corner on screen.
Go to time zone settings to set the NTP (date and time) settings:
Navigate to 1. Settings > Administrator Settings > Time > Zone
You may need to consult the NTP Time Zone expression list to find the 2.
right expression. Go to the Appendices section and the NTP Time Zone
expression to see a complete overview.
Enter the time zone expression for where the system is located. The default 3.
value is Etc/UTC.
NOTE: Spelling correctly is important when entering the NTP Time Zone
expression
Press 4. Save to save the changes, or Cancel to leave without saving.
Press 5. Home ( ) to exit.